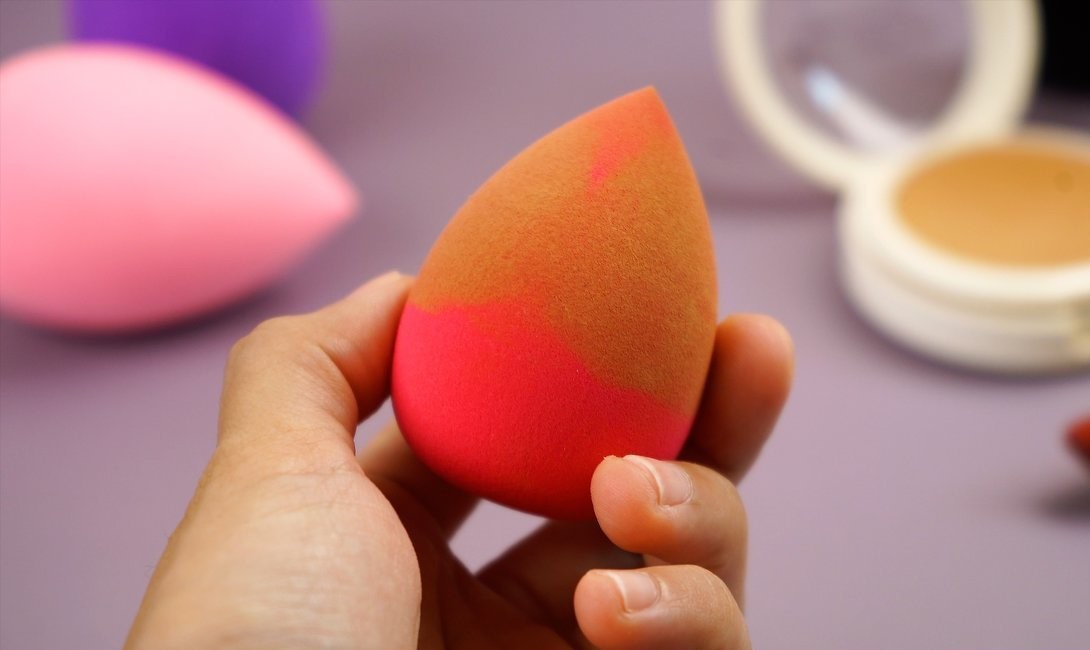
If you can’t recall the last time your makeup sponge looked clean, then it’s time to give your beauty blender a thorough wash.
A dirty beauty blender may be an ideal environment for germs, mildew, and bacteria. Furthermore, a previously used sponge will not perform efficiently since the layers of old items will alter the color of the product you are now applying.
Clean your beauty blender regularly to avoid infection, skin damage, and breakouts.
So, if you’re unsure how to properly clean a beauty blender without causing damage, this post will give you a few simple methods to do it properly and safely.
Keep scrolling!
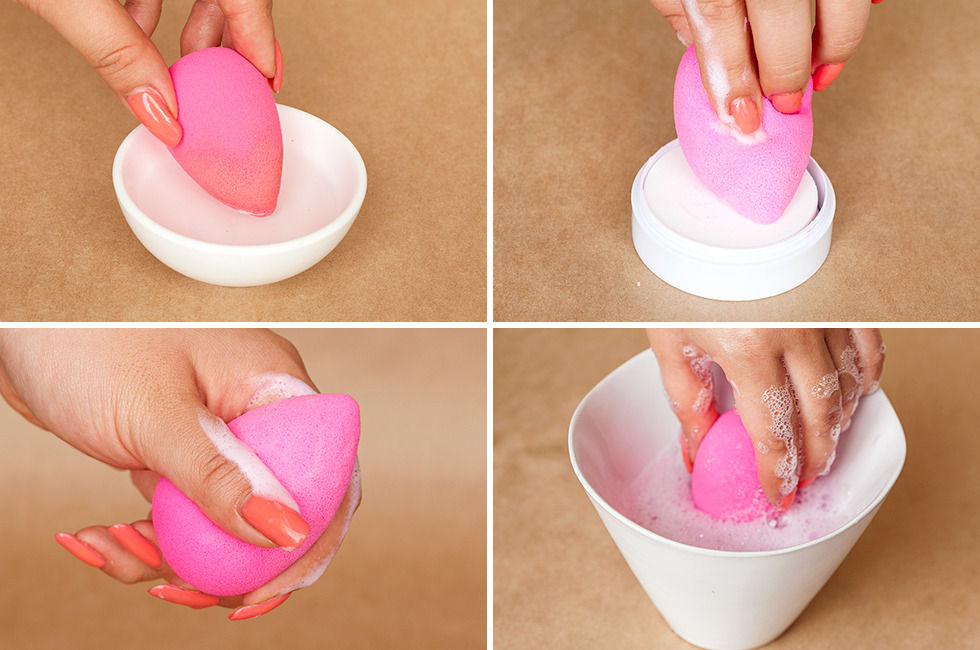
#1. Clean Your Beauty Blender With Soap
The easiest method to clean your makeup sponge is using the regular hand soap or shampoo you already have.
The components in the products will help you break down any makeup residue that accumulates from concealer or foundation.
Method
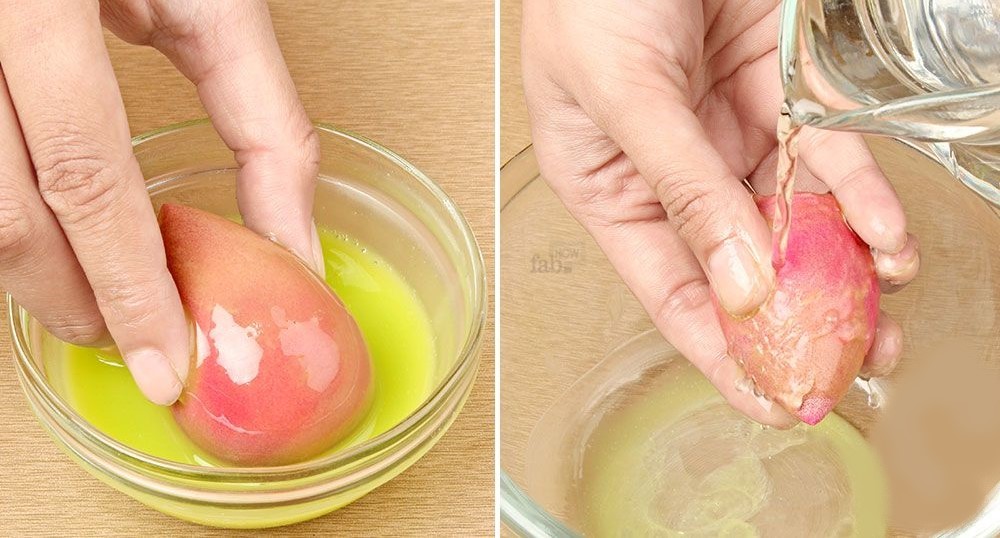
- Soak the blender and squeeze off any extra water.
- Put a tiny quantity of shampoo or light soap in a bowl.
- Stir until the water becomes soapy.
- Put your makeup sponge in the soapy water and gently rub it in circles until suds form.
- Rinse the blender with clean water, then squeeze off any remaining soap. Repeat until you can no longer squeeze out any dirty water.
- Let it air dry. If you’re in a hurry, use a towel to absorb the moisture faster.
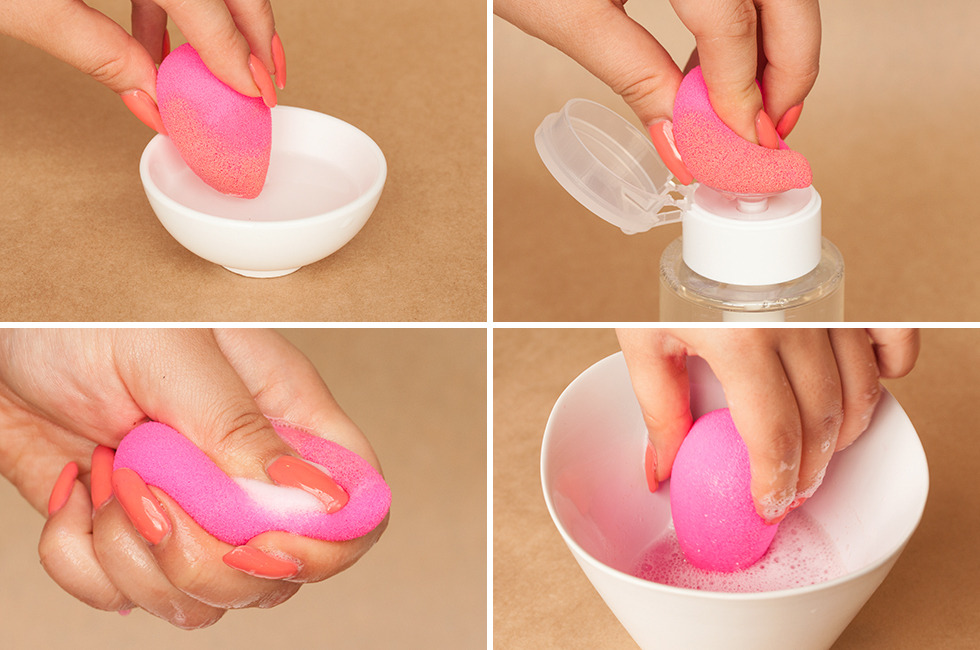
#2. The Cleanser Method
A cleanser can help your beauty blender become squeaky clean without causing any damage to the sponge or leaving any harmful residue.
The cleanser will also clean any stains, dirt, oils, bacteria, and germs on your sponge.
Method
- Soak the beauty blender.
- Put some cleanser on the dirty surface and gently rub it until you see bubbles.
- Repeat until it is clean.
- Wash the foam with clean water.
- Squeeze your blender to get rid of the excess water, then dry it with a towel.
- Leave your beauty blender to air dry.
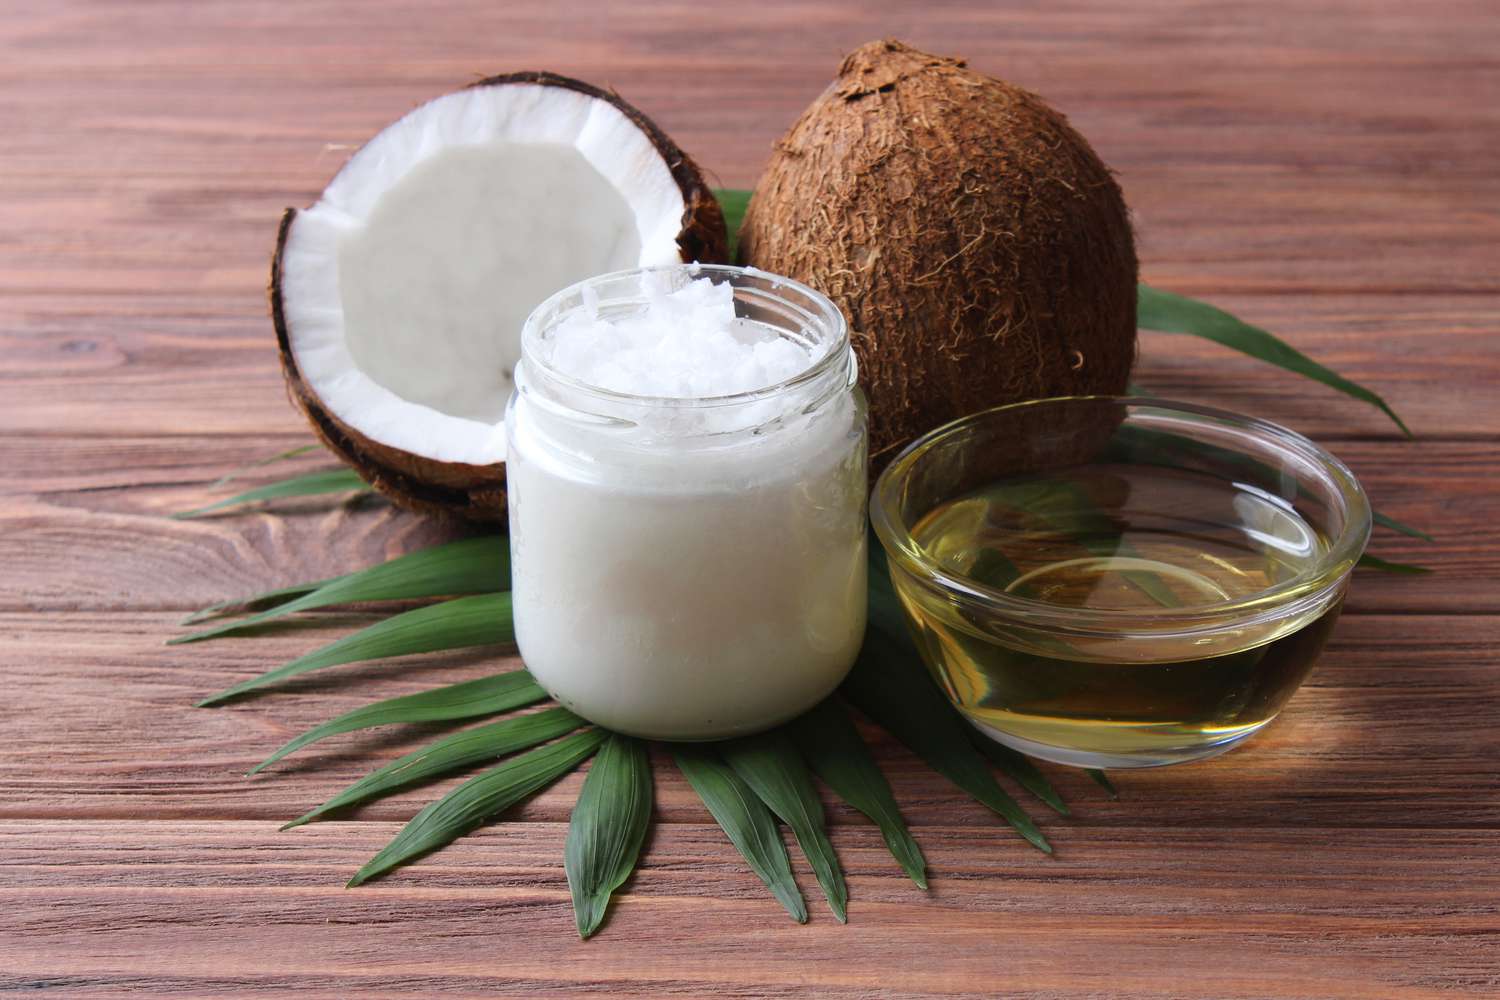
#3. The Coconut Oil Method
Coconut oil has many uses in cosmetics. It can also help you clean your makeup tools.
This kitchen ingredient can help your favorite makeup sponge look as good as new, so don’t miss out on it!
Method
- Soak your makeup sponge and squeeze out excess water.
- Put oil on your makeup sponge.
- Squeeze and massage it until the sponge looks clean.
- Wash with water and squeeze out the excess water.
- Soak the beauty blender in warm water for a few minutes to wash off the oil.
- Squeeze with a towel to remove excess moisture, and let the makeup sponge air dry.
#4. Clean A Beauty Blender In The Microwave
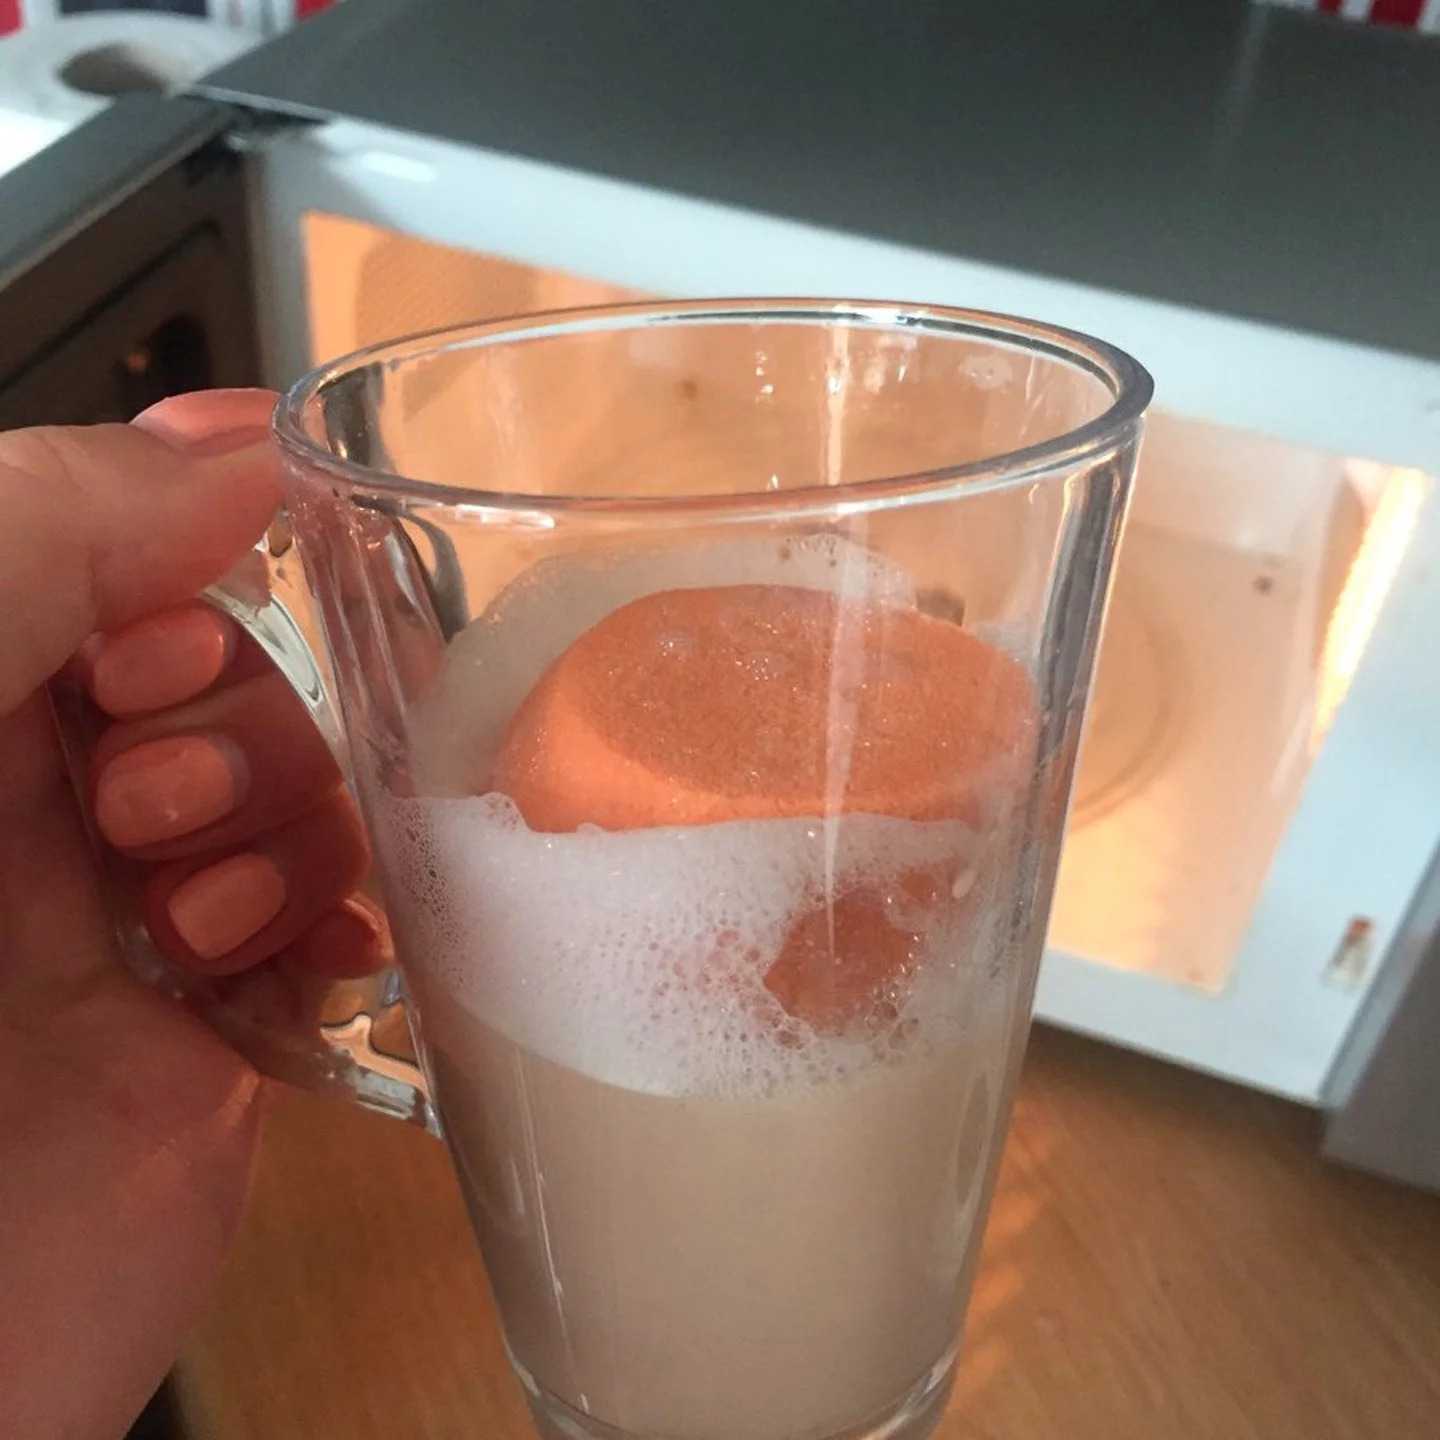
The microwave can efficiently clean and sanitize your makeup sponge by destroying harmful microorganisms.
However, you must follow the correct procedures. Otherwise, you may receive a completely different outcome.
For example, if you heat your beauty blender in the microwave for longer than recommended, it may burn or shrink.
Method
- Soak your makeup sponge. This step will help it to hold its shape when heated.
- Submerge the beauty blender in a cup of soapy water with regular handwash.
- Squeeze and rub the sponge until fully saturated.
- Make sure the soapy water covers the sponge.
- Put the cup in the microwave on low for 15-30 seconds.
- Remove and let it sit for five minutes or until the water cools.
- Squeeze your blender with tongs and let the steam come out.
- Dip the sponge into clean water and squeeze until the water runs clear.
- Let the blender air dry on a towel.
#5. The Olive Oil Method
The cleaning approach with olive oil described below can help you remove hard stains, grime, muck, and product residue from your beauty blender.
Method
- Massage a tiny quantity of olive oil between your hands until warm.
- Rub the heated oil into the makeup sponge with moderate pressure to remove makeup residues or debris.
- Rinse it with water and squeeze away the excess oil.
- Leave the beauty blender on a cloth or a towel to let it air dry.
When To Replace Your Beauty Blender
If you use your blender daily, ensure your makeup sponge is as clean as possible to avoid any skin problems.
If your sponge begins to seem worn or the sponge disintegrates, it is time to replace it. You should also change your beauty blender after roughly three months of use.
If you clean your beauty blender once a week but only use it a few times a month, it can last up to a year.
The longer you use your beauty blender without washing it, the less sanitary it becomes.
Dirt from your skin and the environment adheres to your beauty blender, creating a breeding ground for microorganisms that can cause skin conditions and discomfort.
The beauty blender is an essential makeup item. However, not all girls know how to clean it properly.
Cleaning your makeup sponge is critical to avoiding dirt, bacteria, illnesses, or skin damage.
Follow the methods above to keep your tool clean and long-lasting.
If you find this article helpful, don’t forget to save it to your Pinterest collection to use it later.
Hit the Pin button will be the quickest and easiest way, so don’t miss this little button!
Check out our site for more beauty inspirations and tips.
We have everything you need to embrace your inner queen and make yourself glow.
Follow us to build your fashionable lifestyle and get your daily dose of inspo!


