25 No-Stress Apple Dessert Recipes Perfect for Any Occasion
Whenever I have a bowl of apples sitting on my kitchen counter, I start thinking about dessert. Apples are one of my favorite ingredients because they can become something warm, comforting, and memorable without demanding complicated techniques.
Over the years, I have made apple treats for busy weeknights, family dinners, holiday tables, school gatherings, and quiet weekends at home. Some recipes were carefully planned, while others came together because I needed to use a few apples before they softened. Those last-minute desserts often became the ones everyone requested again.
This collection brings together the apple recipes I rely on when I want homemade flavor without unnecessary stress. You will find familiar baked classics, quick shortcut ideas, no-bake treats, and cozy desserts that make the whole kitchen smell inviting. Each recipe is approachable, flexible, and easy enough to prepare even when the day feels full.
1. Easy Apple Crisp
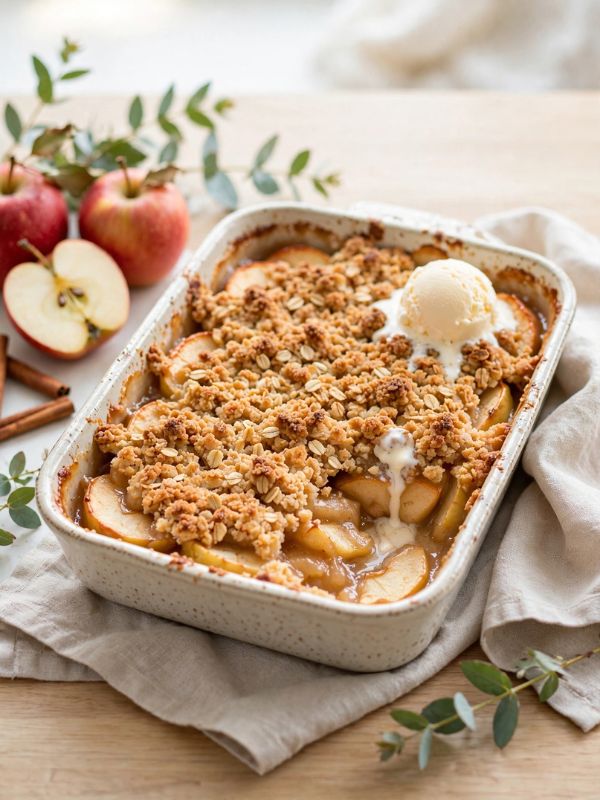
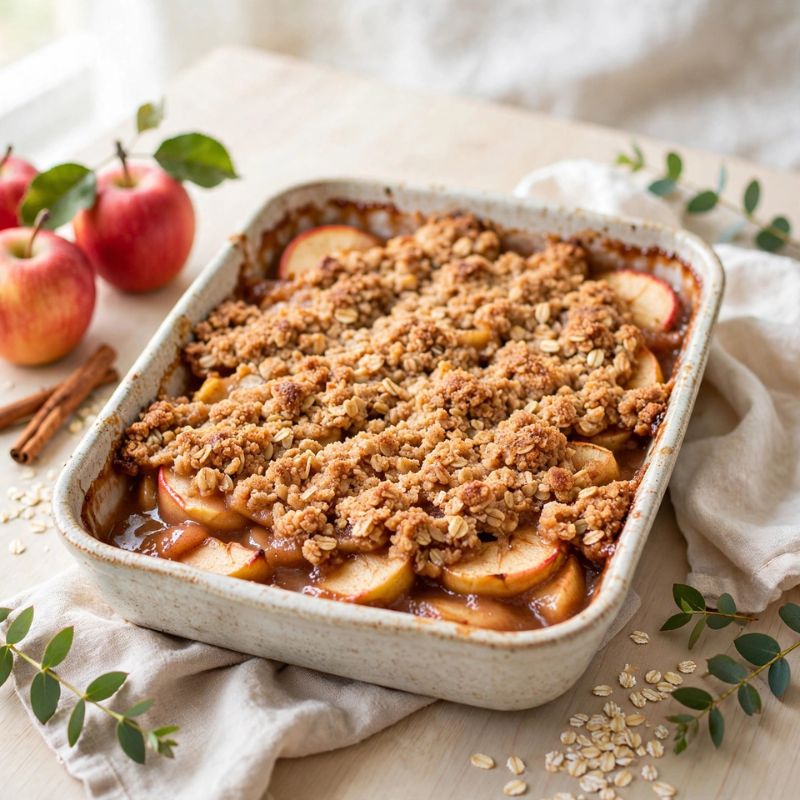
Apple crisp is usually the first dessert I make when I want something warm but do not feel like preparing pastry. The filling comes together in one bowl, and the topping only needs a quick stir before it goes into the oven.
I love the contrast between tender cinnamon-coated apples and the crisp oat layer on top. The recipe is forgiving, so I can use a mixture of apple varieties or adjust the sweetness depending on what I have. Served warm with vanilla ice cream, it feels special enough for guests while remaining simple enough for an ordinary evening.

Easy Apple Crisp
Ingredients
Method
- Preheat the oven to 350°F or 175°C. Lightly grease an 8-inch square baking dish so the apple filling does not stick around the edges as it bubbles.
- Place the sliced apples in a large bowl. Add lemon juice, granulated sugar, brown sugar, flour, cinnamon, vanilla, and nutmeg, then toss until every slice is evenly coated.
- Transfer the apple mixture to the prepared dish and spread it into an even layer. Press the fruit down gently so there are no large empty spaces between the slices.
- In a separate bowl, combine the oats, flour, brown sugar, cinnamon, and salt. Pour in the melted butter and stir until the mixture forms moist crumbs.
- Sprinkle the topping evenly over the apples without pressing it down firmly. Leaving the mixture loose helps the surface become crisp and golden while baking.
- Bake for 38 to 42 minutes, or until the filling bubbles around the edges and the topping is browned. Let the crisp rest for 10 minutes before serving so the juices can thicken slightly.
2. Classic Cinnamon Apple Crumble
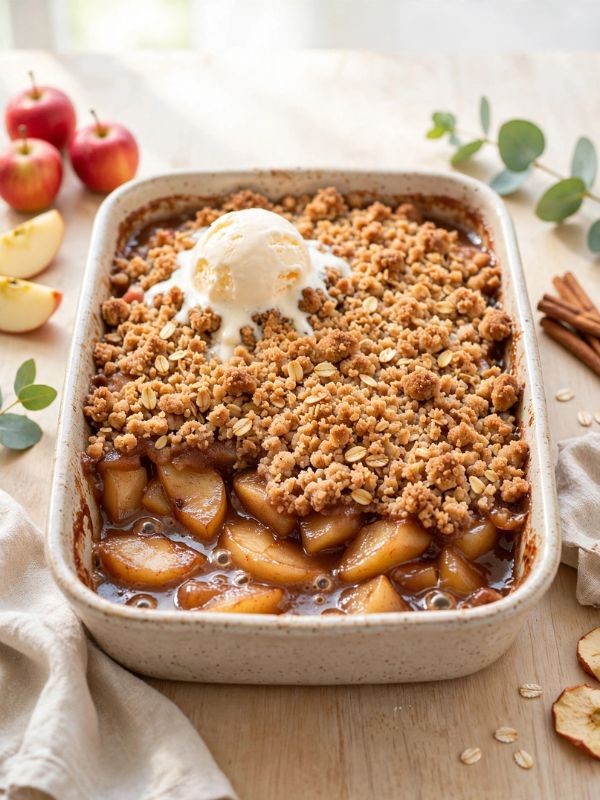
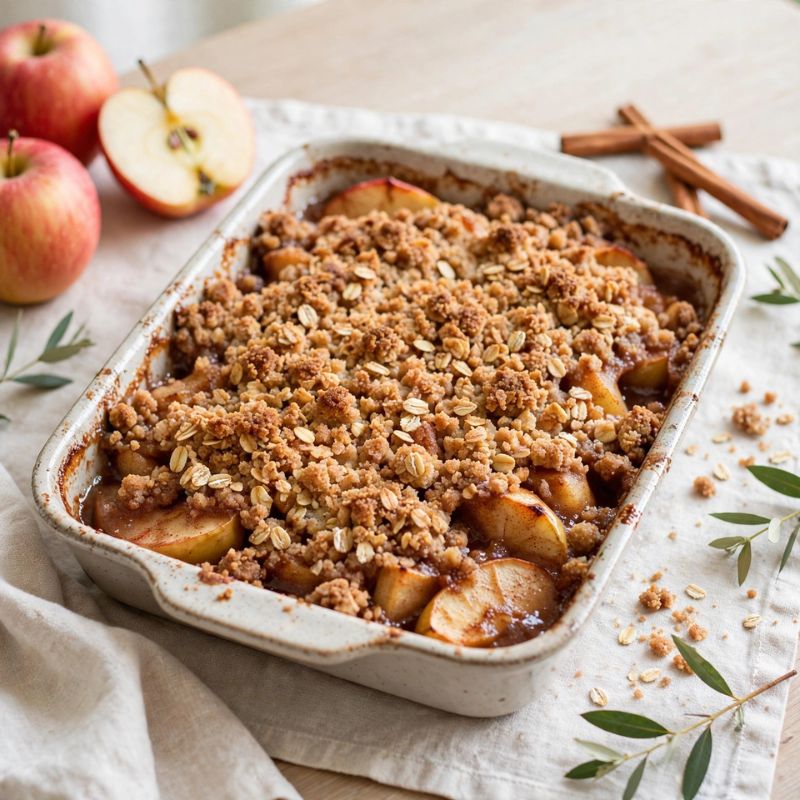
I make this apple crumble when I want a traditional dessert with basic pantry ingredients. Unlike an oat-based crisp, the topping is softer and more buttery, with a texture that falls into tender crumbs as soon as the spoon breaks through it.
A blend of sweet and tart apples works beautifully here. I often use Granny Smith with Gala or Honeycrisp because the combination gives the filling more depth. The cinnamon is noticeable without overpowering the fruit, while a little nutmeg adds warmth. This crumble is especially good after a family meal because it can be assembled early and baked just before dessert.
Classic Cinnamon Apple Crumble
Ingredients
Method
- Set the oven to 350°F or 175°C and grease a 9-inch baking dish. A shallow dish allows the topping to brown more evenly and gives each serving a generous layer of crumble.
- Add the apple slices to a mixing bowl with sugar, lemon juice, cinnamon, vanilla, and cornstarch. Stir carefully until the cornstarch disappears and the fruit looks lightly glossy.
- Spread the seasoned apples across the baking dish. Arrange the slices evenly so the filling cooks at the same rate from the center to the edges.
- Combine flour, brown sugar, cinnamon, nutmeg, and salt in another bowl. Add the cold butter and rub it into the dry ingredients with your fingertips until irregular crumbs form.
- Scatter the crumble mixture loosely over the fruit. Some larger clumps are helpful because they create buttery, crisp pockets once baked.
- Bake for 42 to 47 minutes, until the topping turns golden and the fruit juices begin bubbling. Allow the crumble to cool for at least 10 minutes before spooning it into bowls.
3. Slow Cooker Apple Cobbler
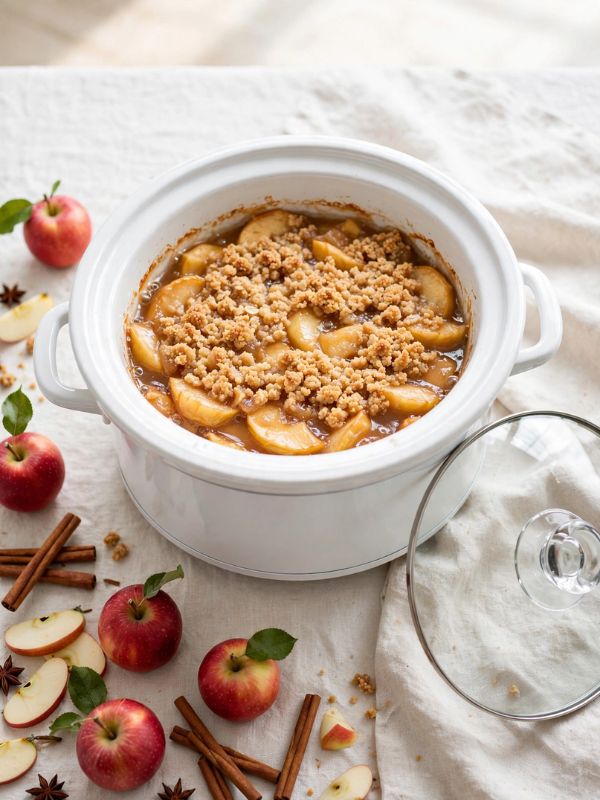
My slow cooker becomes especially useful during holidays when the oven is already occupied. This apple cobbler lets me prepare dessert early, turn on the cooker, and leave it alone while I focus on the rest of the meal.
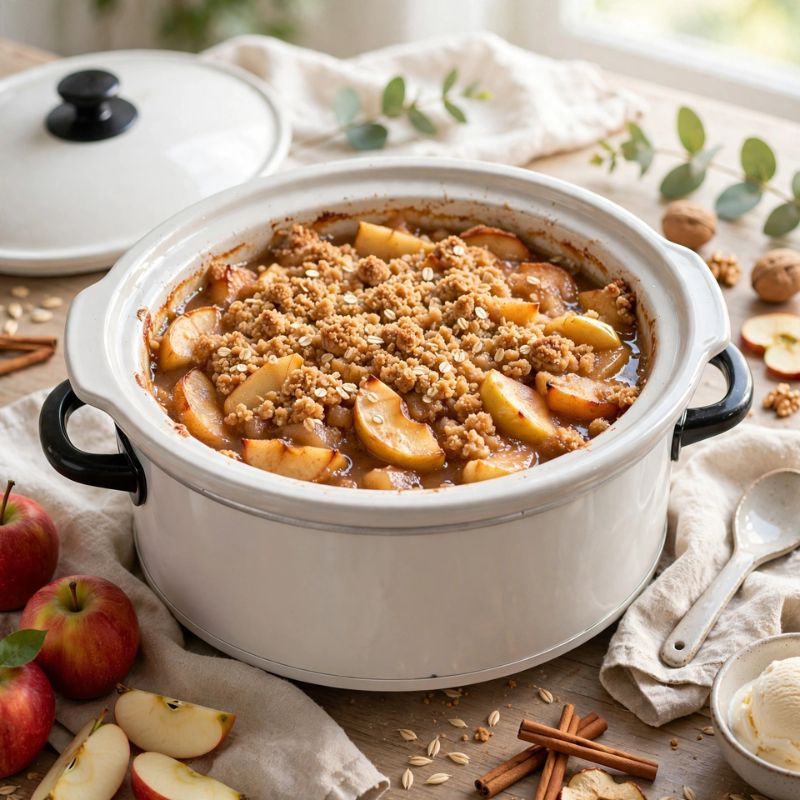
The apples become soft and syrupy as they cook with cinnamon and brown sugar. Refrigerated biscuit dough keeps the topping easy, while melted butter helps it develop a tender, rich texture.
I like placing a clean kitchen towel beneath the lid because it absorbs condensation and prevents the cobbler from becoming soggy. The finished dessert tastes best warm, preferably with a scoop of ice cream melting over the top.
Slow Cooker Apple Cobbler
Ingredients
Method
- Coat the inside of a 5- or 6-quart slow cooker with nonstick cooking spray. Make sure the bottom and lower sides are covered because the sweet apple juices can become sticky.
- Place the apples in a large bowl and add brown sugar, granulated sugar, cinnamon, lemon juice, vanilla, and cornstarch. Toss until the slices are evenly seasoned.
- Spoon the apple mixture into the slow cooker and spread it into a level layer. Any seasoning left in the bowl can be scraped over the fruit.
- Cut each biscuit into two or four pieces, depending on its size. Arrange the pieces over the apples with a little space between them, then brush the tops with melted butter.
- Lay a clean kitchen towel across the top of the cooker before adding the lid. Cook on high for 2 to 2 1/2 hours or on low for about 3 hours, until the biscuits are cooked through.
- Remove the lid carefully so condensation does not drip onto the cobbler. Let the dessert stand for 10 minutes, then serve warm with whipped cream or vanilla ice cream.
4. Caramel Apple Dump Cake
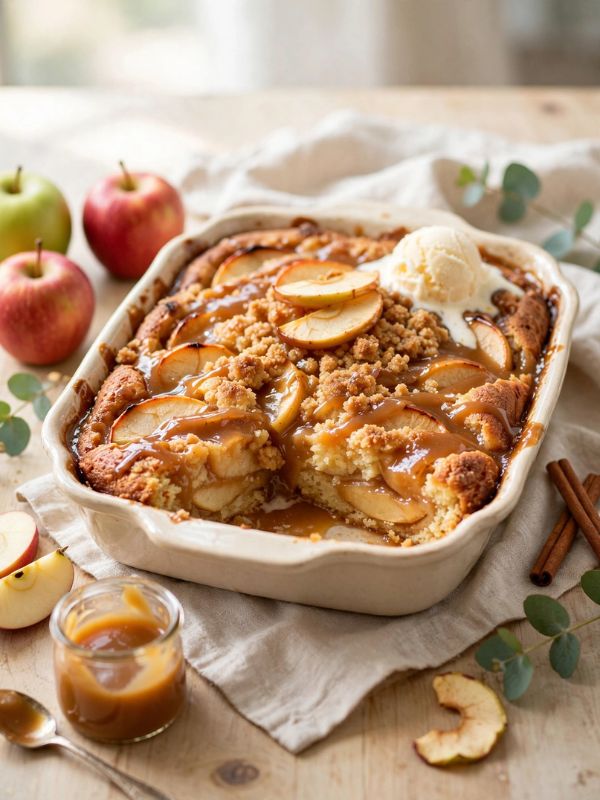
Dump cakes are not elegant in the traditional sense, but I appreciate how dependable they are. This one needs only a few layers, making it ideal when I want a warm dessert without bowls full of batter or a long cleanup afterward.
The apple filling provides moisture, caramel sauce adds richness, and dry cake mix becomes a crisp, buttery topping in the oven. I prefer using spice cake mix because it complements the apples, though yellow cake mix also works. Chopped pecans add texture, but they are optional.
Once baked, the dessert has a soft center and caramelized edges that are especially delicious while still warm.
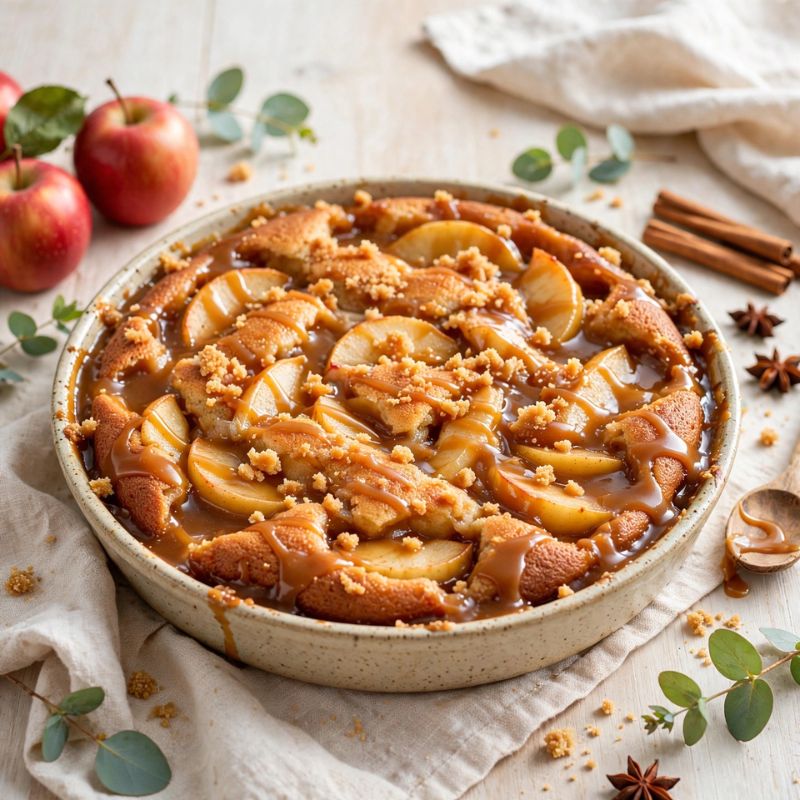
Caramel Apple Dump Cake
Ingredients
Method
- Preheat the oven to 350°F or 175°C. Grease a 9 x 13-inch baking dish, paying attention to the corners where the caramel can stick.
- Spoon both cans of apple pie filling into the dish and spread them evenly. Sprinkle cinnamon over the fruit and drizzle the caramel sauce across the surface.
- Pour the dry cake mix directly over the apples. Use the back of a spoon to spread it into a level layer, but do not stir it into the filling.
- Arrange the thin butter slices over the cake mix, covering as much of the dry surface as possible. Small uncovered areas are fine because the butter will melt outward.
- Sprinkle chopped pecans over the top when using them. Bake for 42 to 47 minutes, until the top is browned and the filling bubbles around the sides.
- Rest the cake for 10 to 15 minutes before serving. Spoon it into bowls while warm and add ice cream or extra caramel sauce if desired.
5. Apple Pie Bars
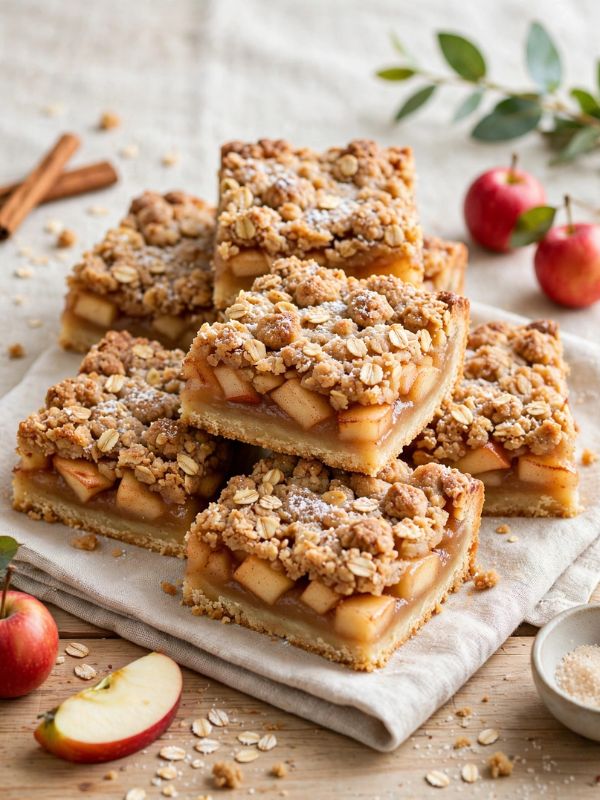
I turn to apple pie bars when I want the flavor of pie without shaping a delicate crust. The base presses directly into the pan, the apples are layered on top, and the remaining dough becomes a simple crumbly finish.
These bars travel well, so I often make them for potlucks or afternoon gatherings. They are easier to slice once completely cool, which also means I can bake them a day in advance.
Plus, a light vanilla glaze gives them a bakery-style appearance without adding much work. Each square has buttery crust, soft cinnamon apples, and enough structure to hold comfortably in one hand.
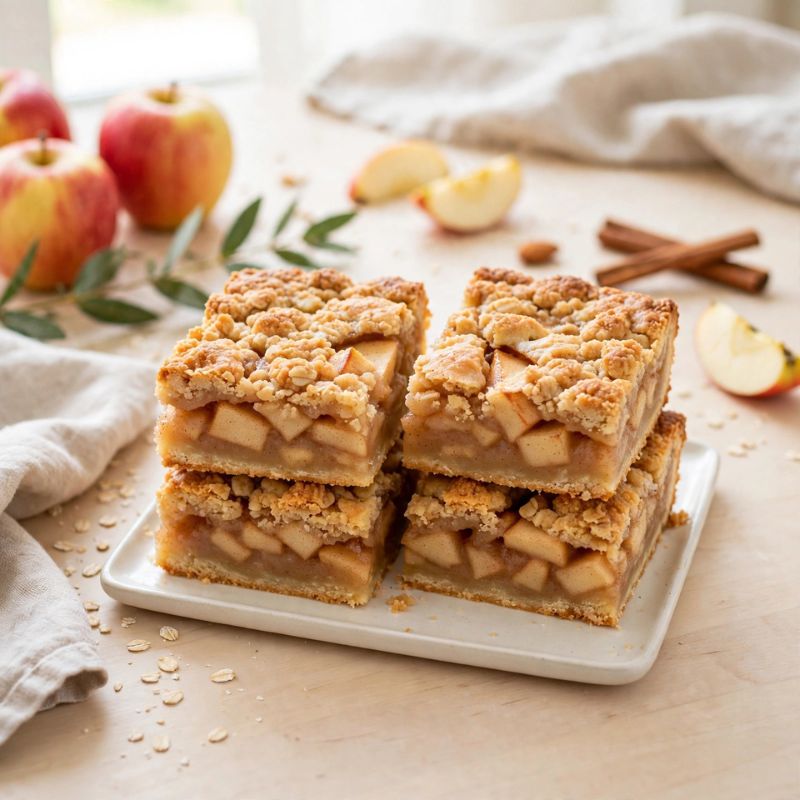
Apple Pie Bars
Ingredients
Method
- Heat the oven to 350°F or 175°C. Line an 8-inch square pan with parchment paper, leaving an overhang on two sides for easy removal.
- Mix flour, sugar, baking powder, and salt in a large bowl. Cut in the cold butter, then stir in the egg until the mixture forms coarse, slightly moist crumbs.
- Press about two-thirds of the crumb mixture firmly into the bottom of the pan. Use a flat-bottomed measuring cup to create an even base without making it overly compact.
- Toss the diced apples with brown sugar, cinnamon, lemon juice, and cornstarch. Spread the fruit over the crust, then scatter the remaining crumbs across the top.
- Bake for 42 to 46 minutes, until the surface is golden and the apple layer is tender. Cool completely in the pan before lifting the slab out.
- Stir powdered sugar, milk, and vanilla until smooth, then drizzle it over the cooled bars. Allow the glaze to set before cutting into 16 squares.
6. Baked Cinnamon Sugar Apples
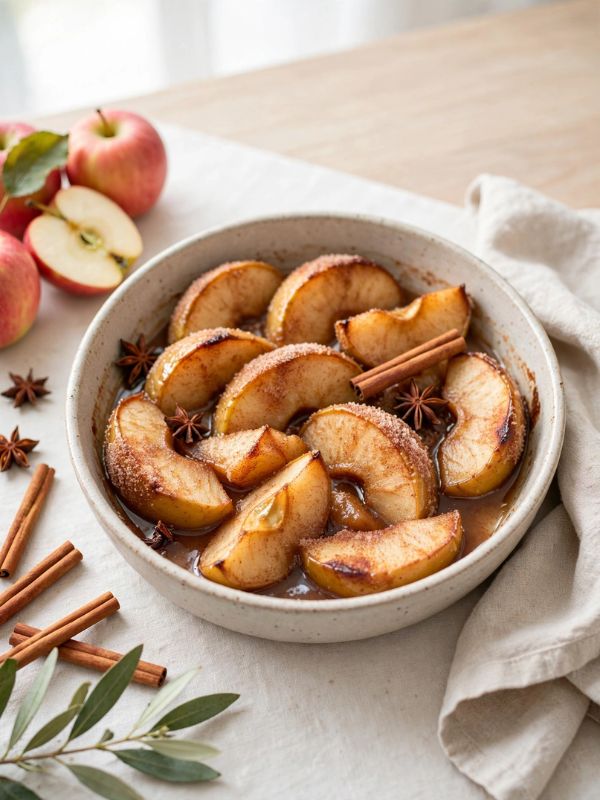
Some days I want apple pie flavor without making an entire pie. These baked apples solve that craving with a short ingredient list and almost no preparation.
I slice the fruit thick enough to remain tender rather than turning into applesauce. Butter, cinnamon, and sugar create a glossy sauce as everything bakes, while a small amount of cornstarch helps the juices cling to each piece.
I serve these apples over pancakes, oatmeal, yogurt, ice cream, or pound cake. They are also wonderful straight from the baking dish, especially when I want a lighter dessert that still feels warm and satisfying.
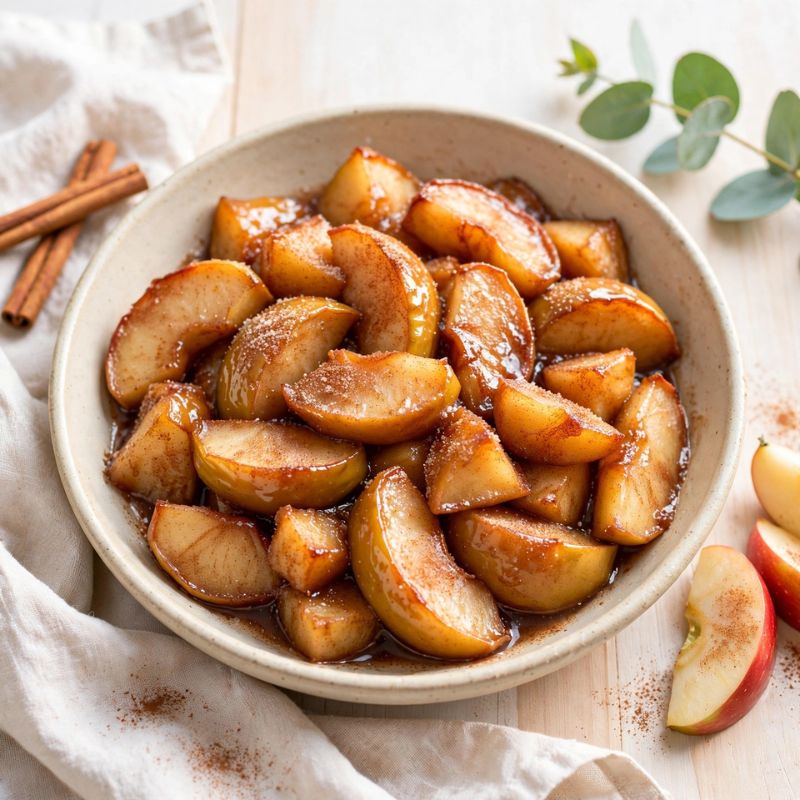
Baked Cinnamon Sugar Apples
Ingredients
Method
- Preheat the oven to 375°F or 190°C. Lightly grease a 9-inch baking dish that gives the apples enough room to cook evenly.
- Add the sliced apples to the dish and drizzle them with lemon juice. Toss gently so the fruit is coated and less likely to brown before baking.
- Combine brown sugar, granulated sugar, cinnamon, cornstarch, and salt in a small bowl. Sprinkle the mixture evenly over the apple slices.
- Pour the melted butter and vanilla over the fruit. Stir carefully until the apples look evenly coated with the cinnamon mixture.
- Cover the dish with foil and bake for 20 minutes. Remove the foil, stir once, and continue baking uncovered for another 8 to 12 minutes.
- Check that the apples are tender but still holding their shape. Let them rest for 5 minutes so the sauce thickens, then serve warm.
7. Apple Oatmeal Cookies
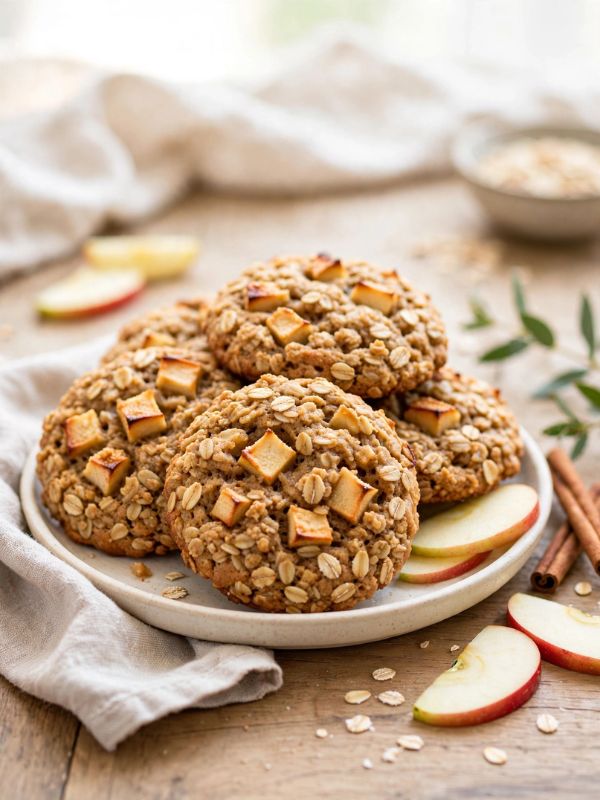
I like these cookies because they feel familiar and comforting rather than overly sweet. Fresh apple pieces keep the centers soft, while rolled oats give each cookie a pleasantly chewy texture.
The main trick is cutting the apples into very small cubes. Large pieces release too much moisture and can make the dough difficult to handle. I also chill the mixture briefly, which helps the cookies hold their shape while baking.
Raisins or chopped walnuts can be added, though I often leave them plain so the apple and cinnamon remain the focus. They are excellent with coffee and stay soft for several days.
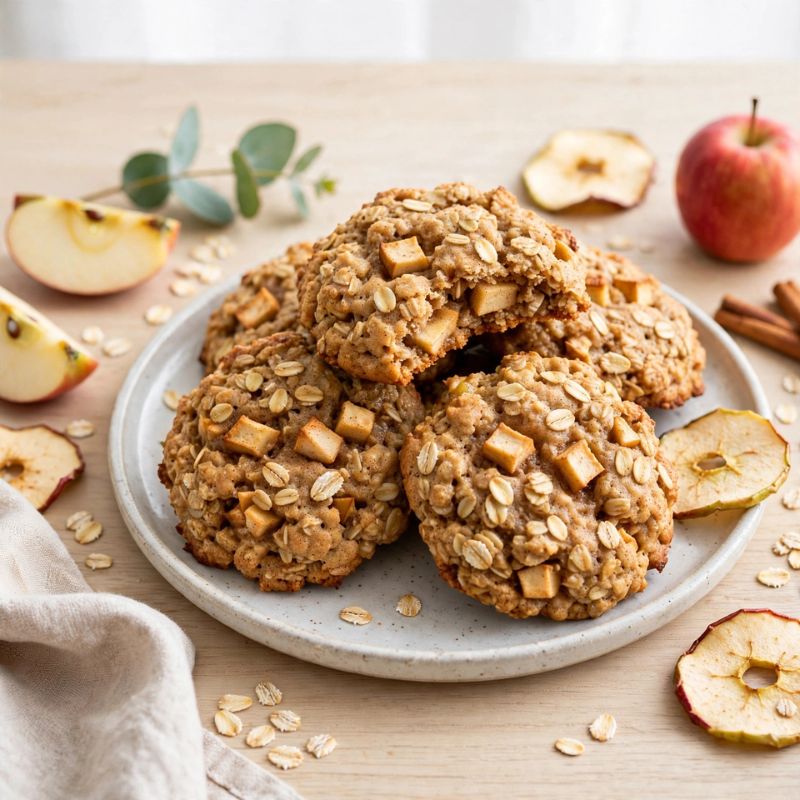
Apple Oatmeal Cookies
Ingredients
Method
- In a medium bowl, whisk together flour, cinnamon, baking soda, and salt. Set the dry mixture aside while preparing the butter and sugar.
- Beat the softened butter, brown sugar, and granulated sugar until creamy and slightly lighter in color. Add the egg and vanilla, then mix until smooth.
- Add the dry ingredients to the butter mixture and stir just until no flour streaks remain. Fold in the oats, finely diced apple, and any optional additions.
- Cover the dough and refrigerate it for 20 minutes. Meanwhile, preheat the oven to 350°F or 175°C and line two baking sheets with parchment.
- Scoop rounded tablespoons of dough onto the trays, leaving about 2 inches between them. Gently flatten the tops because the chilled cookies will not spread dramatically.
- Bake for 11 to 13 minutes, until the edges are lightly golden but the centers still look soft. Cool on the tray for 5 minutes before transferring to a rack.
8. Puff Pastry Apple Turnovers
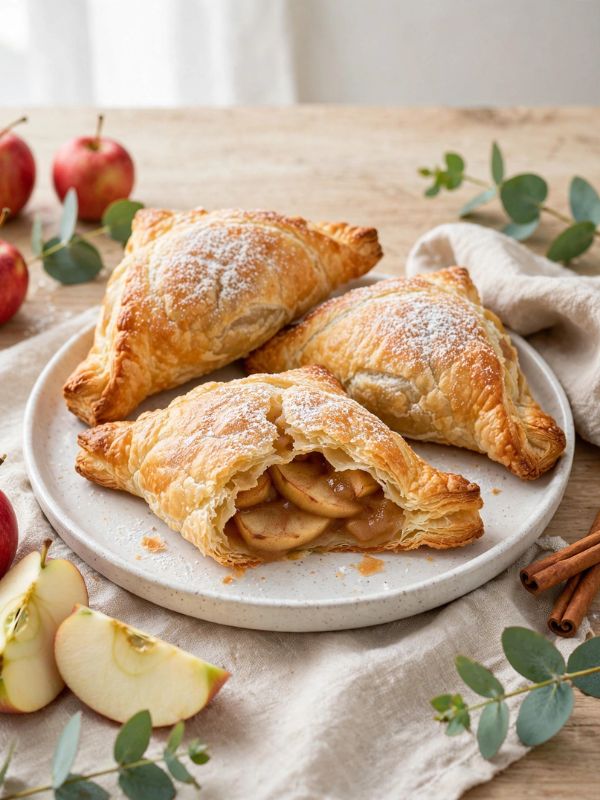
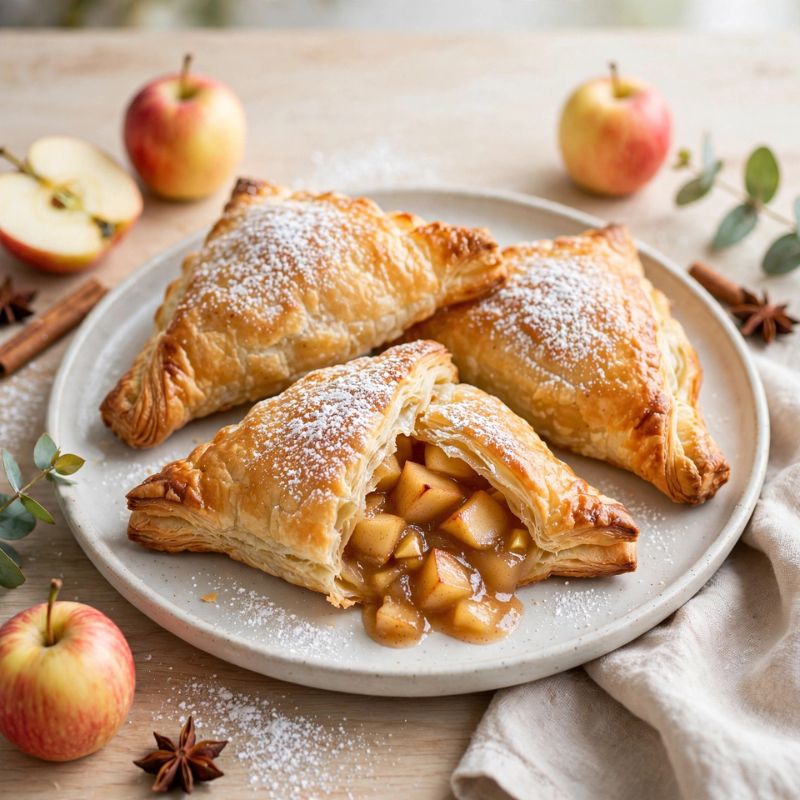
Frozen puff pastry is one of my favorite shortcuts because it creates impressive results with very little effort. These turnovers look polished enough for brunch or dessert, yet the filling takes only a few minutes to cook.
I prepare the apples first so they have time to cool before touching the pastry. Warm filling can soften the butter layers and prevent the dough from puffing properly. A fork-sealed edge keeps most of the juices inside, while a small slit on top allows steam to escape. Once baked, the turnovers become flaky, golden, and crisp around a soft cinnamon center.
Puff Pastry Apple Turnovers
Ingredients
Method
- Melt the butter in a skillet over medium heat. Add the apples, brown sugar, cinnamon, and lemon juice, then cook for 5 to 7 minutes until slightly softened.
- Stir the cornstarch and water together in a small cup. Pour the mixture into the skillet and cook for another minute, until the juices thicken, then cool completely.
- Preheat the oven to 400°F or 200°C and line a baking sheet with parchment. Unfold the pastry sheets and cut each one into four equal squares.
- Spoon a small amount of cooled filling onto one half of each square. Fold the pastry diagonally over the apples and press the edges together.
- Seal the edges with the tines of a fork and cut a small slit in the top of every turnover. Whisk the egg with milk and brush the mixture over the pastry.
- Sprinkle with coarse sugar when desired and bake for 18 to 22 minutes. The turnovers are ready when deeply golden, puffed, and crisp around the edges.
9. Apple Cinnamon Muffins
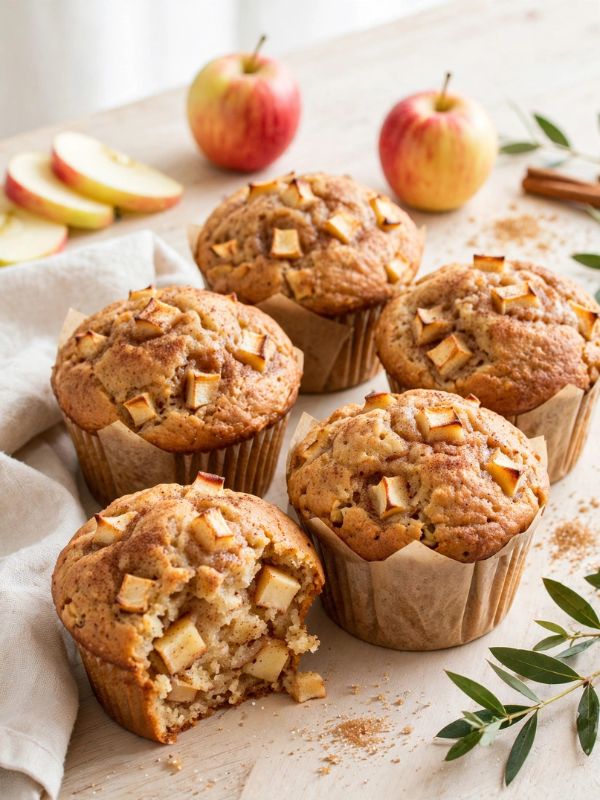
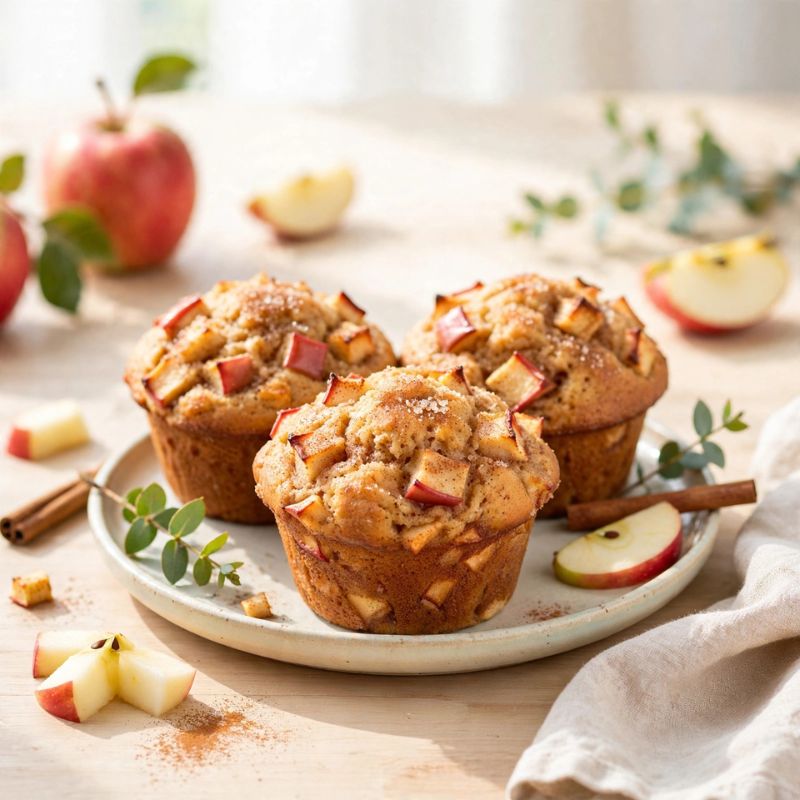
These muffins are one of the recipes I make when I want something that can work for breakfast and dessert. They are soft, lightly spiced, and filled with enough apple pieces to keep every bite moist.
I use melted butter instead of softened butter because it makes the batter easier to mix by hand. The cinnamon-sugar topping forms a delicate crust, giving the muffins extra texture without requiring a separate streusel.
I try not to overmix once the flour is added, since that can make the crumb heavy. They taste lovely warm, but the apple flavor becomes even more noticeable after resting overnight.
Apple Cinnamon Muffins
Ingredients
Method
- Preheat the oven to 375°F or 190°C and line a 12-cup muffin pan with paper liners. Lightly grease the tops of the pan in case the muffins spread.
- Whisk flour, baking powder, cinnamon, and salt in a medium bowl. Breaking up any small lumps now makes the batter easier to mix evenly.
- In a larger bowl, whisk melted butter with sugar, eggs, vanilla, and milk. Make sure the butter has cooled slightly so it does not cook the eggs.
- Add the dry ingredients to the wet mixture and fold gently until almost combined. Add the diced apples and continue folding only until no dry pockets remain.
- Divide the batter among the muffin cups, filling each about three-quarters full. Mix the topping ingredients and sprinkle a little over every muffin.
- Bake for 18 to 22 minutes, until the tops spring back and a toothpick comes out clean. Cool for 5 minutes in the pan before moving to a rack.
10. Apple Bread with Brown Sugar Streusel
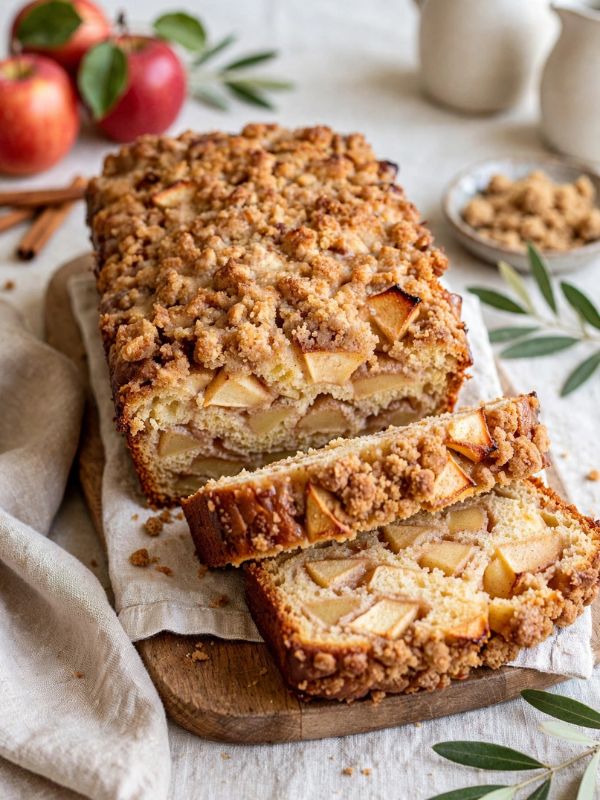
Apple bread is one of those dependable bakes that makes the house feel calmer as soon as the cinnamon aroma begins drifting from the oven. I enjoy it for breakfast, but a thick slice also works beautifully as an uncomplicated dessert.
The batter stays moist because of the apple pieces and sour cream. A brown sugar streusel runs across the top, creating a sweet, crumbly layer that keeps the loaf from feeling plain.
I let the bread cool completely before slicing because the crumb continues to set as it rests. It also freezes well, so I often prepare an extra loaf for another week.
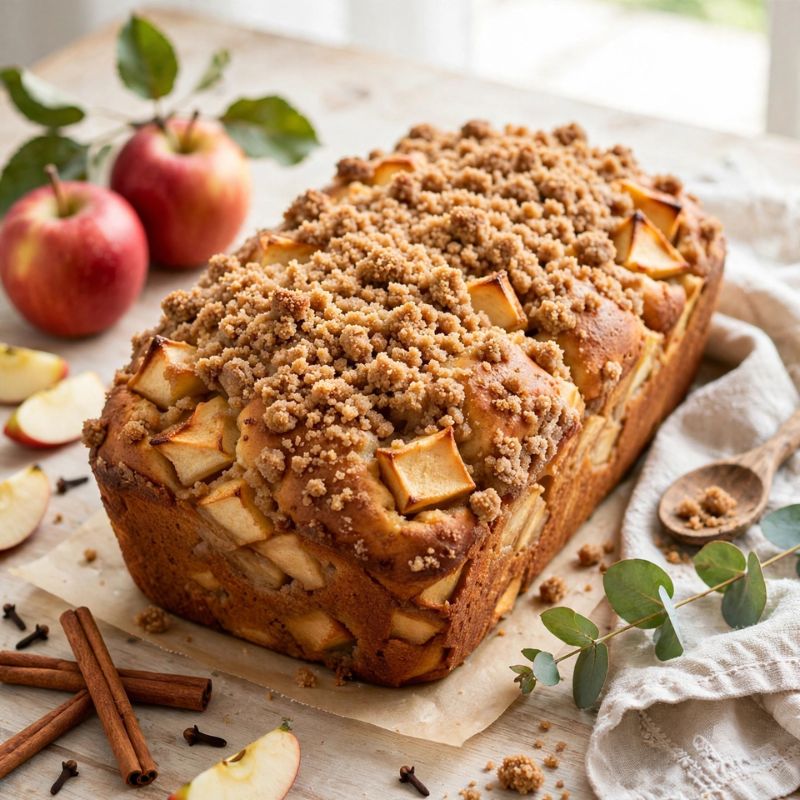
Apple Bread with Brown Sugar Streusel
Ingredients
Method
- Preheat the oven to 350°F or 175°C. Grease a 9 x 5-inch loaf pan and line it with parchment for easier removal.
- Whisk flour, baking soda, cinnamon, and salt in a bowl. In another bowl, beat softened butter with brown sugar until creamy.
- Add the eggs one at a time, mixing well after each addition. Stir in vanilla and sour cream until the mixture looks smooth and evenly blended.
- Fold the dry ingredients into the wet mixture, stopping when a few flour streaks remain. Add the apples and fold just until the batter comes together.
- Spread the batter into the loaf pan. Mix the streusel ingredients with your fingertips until crumbly, then scatter the mixture over the surface.
- Bake for 50 to 60 minutes, until a tester inserted near the center comes out clean. Cool in the pan for 15 minutes before transferring the loaf to a rack.
11. Apple Spice Snack Cake
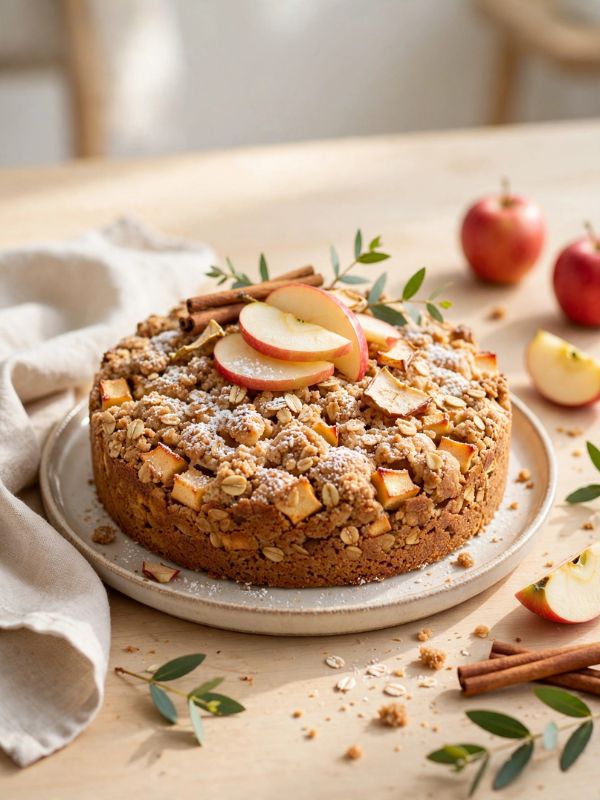
I like snack cakes because they require no decorating skills and can be served directly from the pan. This apple version is soft, warmly spiced, and simple enough to make whenever I need a dependable dessert.
Applesauce adds moisture while diced apples give the cake texture. Cinnamon, ginger, and nutmeg make the flavor feel cozy without becoming too heavy.
I sometimes dust the cooled cake with powdered sugar, though cream cheese frosting can turn it into something more celebratory. The cake stays tender for several days, making it useful when I need to prepare dessert ahead of time.
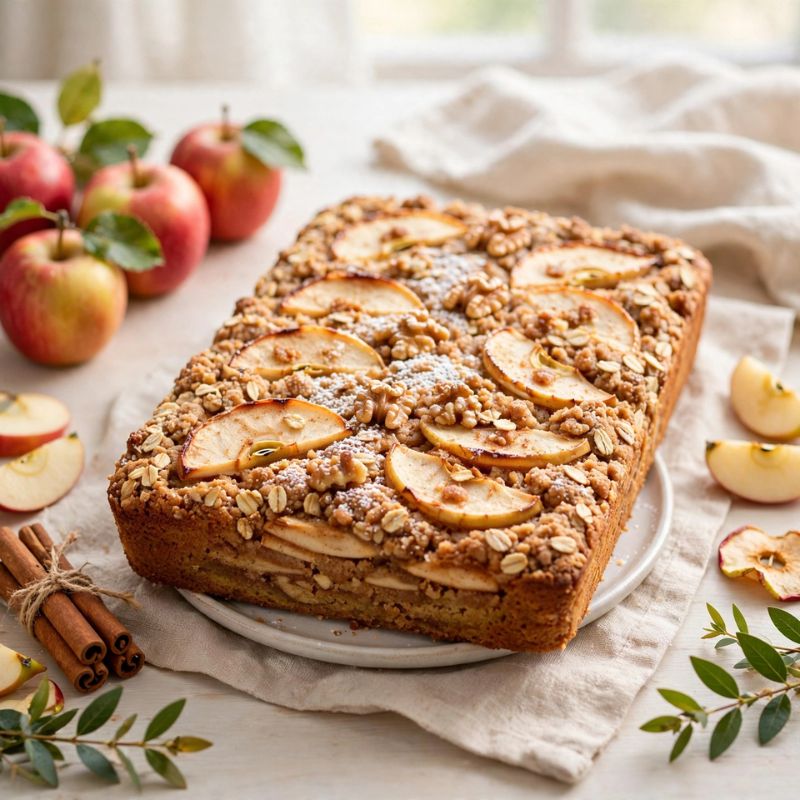
Apple Spice Snack Cake
Ingredients
Method
- Preheat the oven to 350°F or 175°C and grease a 9-inch square baking pan. Line the bottom with parchment when you plan to remove the whole cake.
- Whisk flour, baking soda, cinnamon, ginger, nutmeg, and salt in a medium bowl. This distributes the spices evenly throughout the cake.
- In a larger bowl, whisk oil, brown sugar, eggs, vanilla, and applesauce until smooth. The mixture may look slightly loose, which is expected.
- Fold the dry ingredients into the wet mixture using a spatula. Add the diced apple and stir only until the batter is evenly combined.
- Pour the batter into the pan and smooth the top. Bake for 32 to 37 minutes, until the center springs back when lightly touched.
- Cool the cake completely before dusting with powdered sugar. Slice directly in the pan or lift it out using the parchment before cutting.
12. No-Bake Caramel Apple Cheesecake Cups
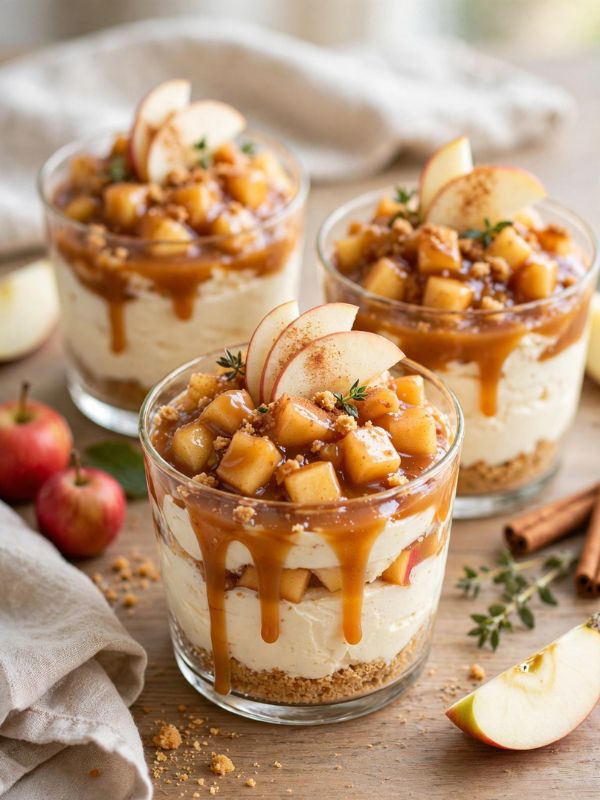
These cheesecake cups are useful when I want individual desserts without turning on the oven. The layers look attractive in small glasses, yet each component is simple and can be prepared ahead.
I use a quick stovetop apple topping because raw apples can release too much liquid into the cheesecake layer. Once cooled, the fruit sits neatly over a creamy mixture of cream cheese and whipped topping.
Graham cracker crumbs provide a pie-like base, while caramel sauce ties everything together. The cups need a little chilling time, but the hands-on work is minimal. They are especially convenient for parties because serving is already handled.
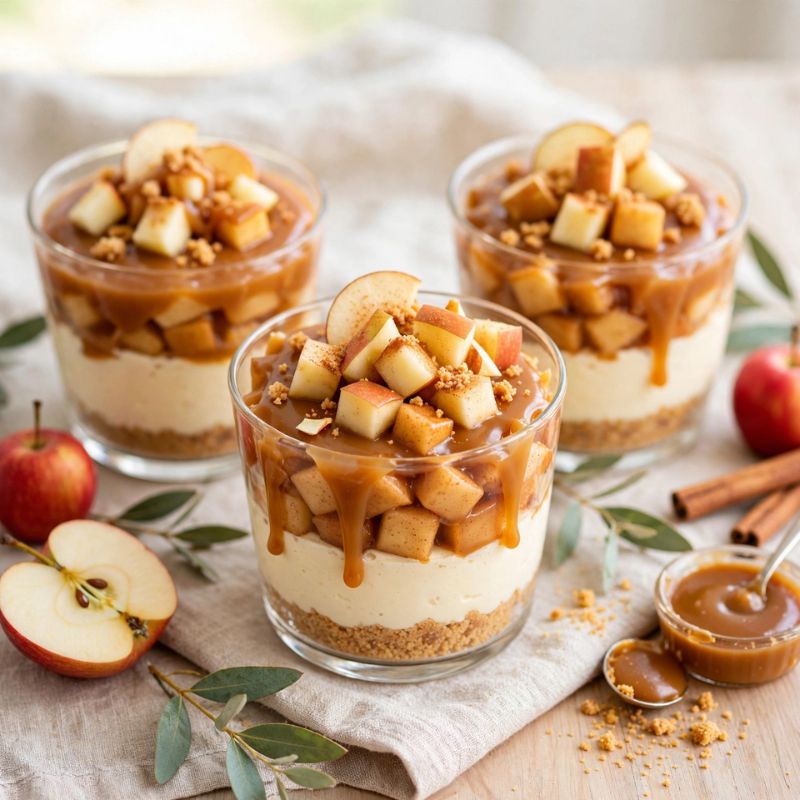
No-Bake Caramel Apple Cheesecake Cups
Ingredients
Method
- Melt the butter in a small skillet over medium heat. Add the apples, brown sugar, cinnamon, and lemon juice, then cook until the fruit is tender but not mushy.
- Transfer the cooked apples to a plate and spread them out so they cool quickly. The topping must be completely cool before the cups are assembled.
- Mix the graham cracker crumbs with melted butter until the texture resembles damp sand. Divide the mixture among six small glasses and press it down lightly.
- Beat the cream cheese, powdered sugar, and vanilla until smooth. Fold in the whipped topping carefully so the filling remains light.
- Spoon or pipe the cheesecake mixture over the crumb bases. Add the cooled apples, then drizzle caramel sauce across each portion.
- Refrigerate the cups for at least 1 hour before serving. Keep them chilled until needed so the layers remain firm and neat.
13. Apple Cinnamon Bread Pudding
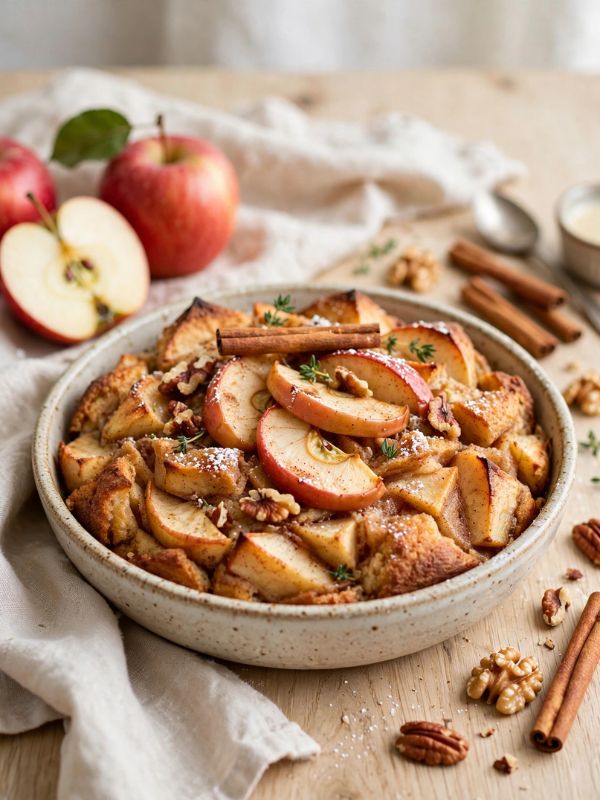
Bread pudding is one of my favorite ways to turn slightly stale bread into something generous and comforting. The dry cubes soak up a lightly sweet custard, while the apples bring freshness to every spoonful.
I prefer brioche or challah because their soft texture creates a rich pudding, though sturdy sandwich bread also works. Letting the mixture rest before baking gives the custard enough time to reach the center of each cube.
The top becomes golden and slightly crisp, while the middle stays tender. A little maple syrup, caramel sauce, or powdered sugar is all it needs at serving time.
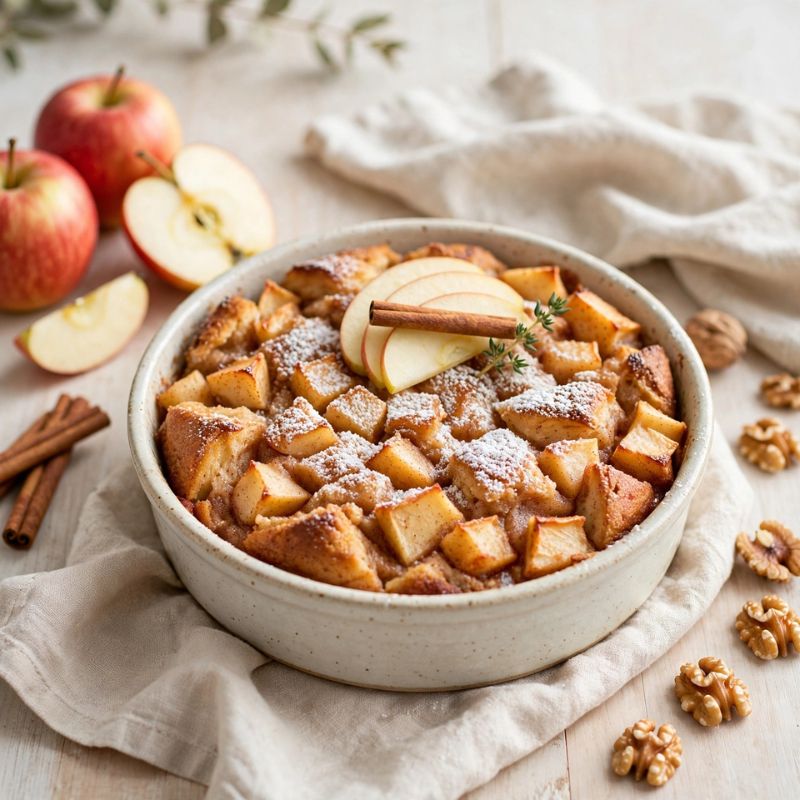
Apple Cinnamon Bread Pudding
Ingredients
Method
- Grease a 9-inch baking dish and place the bread cubes inside. Scatter the diced apples and raisins between the pieces so they are evenly distributed.
- In a large bowl, whisk eggs, milk, cream, brown sugar, cinnamon, vanilla, salt, and melted butter until the sugar begins to dissolve.
- Pour the custard slowly over the bread. Press the cubes down gently with a spoon so the upper pieces absorb some of the liquid.
- Let the mixture rest for 20 minutes while the oven heats to 350°F or 175°C. Press the bread down once more halfway through the resting time.
- Bake uncovered for 40 to 48 minutes. The center should look set but still moist, while the top turns golden around the raised edges.
- Rest the pudding for 10 minutes before serving. Spoon it into bowls and add caramel, maple syrup, or powdered sugar as desired.
14. Crescent Roll Apple Dumplings
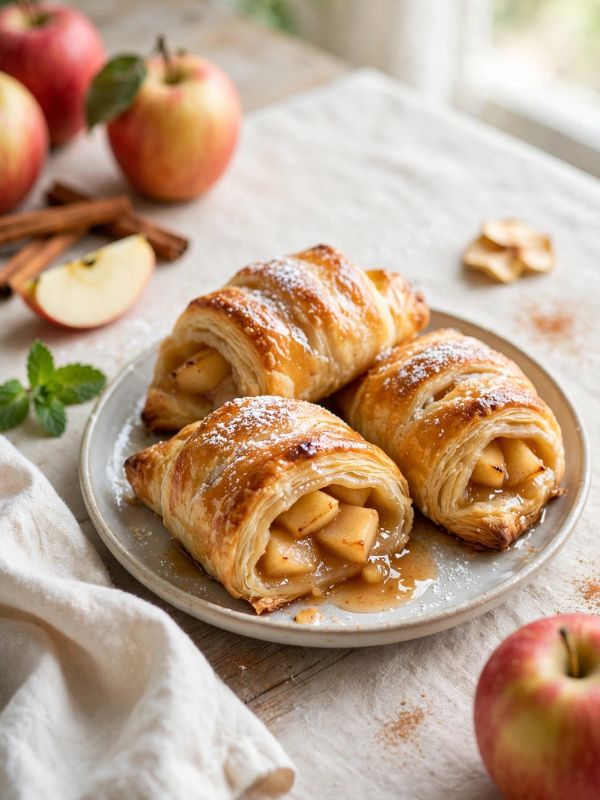
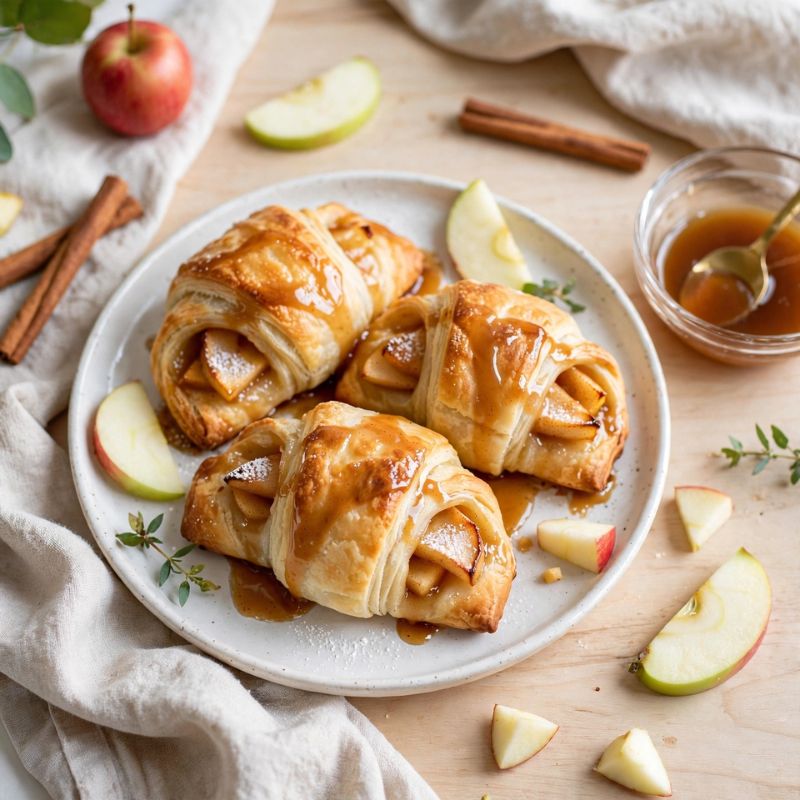
This is the kind of recipe I keep for days when I need dessert quickly and do not want to measure many ingredients. Refrigerated crescent dough wraps around apple wedges, creating individual dumplings with soft centers and golden tops.
A buttery cinnamon sauce is poured around the rolls before baking. Adding lemon-lime soda may sound unusual, but it helps create a syrupy base while keeping the upper pastry crisp.
I pour the soda around the edges rather than directly over the dough. The finished dumplings are sweet, warm, and especially enjoyable with a scoop of vanilla ice cream.
Crescent Roll Apple Dumplings
Ingredients
Method
- Preheat the oven to 350°F or 175°C and butter an 8-inch square baking dish. Separate the crescent dough into eight triangles.
- Place one apple wedge at the wide end of each dough triangle. Roll the pastry around the fruit and tuck in any loose edges.
- Arrange the wrapped apples in the baking dish with a little room between them. Keeping the seam underneath helps the rolls stay closed.
- Melt the butter in a small saucepan, then stir in granulated sugar, brown sugar, cinnamon, and vanilla. The mixture can remain slightly grainy.
- Pour the butter sauce over and around the dumplings. Slowly add the soda around the outer edges, avoiding the tops as much as possible.
- Bake for 32 to 38 minutes, until the pastry is deeply golden and the sauce is bubbling. Cool for 5 minutes before serving with spoonfuls of sauce.
15. Apple Hand Pies
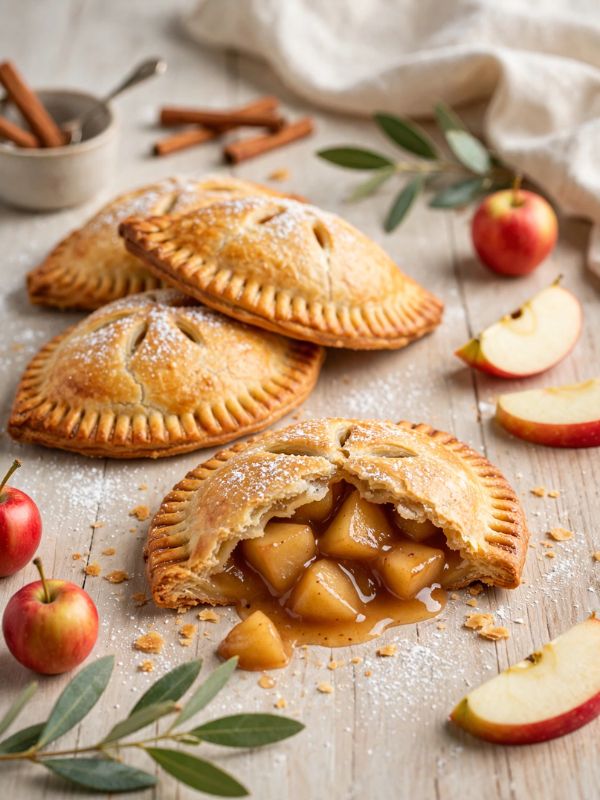
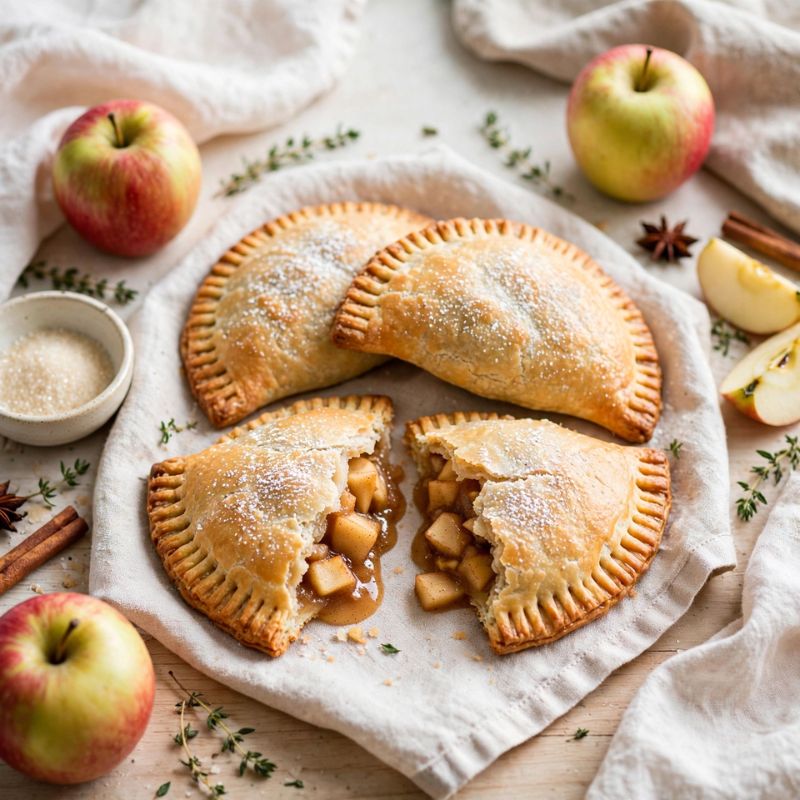
Hand pies give me everything I enjoy about apple pie in a smaller, easier format. Store-bought pie crust saves time, while a cooked filling prevents the pastry from becoming watery.
These little pies are useful for picnics, parties, and packed lunches because they do not require plates or forks. I keep the filling portions modest so the edges seal properly. A quick egg wash creates a glossy surface, and coarse sugar adds a delicate crunch. They taste lovely warm, but they are also sturdy enough to serve at room temperature several hours later.
Apple Hand Pies
Ingredients
Method
- Cook the apples, butter, brown sugar, cinnamon, and lemon juice in a skillet over medium heat for 6 to 8 minutes, until slightly softened.
- Mix cornstarch with water, then stir it into the apples. Cook for 1 minute until thickened, transfer the filling to a bowl, and cool completely.
- Preheat the oven to 400°F or 200°C. Roll out the pie crusts and cut sixteen circles using a 4-inch cutter or a small bowl.
- Place filling in the center of eight circles, leaving a clean border. Brush the edges with water and place the remaining circles on top.
- Crimp the edges with a fork and cut small vents in each pie. Whisk the egg with milk, brush the tops, and add coarse sugar if desired.
- Bake on a parchment-lined sheet for 18 to 22 minutes. Cool for at least 10 minutes because the filling will be extremely hot straight from the oven.
16. Skillet Fried Apples
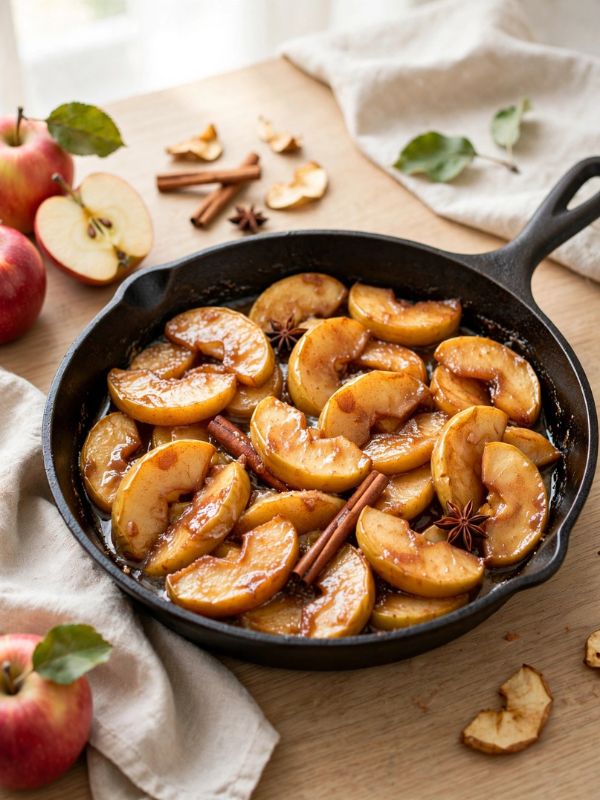
Fried apples remind me of the simple desserts that can be prepared while dinner is finishing. They cook entirely on the stovetop, and the sauce develops in the same skillet.
I slice the apples evenly so they soften at a similar pace. Butter and brown sugar create a glossy coating, while cinnamon adds warmth and lemon keeps the flavor from becoming too sweet.
These apples work beside pancakes, biscuits, pork dishes, pound cake, or ice cream. For dessert, I usually spoon them into bowls while still warm and add a small amount of whipped cream.
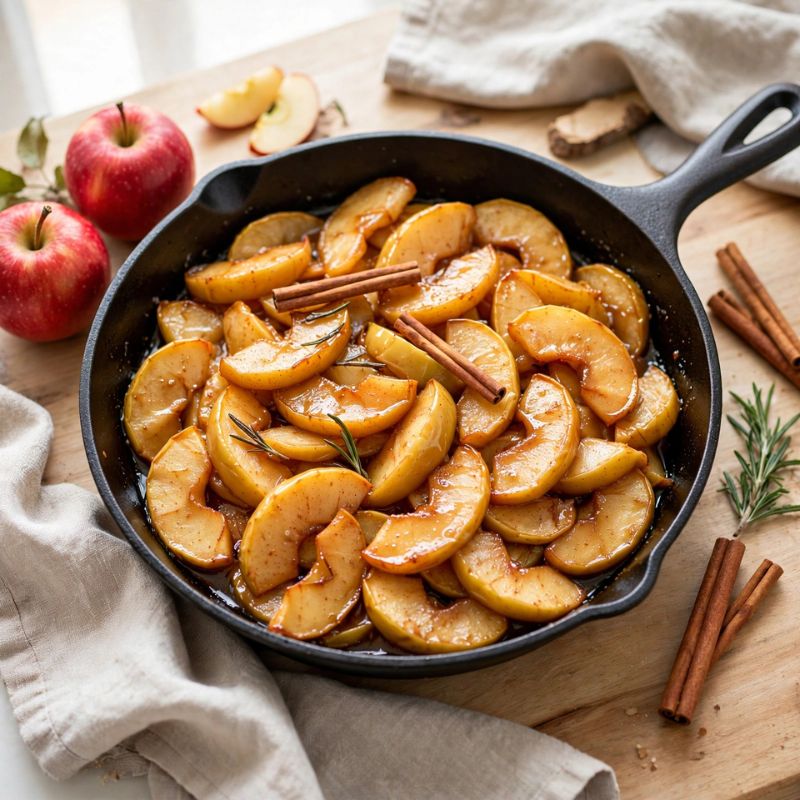
Skillet Fried Apples
Ingredients
Method
- Melt the butter in a large skillet over medium heat. Add the apples and stir gently so the slices become coated without breaking.
- Sprinkle brown sugar, cinnamon, nutmeg, and salt over the fruit. Cook for 3 to 4 minutes, stirring occasionally as the sugar begins to melt.
- Pour in the lemon juice and most of the apple juice. Lower the heat slightly and cover the skillet for 5 minutes.
- Remove the lid and check the texture. The apples should be tender around the edges but firm enough to hold their shape.
- Stir cornstarch into the remaining apple juice, then pour it into the skillet. Cook for 1 to 2 minutes until the sauce looks glossy and lightly thickened.
- Remove the skillet from the heat and let the apples stand briefly. Serve warm, spooning the cinnamon sauce from the pan over every portion.
17. Apple Cinnamon Blondies
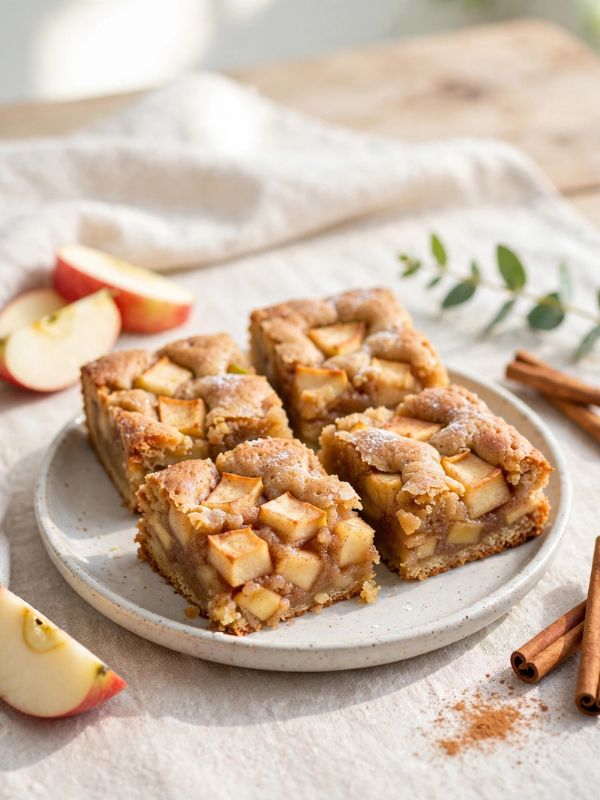
These blondies are a pleasant change when I want a bar dessert that is softer and richer than a cookie. Brown sugar gives them a caramel-like base, while apple pieces keep the center moist.
I cook the diced apple briefly before folding it into the batter. That step removes excess moisture and concentrates the flavor, helping the blondies bake evenly. A little cinnamon complements the brown sugar without making the bars taste like cake.
I wait until they are fully cool before slicing because warm blondies can seem underdone even when they are properly baked.
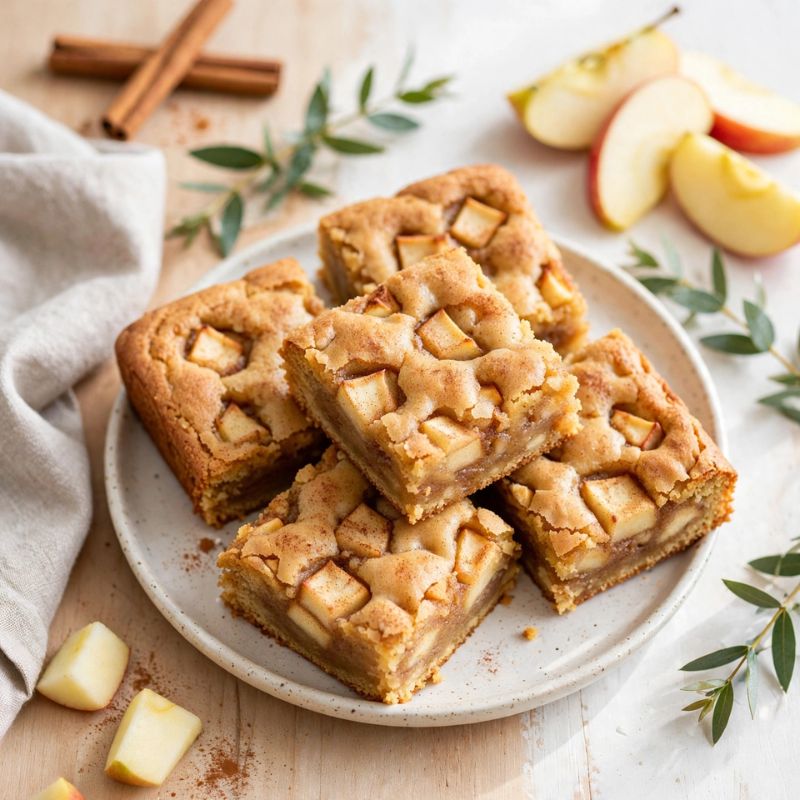
Apple Cinnamon Blondies
Ingredients
Method
- Cook the diced apple with 1 tablespoon butter and cinnamon in a small skillet for about 5 minutes. Transfer it to a plate and allow it to cool.
- Preheat the oven to 350°F or 175°C. Line an 8-inch square pan with parchment paper, leaving enough overhang to lift out the blondies.
- Whisk melted butter and brown sugar until smooth. Add the egg and vanilla, then whisk again until the mixture looks glossy.
- Stir in flour, baking powder, and salt just until combined. Fold in the cooled apple pieces without overworking the batter.
- Spread the mixture evenly in the pan and smooth the top. Bake for 27 to 32 minutes, until the edges are set and the center no longer looks wet.
- Cool completely before removing the slab from the pan. Cut with a sharp knife, wiping the blade between slices for cleaner edges.
18. Mini Apple Galettes
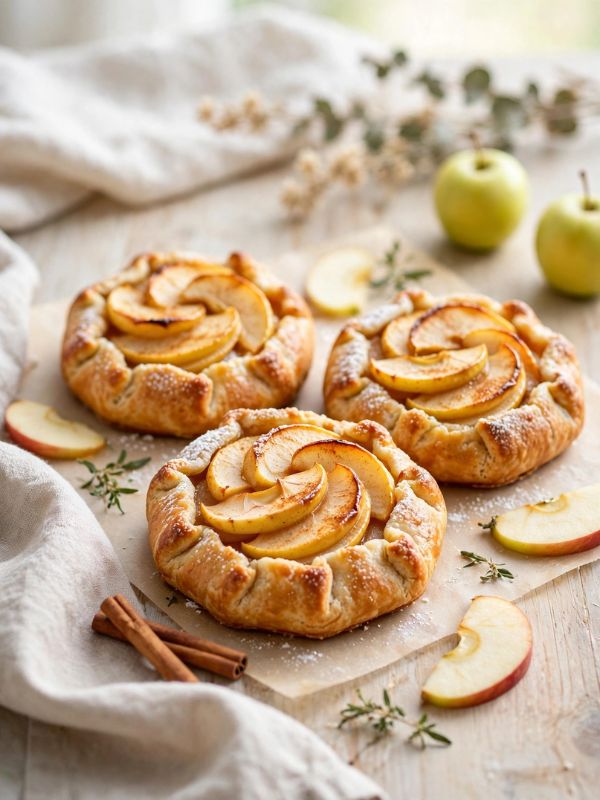
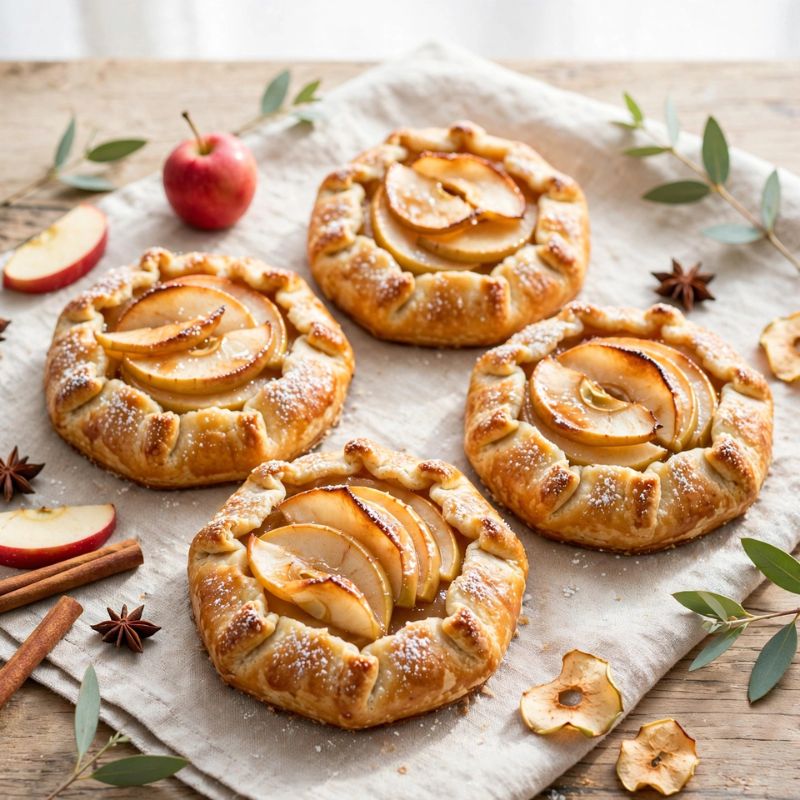
Galettes have a relaxed appearance that I find much less intimidating than traditional pies. Their folded edges are meant to look rustic, so small imperfections only add character.
Using refrigerated pie crust makes these mini versions especially manageable. Thin apple slices soften quickly, while a dusting of flour beneath the fruit absorbs extra juice. I leave a border around each pastry circle, then fold it inward in loose pleats. The galettes are attractive enough for guests but still easy to assemble on a busy afternoon.
Mini Apple Galettes
Ingredients
Method
- Preheat the oven to 400°F or 200°C and line two baking trays with parchment. Cut the pie crusts into six circles about 6 inches wide.
- Toss the sliced apples with granulated sugar, cinnamon, lemon juice, and flour. Stir gently so the slices remain intact.
- Divide the apple mixture among the pastry circles, leaving a border of about 1 1/2 inches. Keep the filling fairly flat so it cooks evenly.
- Fold the pastry border over the outer apples, creating overlapping pleats. Brush the visible fruit with melted butter.
- Whisk the egg with water and brush it over the crust. Sprinkle coarse sugar around the edges for extra crunch and shine.
- Bake for 22 to 27 minutes, until the crust is golden and the fruit is tender. Cool for 10 minutes before transferring the galettes from the tray.
19. Apple Yogurt Parfaits
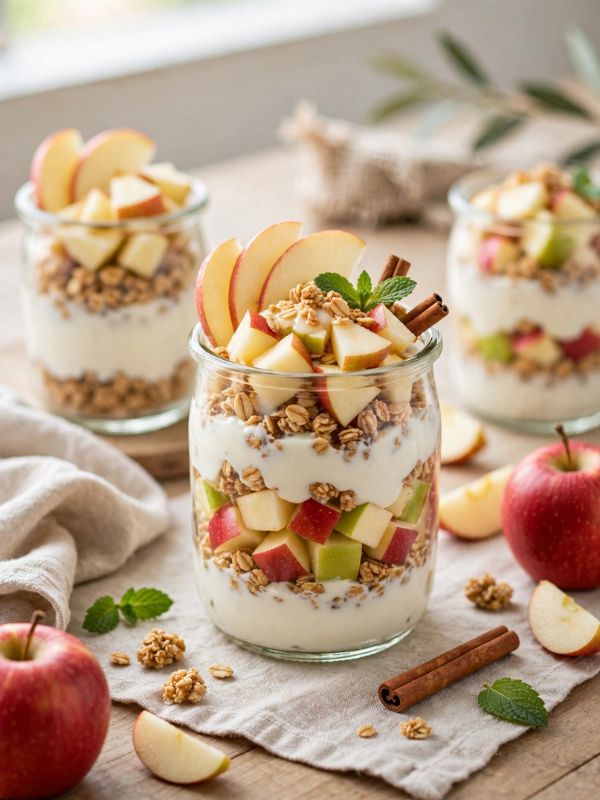
When I want something sweet but not heavy, I prepare these apple yogurt parfaits. They feel suitable for breakfast, though the caramelized fruit makes them satisfying enough for dessert.
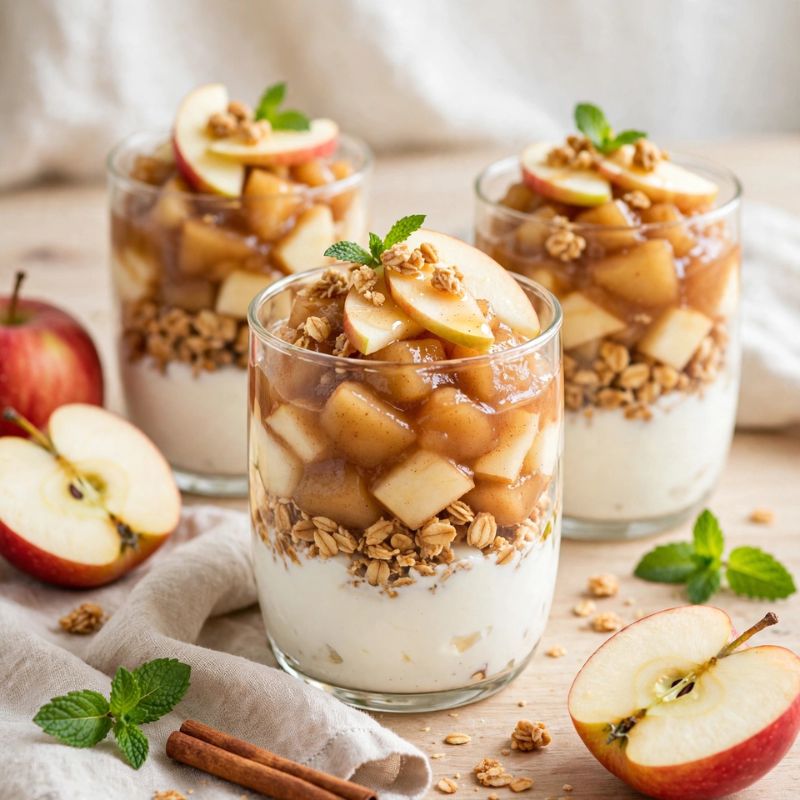
The apple topping cooks in only a few minutes and can be made ahead. I let it cool before layering so the yogurt stays thick. Granola provides crunch, while maple syrup adds gentle sweetness without overwhelming the fruit.
Clear glasses make the layers look appealing, but jars are more practical when I need a portable option. For the best texture, I add the granola shortly before serving.
Apple Yogurt Parfaits
Ingredients
Method
- Melt the butter in a small skillet over medium heat. Add the diced apples, maple syrup, and cinnamon, stirring until evenly coated.
- Cook the apples for 6 to 8 minutes, until tender but still holding their shape. Transfer them to a plate and cool to room temperature.
- Spoon a small layer of yogurt into the bottom of four glasses or jars. Use the back of the spoon to level it gently.
- Add a layer of cooled apples, followed by a small amount of granola. Repeat the layers until the glasses are filled.
- Finish each parfait with a few apple pieces and chopped pecans when using them. Add another drizzle of maple syrup for a sweeter result.
- Serve immediately for the crunchiest texture. When preparing ahead, refrigerate the yogurt and apples together but add the granola just before eating.
20. Apple Nachos with Caramel and Chocolate
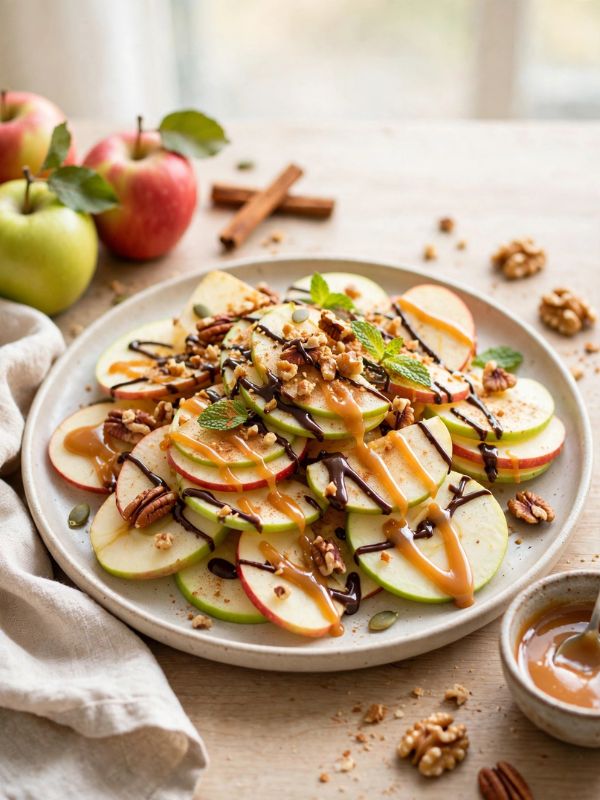
Apple nachos are one of the fastest desserts I make when everyone wants something sweet immediately. There is no baking, and the toppings can be changed according to what is already in the pantry.
I arrange thin apple slices across a platter, then drizzle them with caramel and melted chocolate. Chopped nuts, coconut, mini chocolate chips, or crushed cookies all work well.
A little lemon juice helps slow browning, though I still serve the platter soon after assembly. This is a playful dessert for movie nights, casual parties, or afternoons when children want to help in the kitchen.
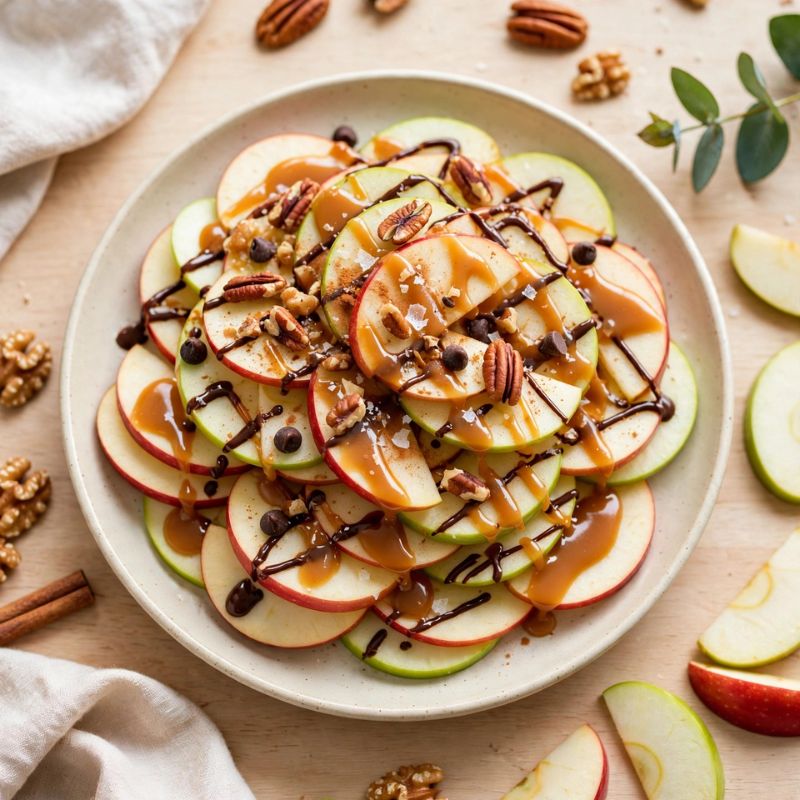
Apple Nachos with Caramel and Chocolate
Ingredients
Method
- Core the apples and cut them into thin slices. Place them in a bowl, add lemon juice, and toss gently to slow browning.
- Arrange the slices in overlapping layers across a large platter. Spread them out enough that most pieces receive some topping.
- Warm the caramel sauce briefly until it pours easily. Drizzle it back and forth over the apples using a spoon.
- Combine the chocolate chips and coconut oil in a microwave-safe bowl. Heat in short intervals, stirring after each one, until smooth.
- Drizzle the melted chocolate over the platter. Immediately sprinkle on chopped nuts, mini chips, and coconut before the chocolate sets.
- Serve the apple nachos soon after assembly for the freshest texture. Provide small plates or napkins because the toppings can become pleasantly messy.
21. Apple Cinnamon Rice Pudding
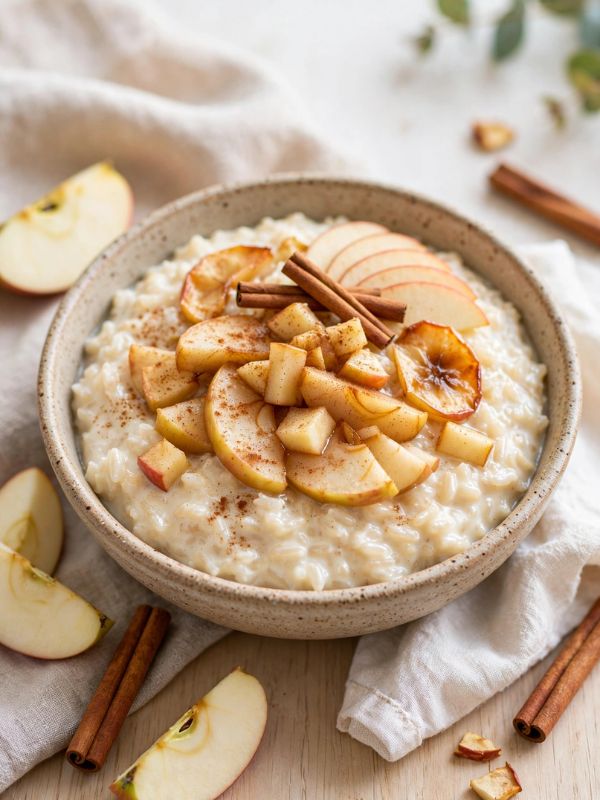
Rice pudding has a quiet, comforting quality that I appreciate on colder evenings. Adding apples and cinnamon makes it feel familiar while giving the creamy base more texture.
This recipe begins with cooked rice, which shortens the preparation considerably. The milk thickens slowly as it simmers, so gentle heat and regular stirring are important.
I cook the apples separately, then fold them in near the end to keep their shape. The pudding can be served warm or chilled, though I prefer it slightly warm with a small spoonful of extra cinnamon apples on top.
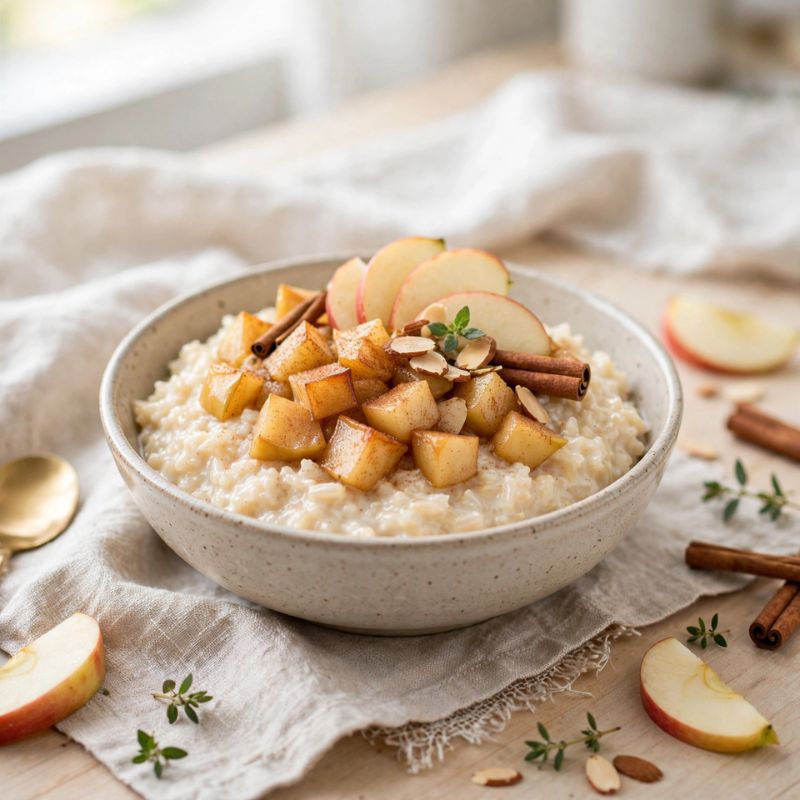
Apple Cinnamon Rice Pudding
Ingredients
Method
- Place the cooked rice, milk, granulated sugar, vanilla, cinnamon, and salt in a saucepan. Stir well before setting the pan over medium-low heat.
- Bring the mixture to a gentle simmer rather than a full boil. Cook for 18 to 22 minutes, stirring often so the milk does not scorch.
- Meanwhile, melt the butter in a skillet. Add the diced apples and brown sugar, then cook for 6 to 8 minutes until tender.
- Once the rice pudding is creamy and slightly thickened, fold in about three-quarters of the cooked apples. Reserve the rest for topping.
- Continue cooking for 2 minutes, then remove the saucepan from the heat. The pudding will become thicker as it cools.
- Spoon into bowls and finish with the reserved apples. Serve warm, or refrigerate until cold and loosen with a splash of milk if needed.
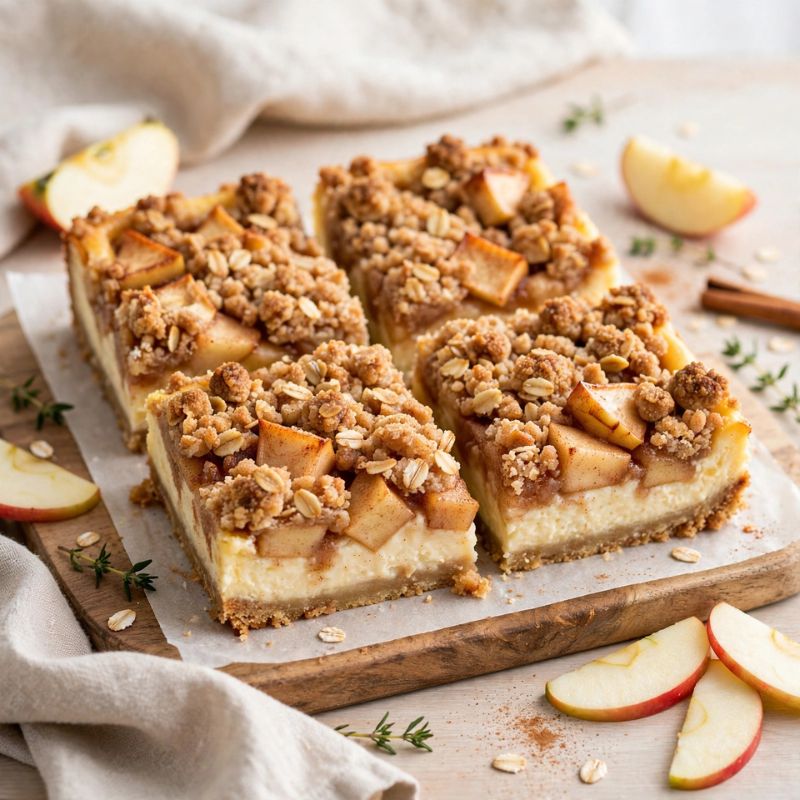
22. Apple Crumble Cheesecake Bars
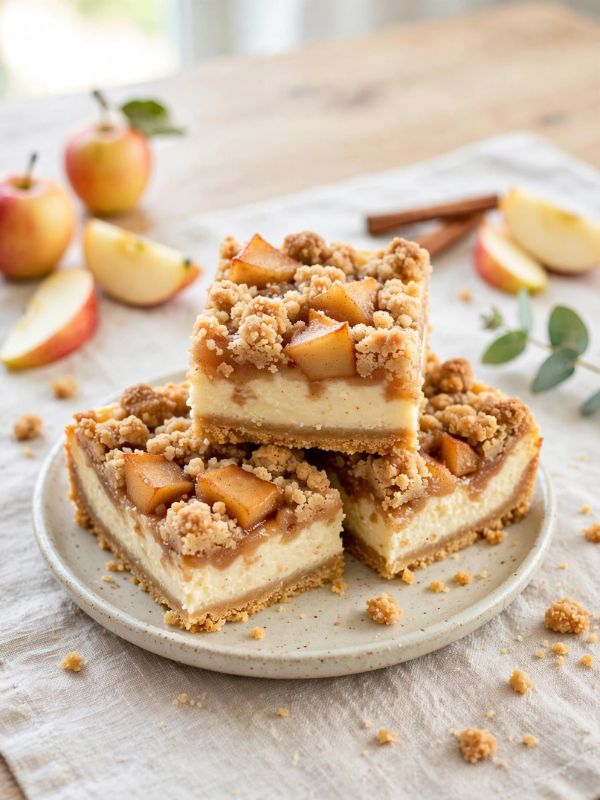
These bars combine three familiar desserts without making any single layer too complicated. A graham cracker crust supports creamy cheesecake, cinnamon apples, and a buttery crumble topping.
I use room-temperature cream cheese because cold blocks can leave small lumps in the filling. The apples are diced finely enough to soften during baking, so no separate cooking is required.
After baking, the bars need several hours in the refrigerator. That waiting period is important because it firms the layers and makes neat slicing possible. They are a good make-ahead option for holidays and larger gatherings.
Apple Crumble Cheesecake Bars
Ingredients
Method
- Preheat the oven to 350°F or 175°C and line an 8-inch square pan with parchment. Mix the crust ingredients and press them firmly into the bottom.
- Bake the crust for 8 minutes, then remove it from the oven. Keep the oven on while preparing the remaining layers.
- Beat the softened cream cheese and sugar until smooth. Add the eggs one at a time, then mix in the vanilla without beating excessively.
- Pour the cheesecake mixture over the warm crust. Toss the apples with brown sugar and cinnamon, then scatter them evenly across the filling.
- Rub the crumble ingredients together until clumps form, then sprinkle them over the apples. Bake for 35 to 40 minutes, until the center has only a slight wobble.
- Cool completely at room temperature, then refrigerate for at least 4 hours. Lift from the pan and slice with a clean, sharp knife.
23. Apple Cider Donut Cake
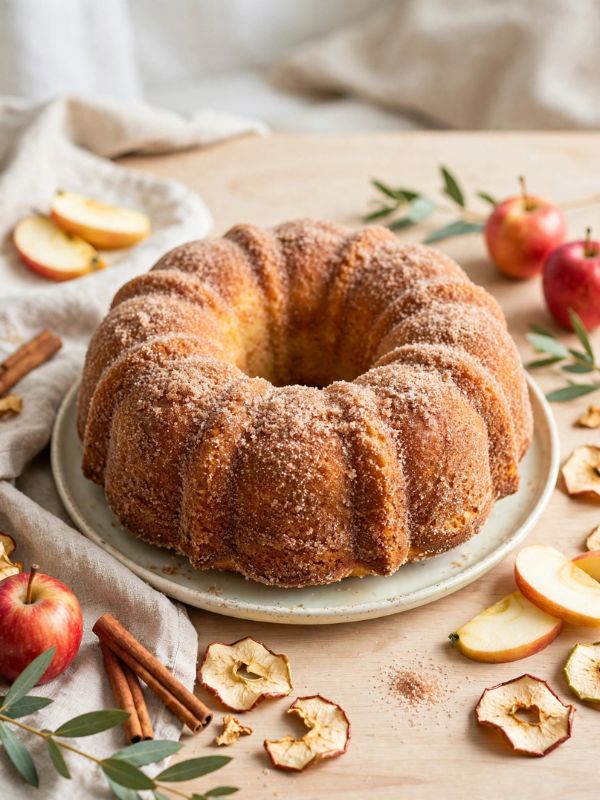
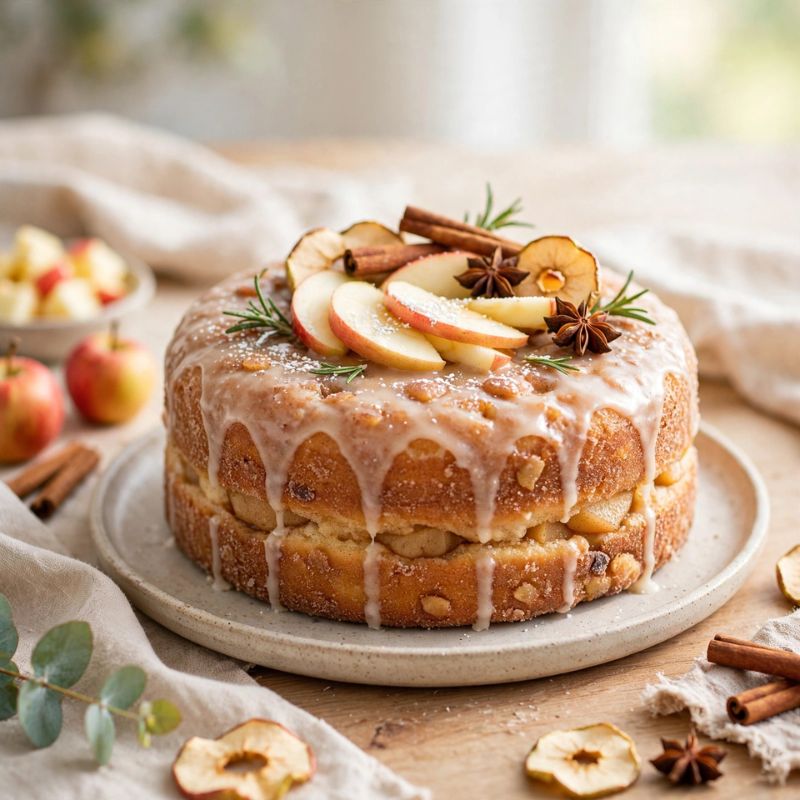
This cake gives me the flavor of apple cider donuts without frying individual pieces. It is soft, lightly tangy, and coated with cinnamon sugar while still warm.
Reducing the cider first concentrates its flavor and keeps the batter from becoming too wet. I use a Bundt pan because the curved surface holds plenty of cinnamon coating, though a tube pan can work as well.
Brushing the baked cake with melted butter helps the sugar adhere. The result is casual enough for an afternoon snack but attractive enough to place on a brunch table.
Apple Cider Donut Cake
Ingredients
Method
- Pour the apple cider into a saucepan and simmer until reduced to 1 cup. Set it aside to cool while preparing the pan and batter.
- Preheat the oven to 350°F or 175°C. Grease and flour a 10-cup Bundt pan thoroughly, reaching every curve and center edge.
- Whisk flour, baking powder, baking soda, cinnamon, and salt. In another bowl, beat softened butter with both sugars until creamy.
- Add the eggs one at a time, followed by vanilla and sour cream. Mix in the dry ingredients alternately with the cooled cider, beginning and ending with flour.
- Pour the batter into the pan and smooth the surface. Bake for 40 to 48 minutes, until a tester comes out clean.
- Cool for 15 minutes, then invert onto a rack. Brush the warm cake with melted butter and sprinkle the cinnamon-sugar mixture over every side.
24. Apple Icebox Dessert
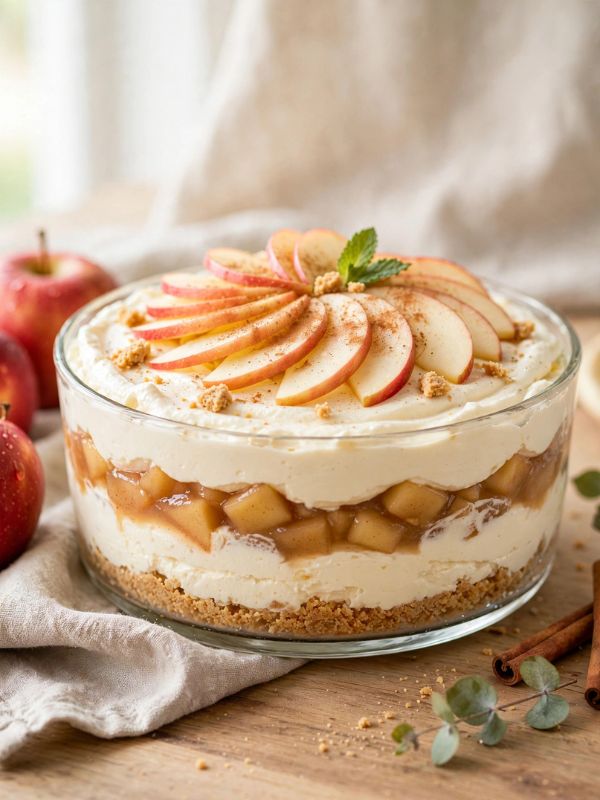
Icebox desserts are helpful when I need something creamy and make-ahead. This apple version uses layers of graham crackers, cinnamon fruit, and a light cream mixture that softens into a cake-like texture overnight.
I cook the apples first and let them cool completely. The crackers absorb moisture from the filling as the dessert chills, so no baking is necessary.
I usually assemble it the evening before serving, which removes pressure on the day of a gathering. The slices are soft, cool, and gently spiced, making this dessert a pleasant alternative to heavier baked options.
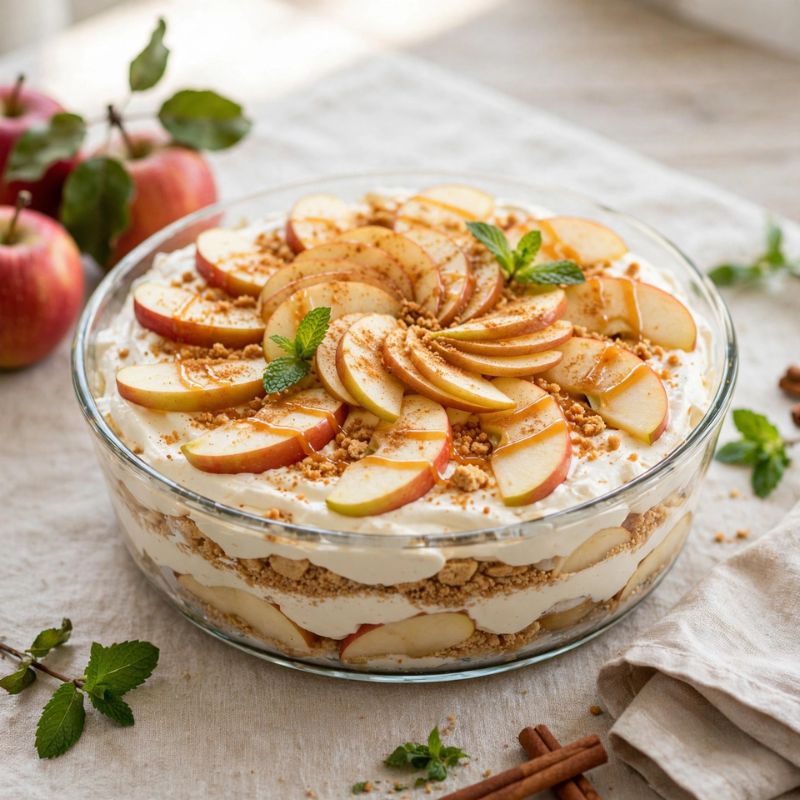
Apple Icebox Dessert
Ingredients
Method
- Cook the apples, butter, brown sugar, cinnamon, and lemon juice in a saucepan for 7 to 9 minutes. Stir in cornstarch mixed with water and cook until thickened.
- Transfer the apple filling to a shallow bowl and cool completely. Warm fruit can melt the cream layer and prevent the dessert from setting correctly.
- Beat cream cheese, powdered sugar, and vanilla until smooth. Fold in the whipped topping with gentle strokes to keep the mixture light.
- Arrange one layer of graham crackers across the bottom of an 8-inch square dish. Break a few pieces as needed to cover gaps.
- Spread one-third of the cream mixture over the crackers, followed by one-third of the apples. Repeat the layers two more times.
- Cover and refrigerate overnight, or for at least 8 hours. Slice cold and drizzle with caramel sauce shortly before serving.
25. Cinnamon Roll Apple Bake
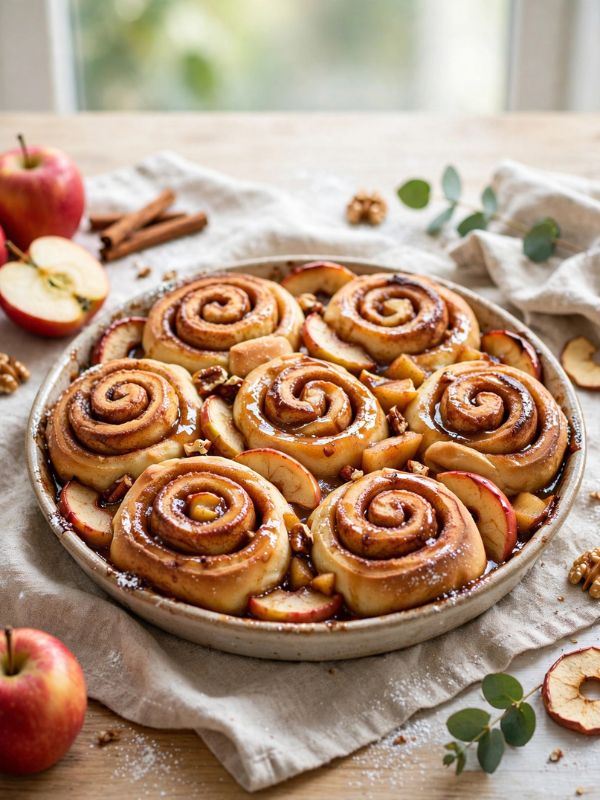
This cinnamon roll apple bake is one of my favorite recipes for brunches that need a sweet finish. Refrigerated cinnamon rolls provide both the dough and the glaze, while diced apples make the dish feel more homemade.
Cutting the rolls into smaller pieces helps them bake evenly around the fruit. A quick custard binds everything together, creating a texture somewhere between bread pudding and monkey bread.
I cover the dish during the first part of baking so the center cooks before the top becomes too dark. Once the warm glaze is drizzled over the surface, the whole pan looks inviting with almost no decorating.
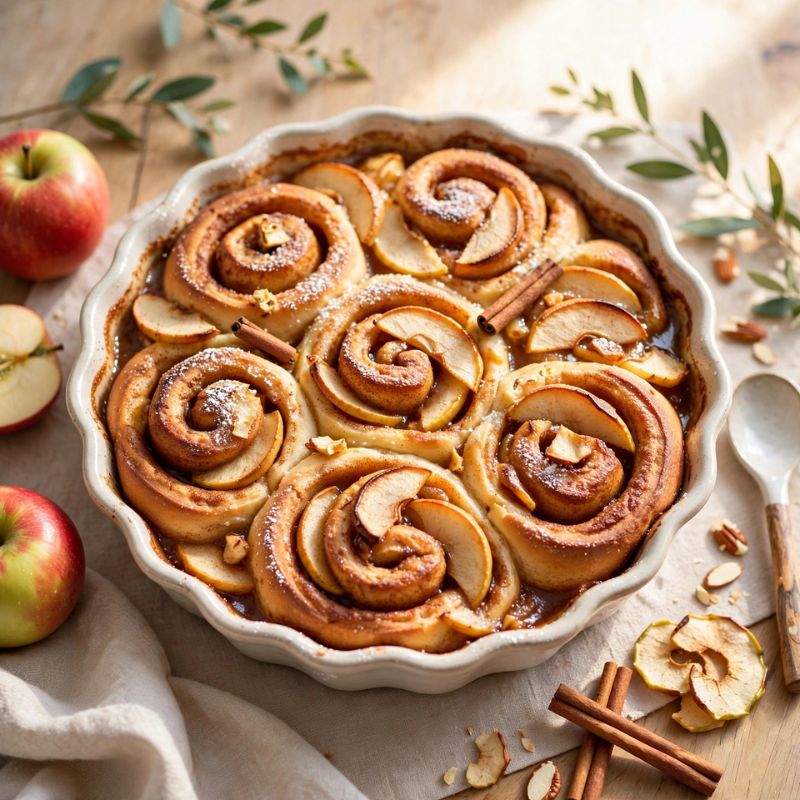
Cinnamon Roll Apple Bake
Ingredients
Method
- Preheat the oven to 350°F or 175°C and coat a 9-inch baking dish with nonstick spray. Open the cinnamon roll cans and reserve the icing packets.
- Cut each cinnamon roll into four pieces. Place the pieces in the baking dish and scatter the diced apples evenly among them.
- Sprinkle brown sugar and cinnamon across the dough and fruit. Use clean hands or a spoon to distribute the ingredients without compressing the rolls.
- Whisk the eggs, milk, vanilla, and melted butter in a bowl. Pour the mixture slowly over the dish so it reaches the lower pieces.
- Cover loosely with foil and bake for 20 minutes. Remove the foil and continue baking for 12 to 18 minutes, until the center is set and the top is golden.
- Let the bake cool for 5 minutes, then drizzle the reserved icing over the warm surface. Serve while the rolls are soft and the glaze is still slightly melted.