How to Make a DIY Natural Blush at Home for Clean Beauty Magic
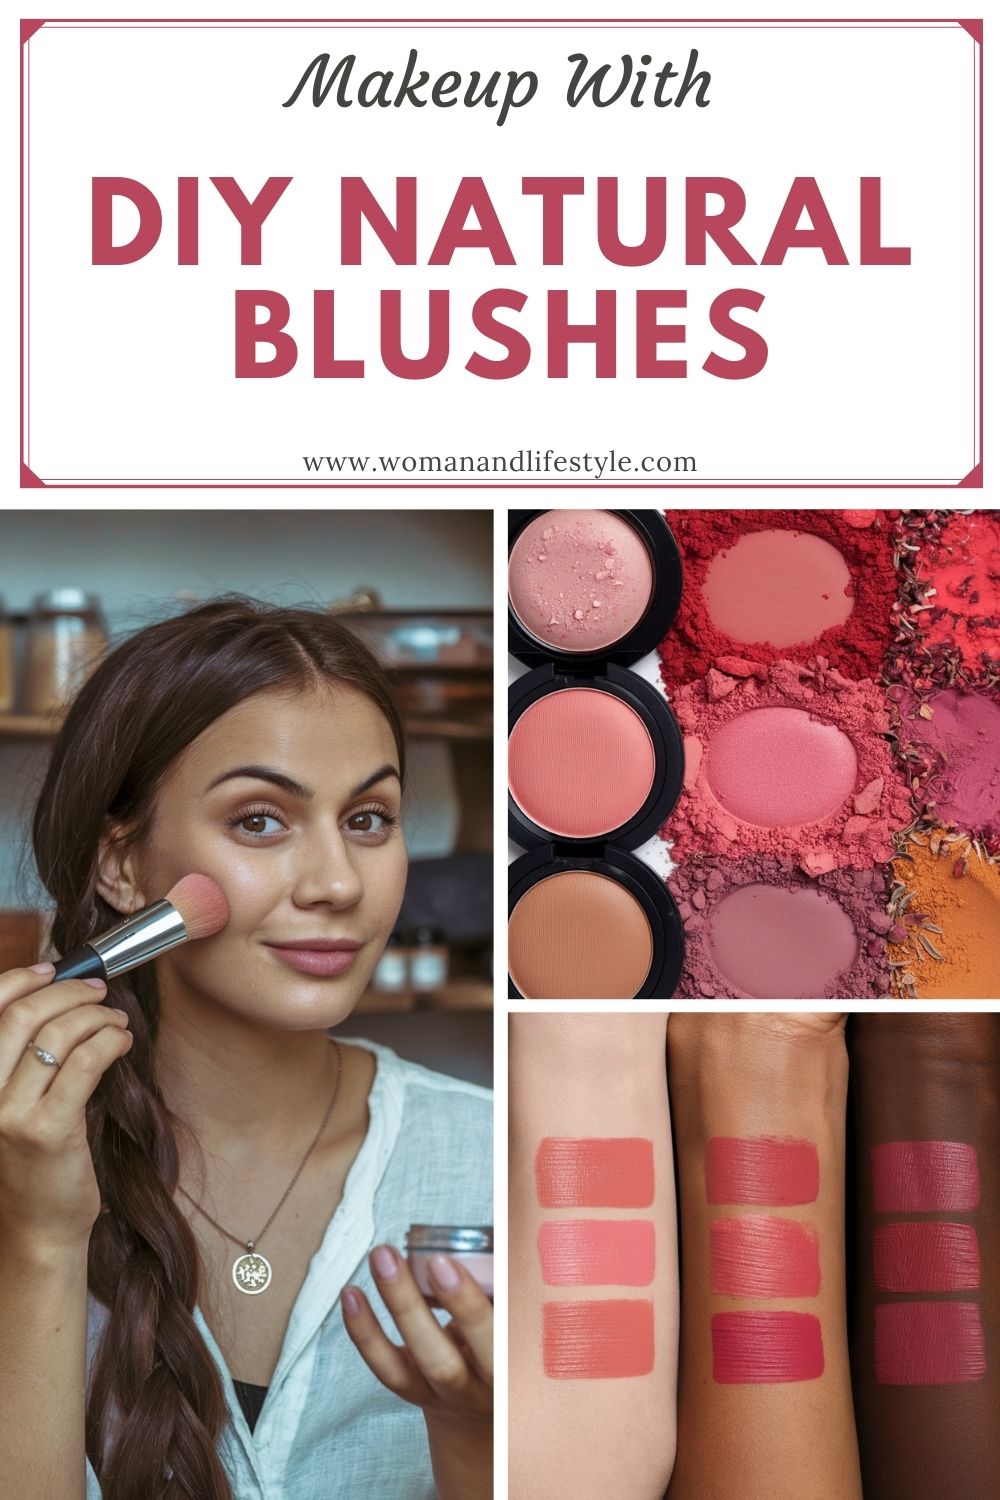
The perfect pop of color on your cheeks doesn’t have to come from chemical-laden store-bought blushes. DIY natural blush is an easy and effective way to enhance your natural beauty while keeping your skin free from synthetic ingredients.
Whether you want a soft pink, a warm coral, or a deep rose hue, you can create your own blush using natural ingredients that are gentle on your skin and environmentally friendly. Plus, making your own blush is fun, cost-effective, and completely customizable to suit your skin tone!
#1. The Beauty of DIY Natural Blush
Many commercial blushes contain harmful chemicals, artificial dyes, and synthetic preservatives that can cause skin irritation, clogged pores, and breakouts. Switching to a DIY natural blush not only eliminates these concerns but also nourishes your skin with wholesome ingredients.
By crafting your own blush, you control what goes into your makeup, ensuring that you use only pure, natural, and safe components.
Natural blushes often include botanical powders, dried fruit extracts, and clay, which provide rich pigmentation without harmful additives. Plus, they offer the added benefits of vitamins, antioxidants, and minerals that enhance skin health while giving you a natural, radiant flush.
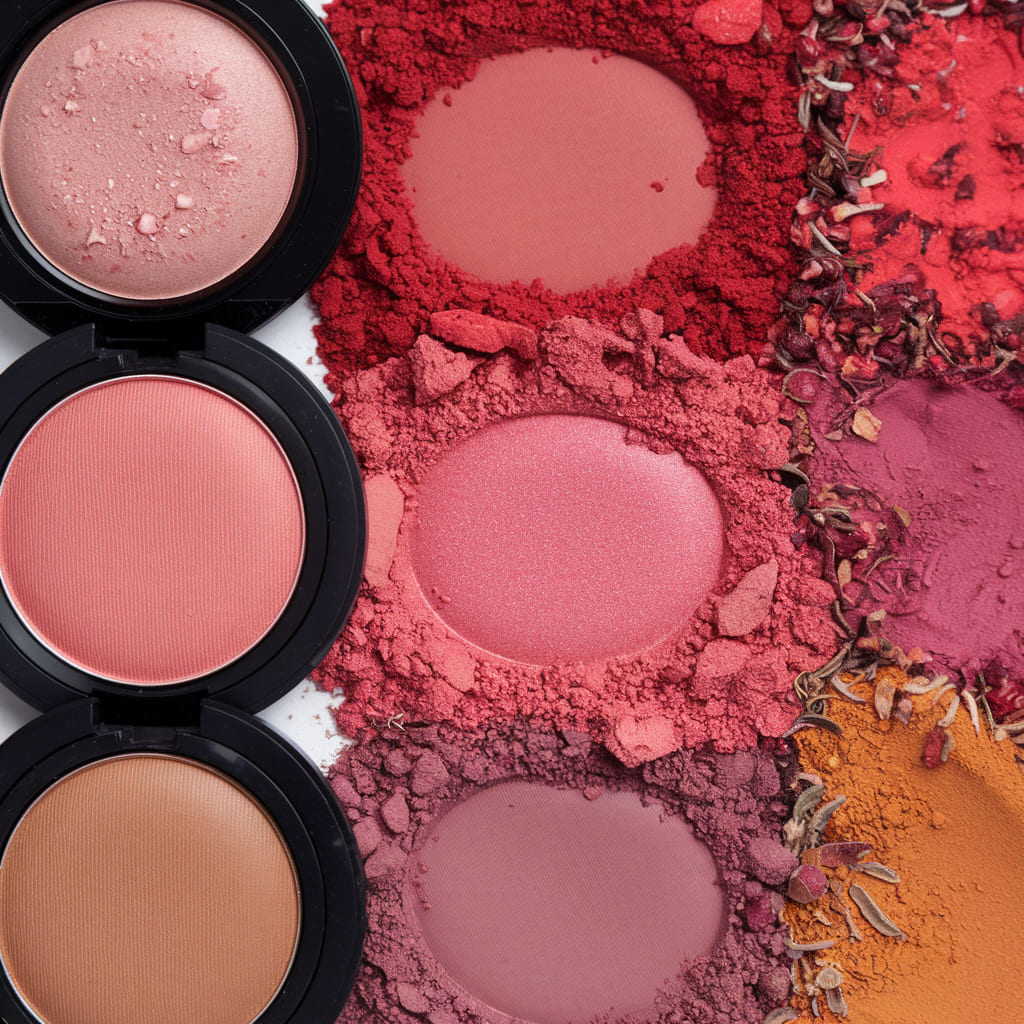
#2. Best Ingredients for a DIY Natural Blush
Creating a natural blush requires ingredients that are not only safe but also highly pigmented and long-lasting. Here are some of the best natural ingredients to use:
- Beetroot Powder – Provides a vibrant pinkish-red hue with a high concentration of antioxidants.
- Hibiscus Powder – Offers a rosy tint while also being rich in vitamin C and skin-loving properties.
- Rose Petal Powder – Delivers a soft pink hue while soothing the skin.
- Cocoa Powder – Adds warmth to blush shades and helps create a natural bronze effect.
- Arrowroot Powder – Acts as a base to lighten colors and blend pigments smoothly.
- Cinnamon Powder – Gives a warm, peachy glow with a touch of shimmer.
- Kaolin Clay – Helps absorb excess oil and improves the texture of the blush.
These ingredients not only add a beautiful flush to your cheeks but also provide skincare benefits, making DIY natural blush a game-changer in your beauty routine.
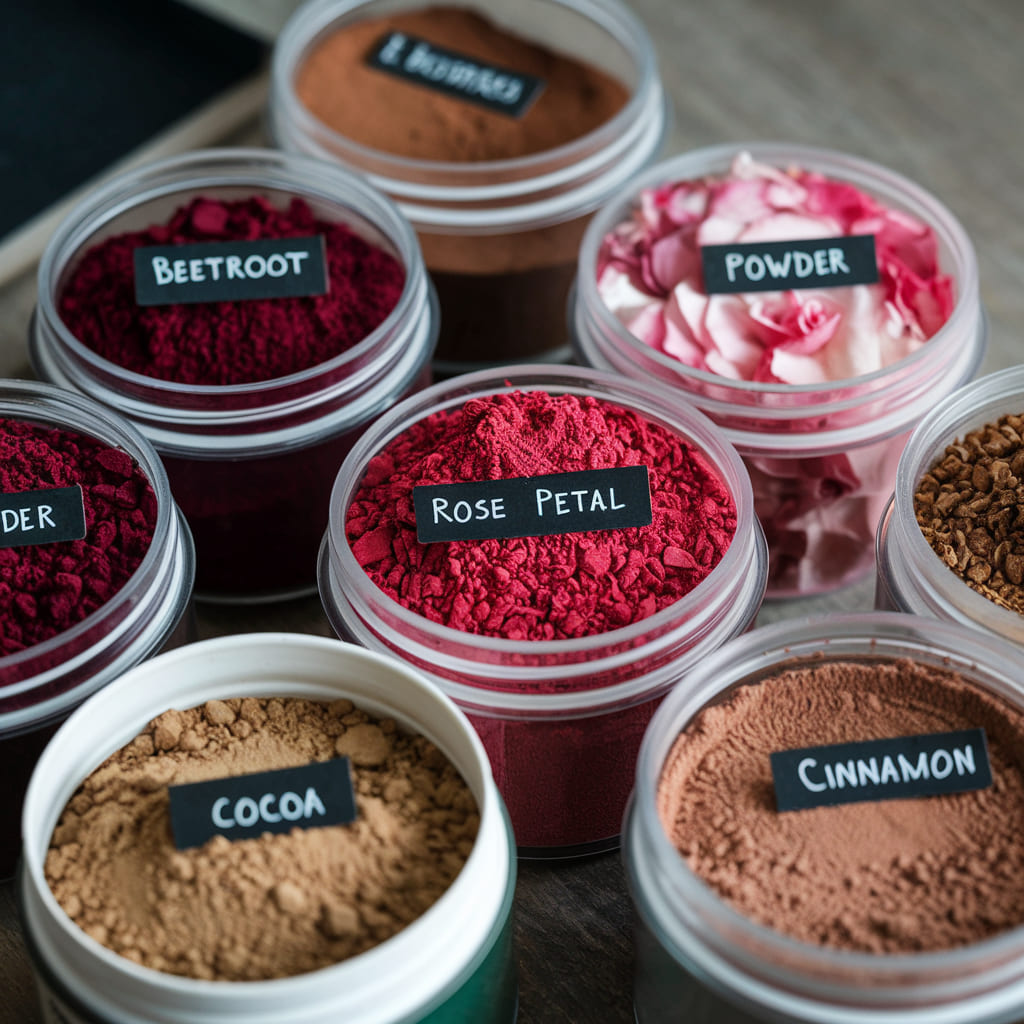
#3. How to Make DIY Natural Blush at Home
Making your own blush is incredibly simple and requires just a few steps. Here’s a basic recipe to get you started:
Ingredients:
- 1 tablespoon beetroot powder (for a pink hue)
- 1 teaspoon hibiscus powder (for a rosy tint)
- 1 teaspoon arrowroot powder (for a smooth texture)
- ½ teaspoon cocoa powder (for warmth)
- A pinch of cinnamon powder (optional for a peachy glow)
- 2-3 drops of jojoba oil (for a pressed blush, optional)
Instructions:
- In a small bowl, mix all the dry ingredients together until well combined.
- Adjust the shade by adding more beetroot powder for a stronger pink, more cocoa powder for a deeper hue, or more arrowroot powder to lighten the color.
- If making a pressed blush, add jojoba oil and mix until the consistency is slightly damp.
- Transfer the mixture into a small container and press it down with a spoon to compact it.
- Allow it to set for a few hours before use.
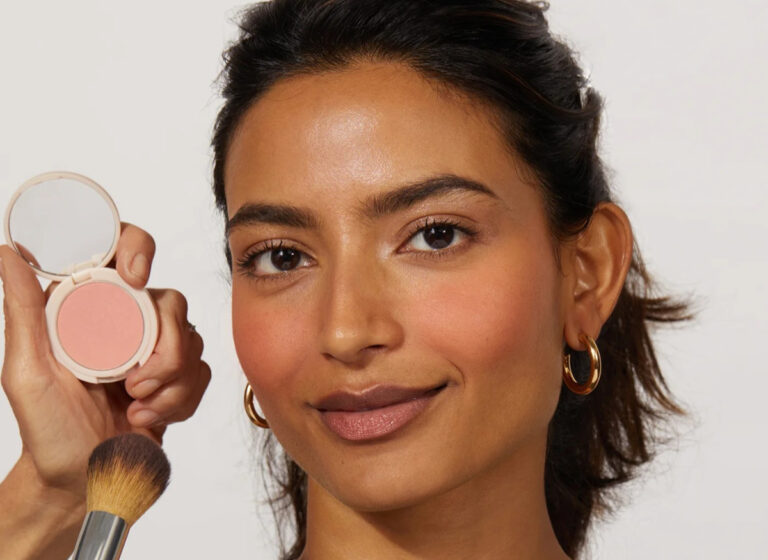
- Apply with a makeup brush for a natural flush of color on your cheeks!
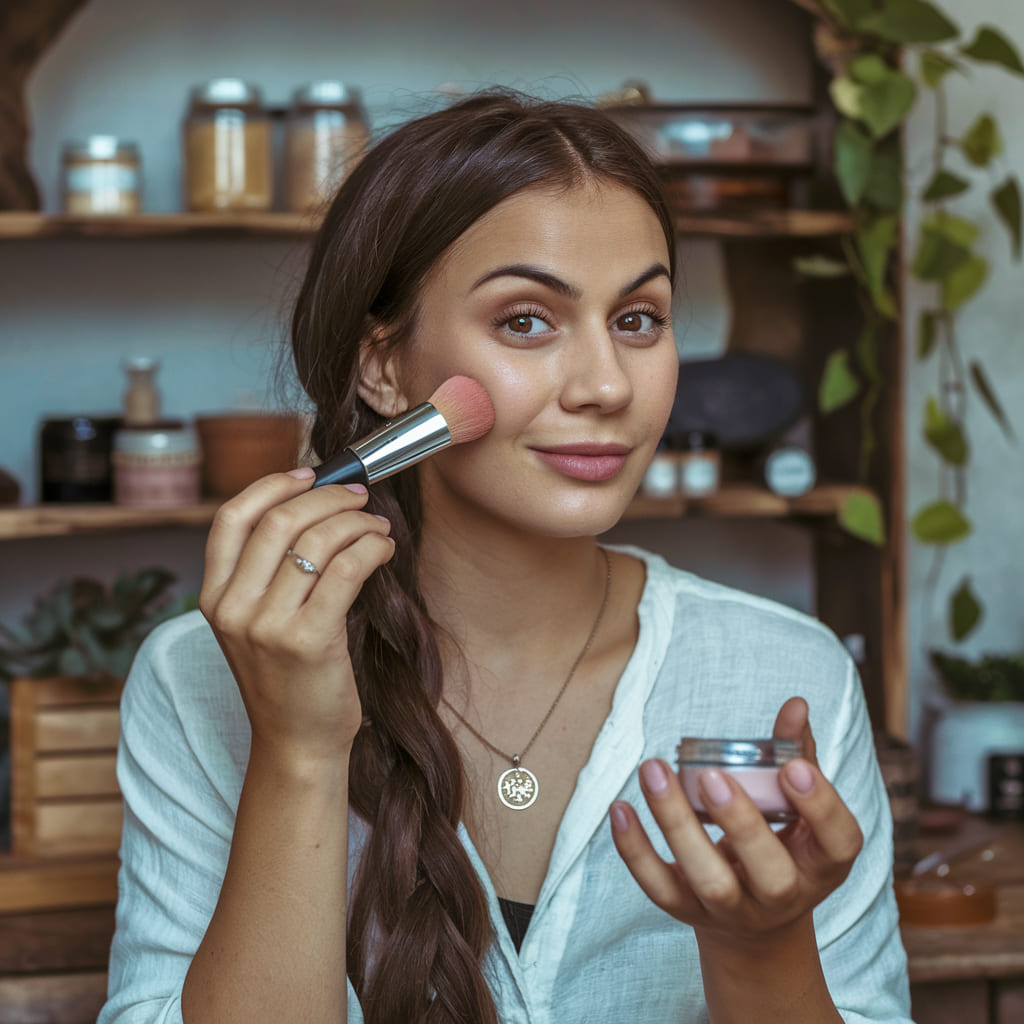
#4. Customizing Your Natural Blush
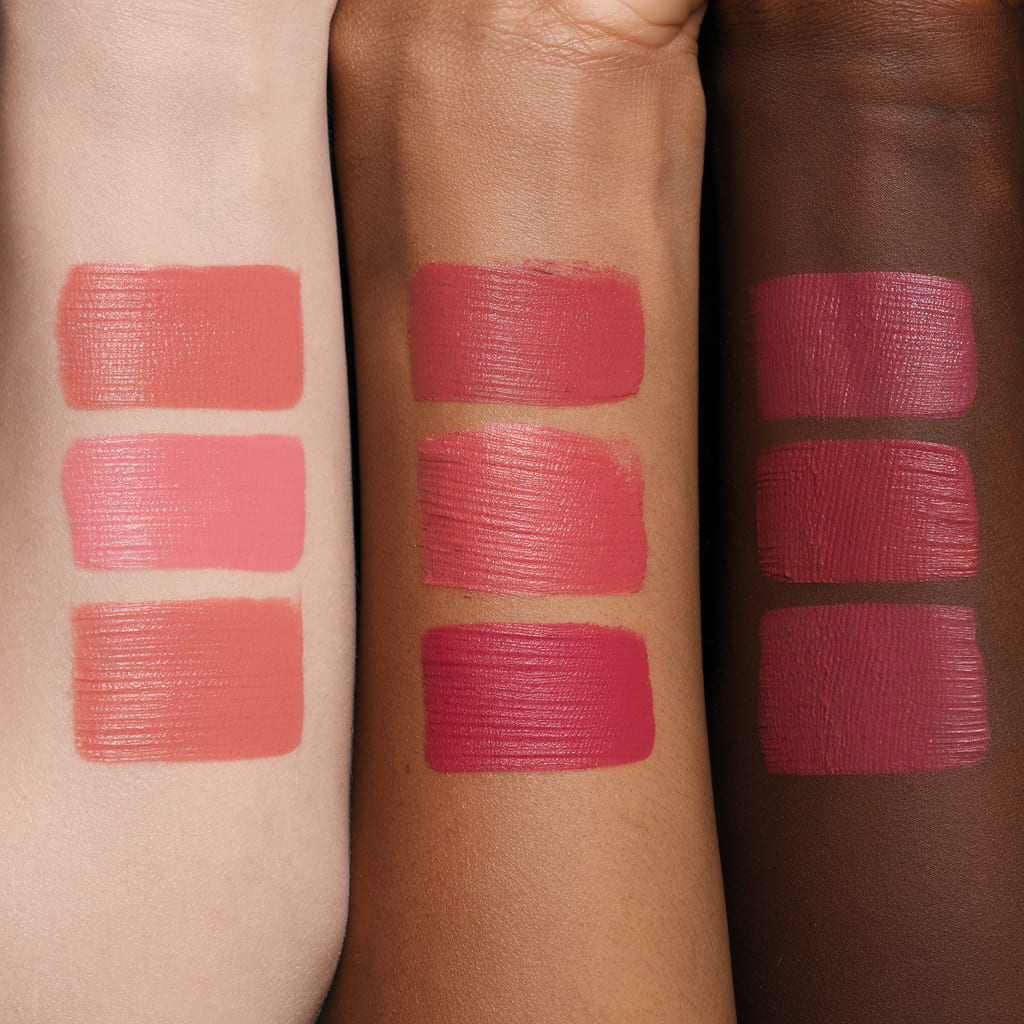
One of the best things about DIY natural blush is that you can tailor it to your specific skin tone and preferences. Here’s how:
- Fair Skin – Use more rose petal powder and arrowroot powder for a soft, pastel pink.
- Medium Skin – Add hibiscus powder and a touch of cocoa powder for a richer, warmer tone.
- Deep Skin – Increase the amount of beetroot powder and cocoa powder to achieve a deep, radiant blush.
- Glowy Finish – Mix in a bit of finely milled shimmer powder or crushed pearl powder for a natural glow.
With a little experimenting, you can create the perfect shade that complements your complexion beautifully.
#5. Benefits of Using DIY Natural Blush
Homemade blush offers multiple advantages over commercial products. Here’s why you should switch to a DIY natural blush:
- Free from Harsh Chemicals – No artificial dyes, parabens, or synthetic preservatives.
- Nourishes the Skin – Packed with antioxidants and vitamins that improve skin health.
- Customizable – Create the exact shade that suits your skin tone.
- Budget-Friendly – Costs a fraction of expensive organic beauty brands.
- Eco-Friendly – No plastic packaging or unnecessary waste, making it a sustainable choice.
Making the switch to a natural blush will not only enhance your makeup game but also contribute to your skin’s long-term health.

#6. Tips for Long-Lasting Application
While natural blushes are highly pigmented, they can sometimes fade faster than commercial ones. Here’s how to make your DIY natural blush last longer:
- Apply on Freshly Moisturized Skin – A hydrated base helps the blush adhere better.
- Use a Primer – A light dusting of translucent powder or a natural primer can extend wear time.
- Layer for Intensity – Build up the color gradually for a more vibrant finish.
- Set with a Natural Spray – A spritz of rose water or aloe mist helps lock in the color.
By following these tips, your blush will stay fresh and glowing throughout the day.
#7. Thoughtful Disclaimer
If you have sensitive skin or allergies, consult with a dermatologist before use. This article is for informational purposes only and does not replace professional skincare advice.
DIY natural blush is an easy, fun, and healthy way to enhance your beauty routine. With simple, natural ingredients, you can create a custom blush that not only makes your cheeks glow but also nourishes your skin.

