Apply Blush For A Round Face: The Ultimate Guide Ladies Need
Applying blush may make your face appear thinner and more sculpted, as well as give you a chiseled jawline. But did you know that how to apply blush varies by facial shape?
So, in this post, you’ll learn how to apply blush to a round face and help the features look more balanced.
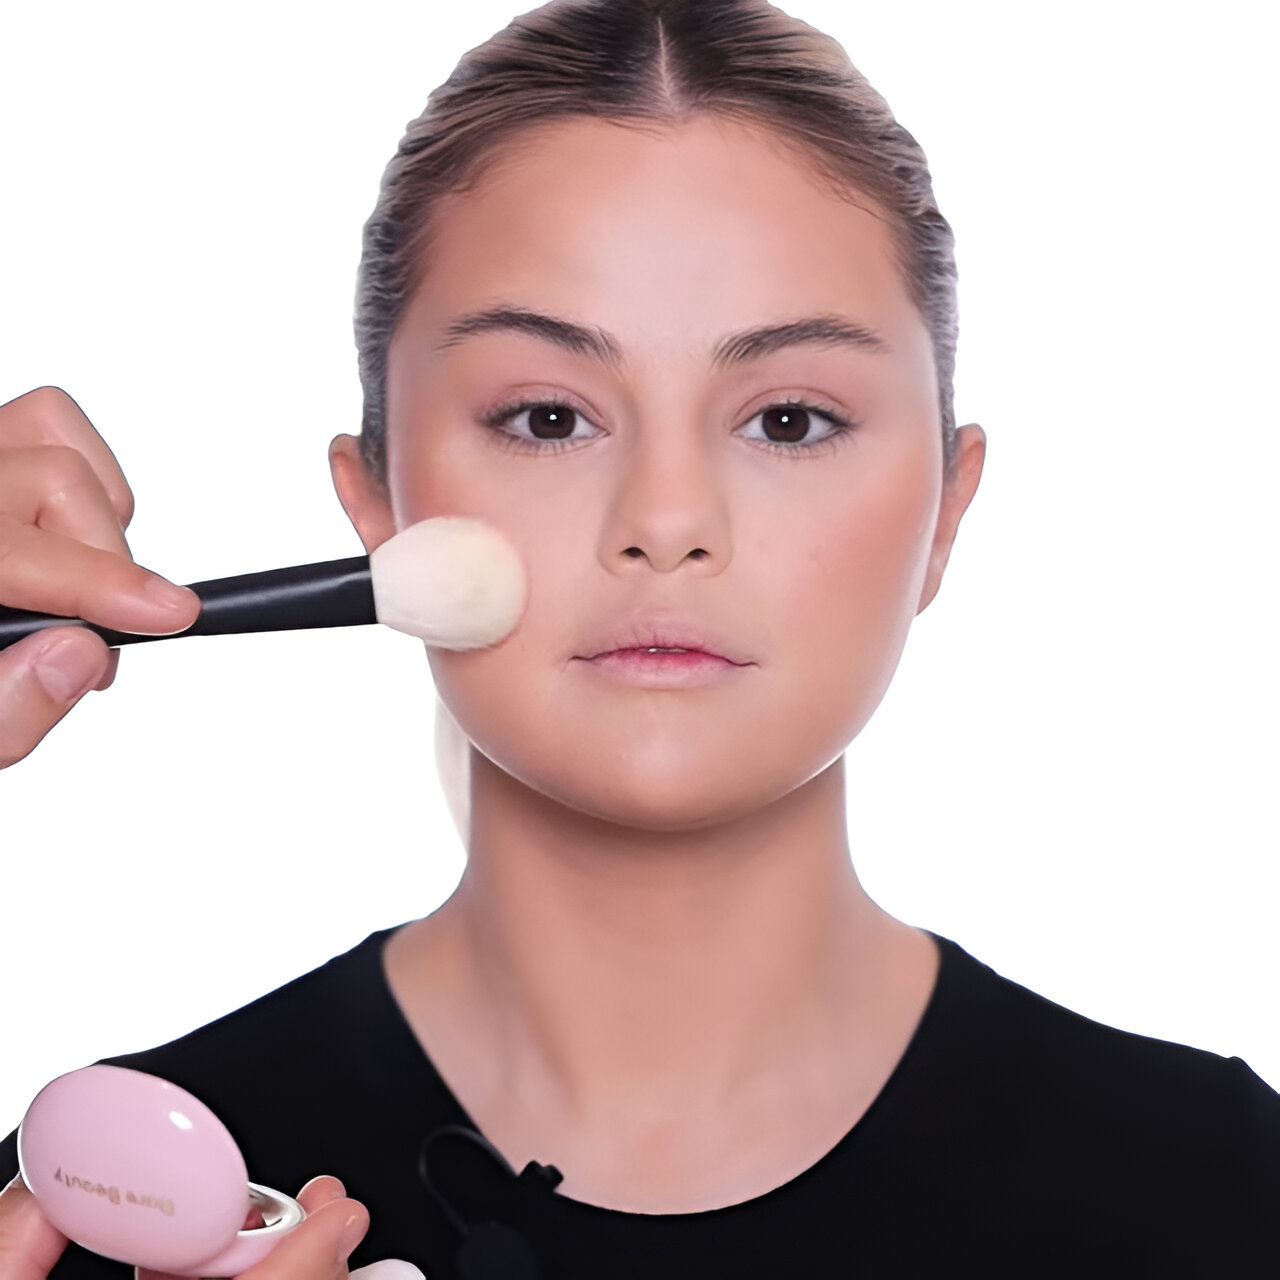
Because blush is essential in your daily makeup regimen for achieving that rosy glow, a perfect swipe of the proper hue blush may improve your face shape and complexion.
Without further ado, scroll down and continue reading to find out how to apply blush for round faces.
It’s time for you to be the focus of attention and steal the show like never before!
Tips To Keep In Mind On How To Apply Blush For Round Faces
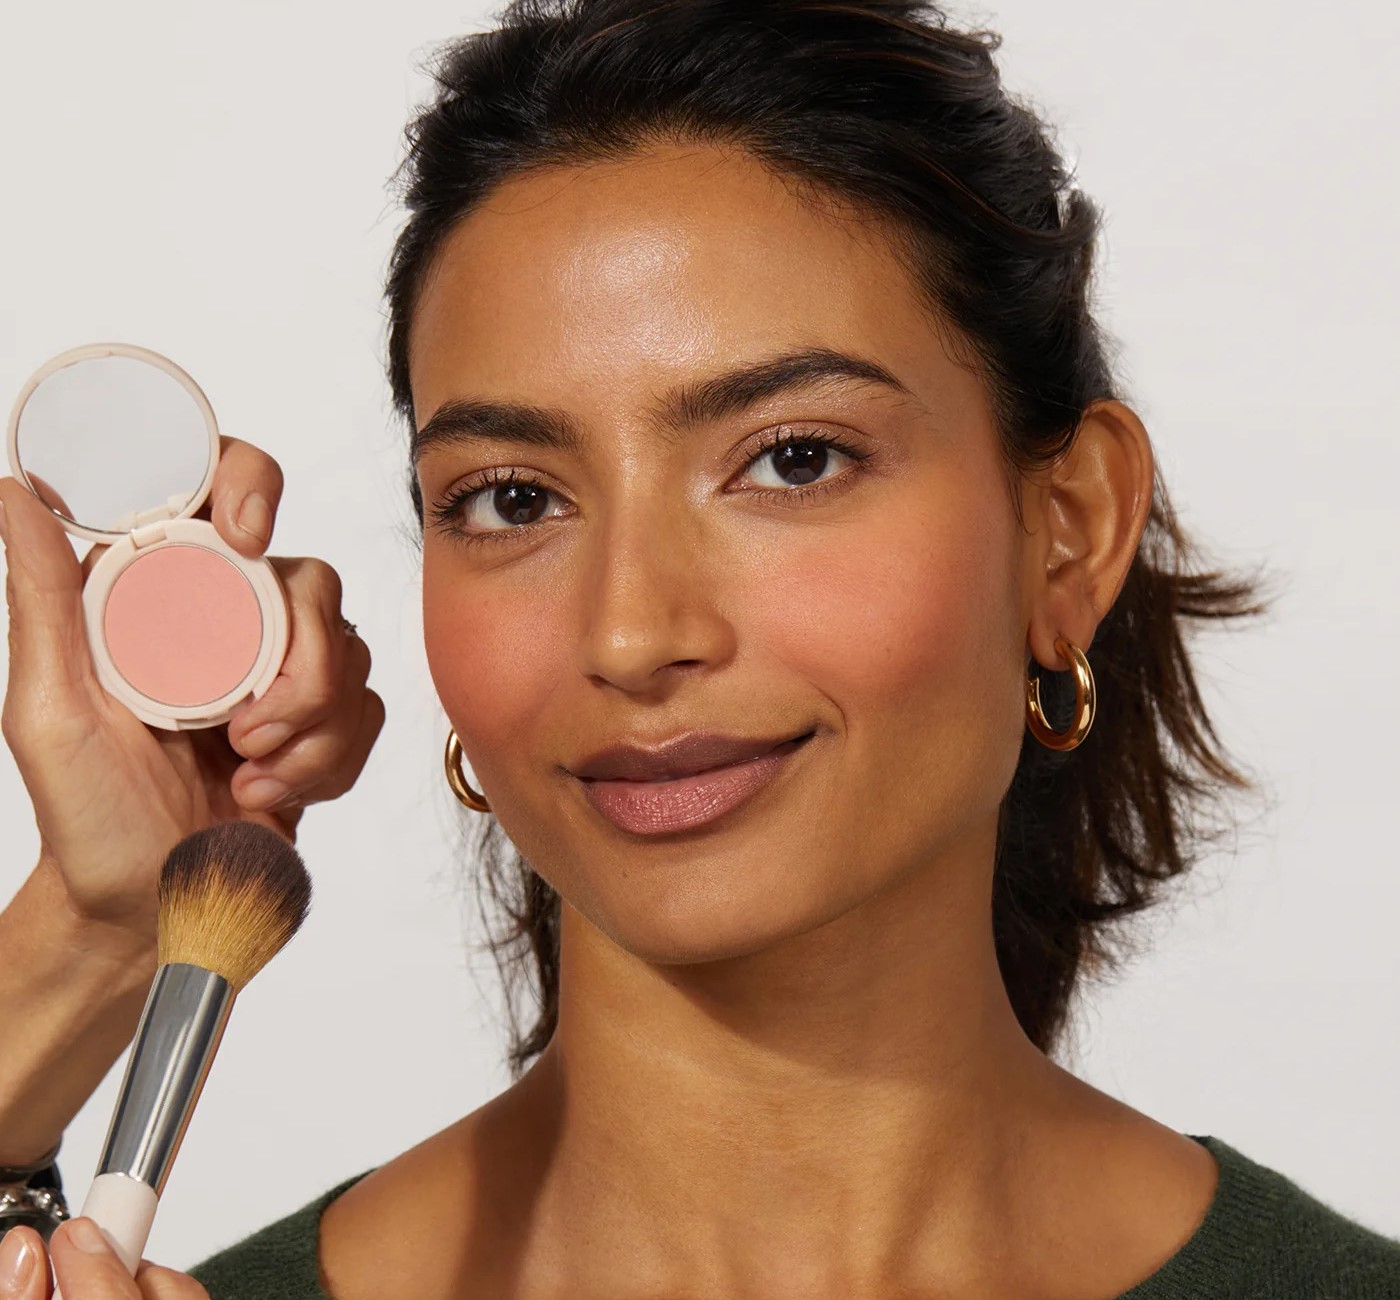
- Choose a blush hue that matches the tone of your skin. If you have light skin, use pinkish hues. However, ladies on the tanned end of the shade spectrum will look stunning with peachy rose shades. A rosy pink blush looks best on a fair complexion, but a peachy tone looks great on a tanned complexion.
- Avoid using shimmer or glitter blush on the hollows of cheeks. It will make your face even rounder.
- Avoid putting a powder blush straight over a powdered foundation. It will look blotchy. Moisturize first. You can apply a tinted moisturizer instead of a foundation, then put the powder blush over it.
- Apply cream blush on a powdered base. It will result in less blotchiness. You don’t need to be concerned with the foundation type in this scenario.
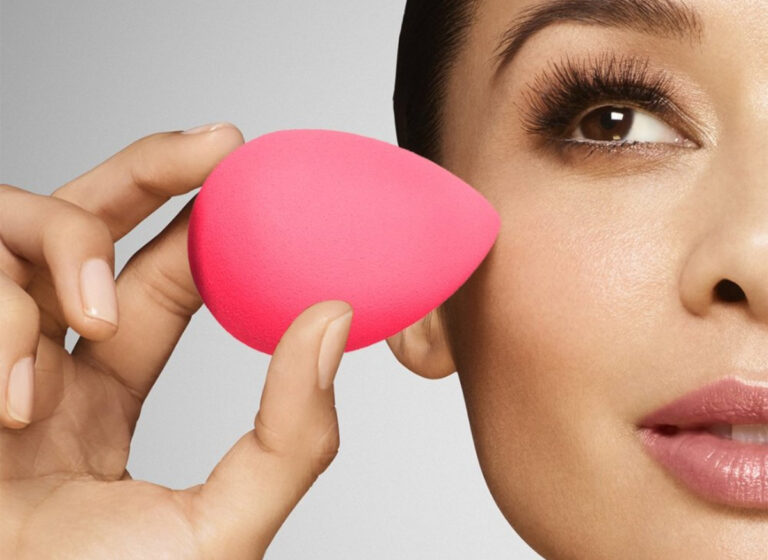
- Use a suitable makeup brush to put on blush on a round face. Avoid using your fingertips, swabs, cotton balls, or cosmetic sponges. Use a good-quality cheek brush. Notice how the bristles are silky and will blend the pigments flawlessly.
How To Apply Blush For Round Faces
Step 1
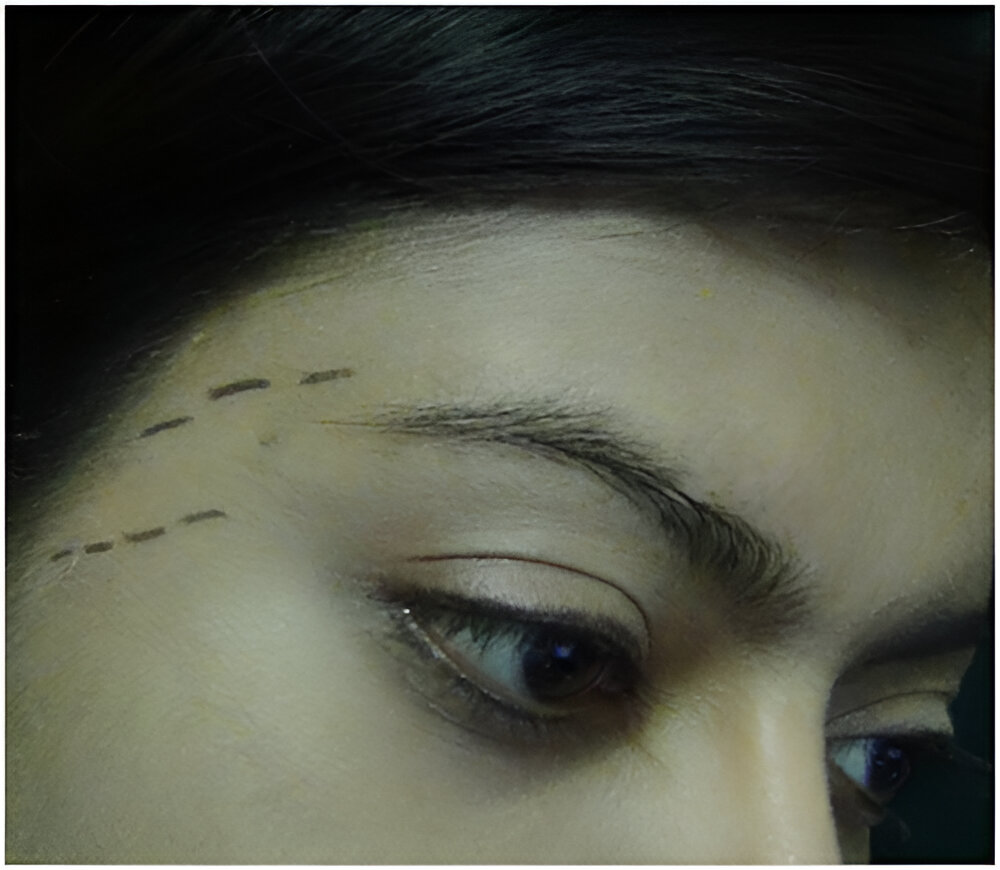
Create a triangle between the eyebrows and the hairline. Fill this small area with a blush or bronzer.
It will slim down your forehead and add more dimension to your face.
Step 2
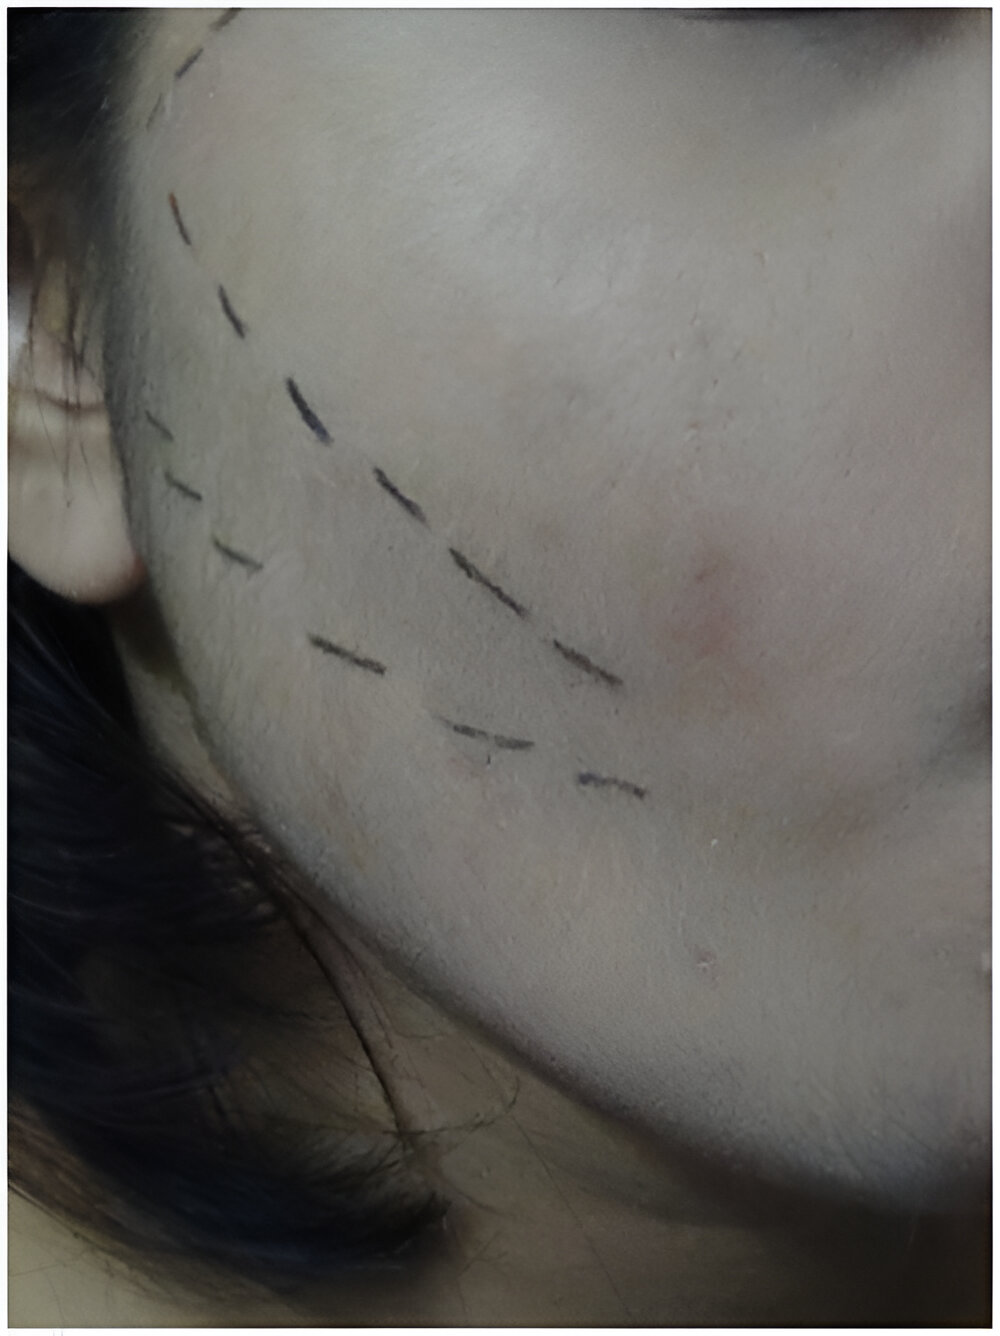
Suck your cheeks in and trace the contours of your cheeks, starting from the highest point.
Gently dab your brush down the sides of the cheek apples to blend the pigments. Stop near the mouth, then repeat until you’re satisfied with the color.
Step 3
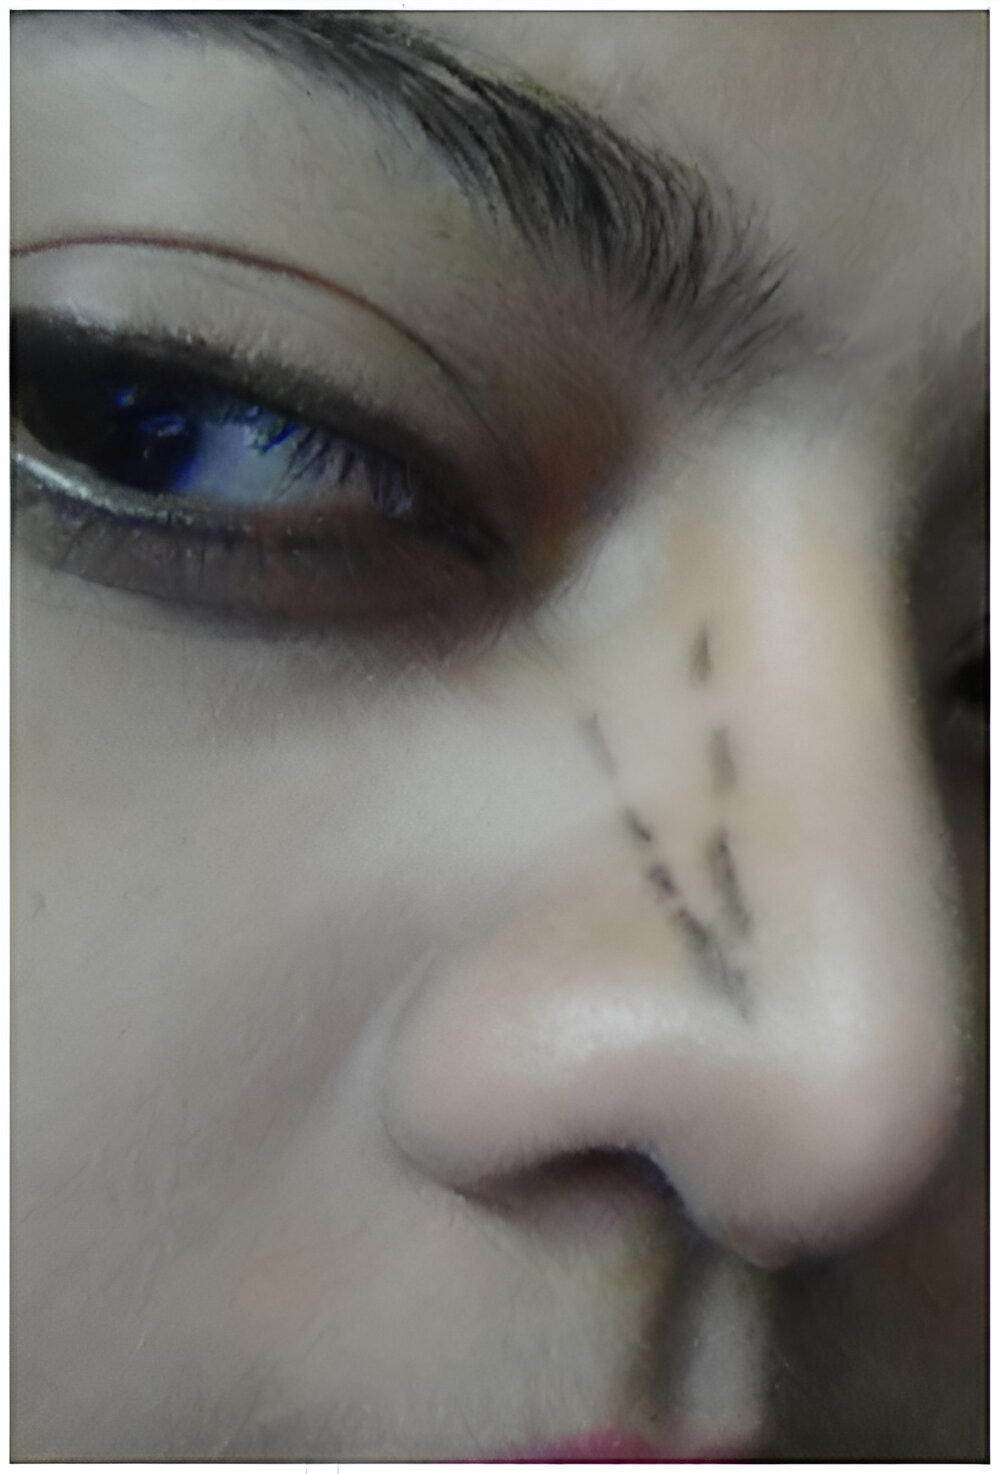
Sharpen your nose with bronzer. Take a flat brush and draw a line along the sides of the nose.
Repeat on the opposite side. Slowly blend it out to contour your nose subtly.
Step 4
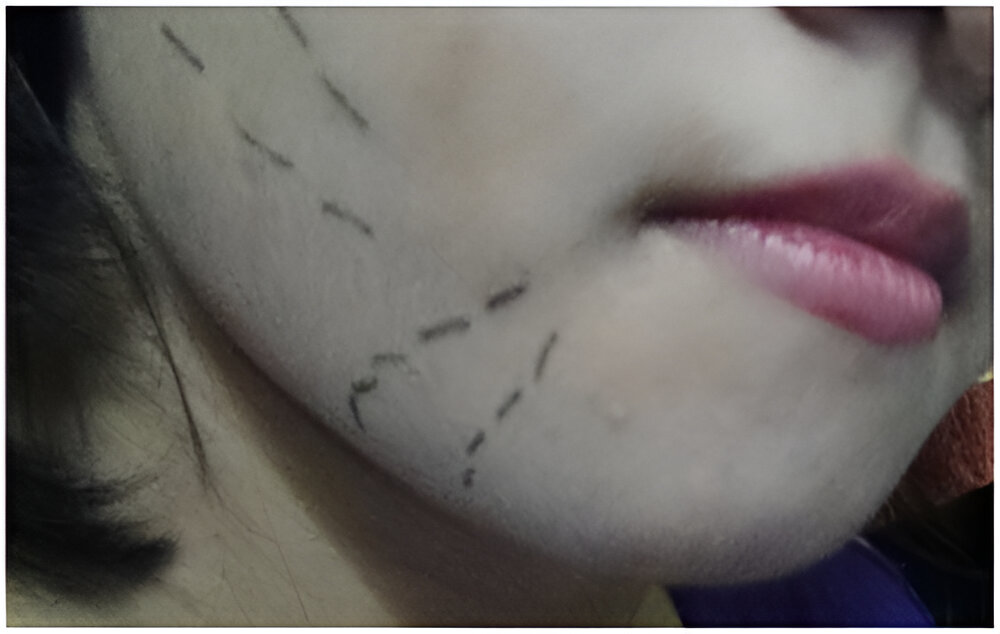
Your chin’s shape determines whether your face looks round or not. Sharpening your chin is necessary. Follow the steps outlined below for blushing.
Apply a light swipe of blush to the one-inch region on either side of the chin. Don’t apply too much blush here.
Use whatever remains on the brush from the prior step.
Step 5
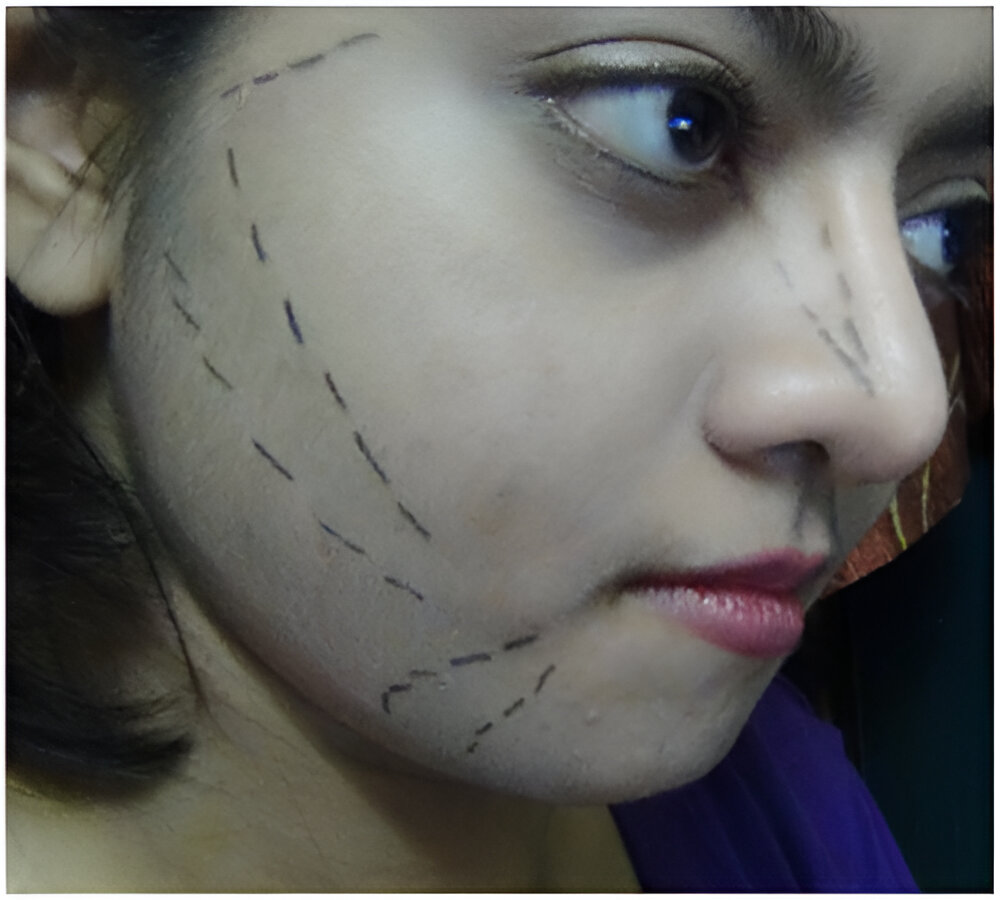
For a round face, the final contour lines should look like this. Always apply your brush lightly to ensure the color blends into your complexion and looks natural.
Avoid using too much pigment. Start with a small amount, then add more.
Step 6
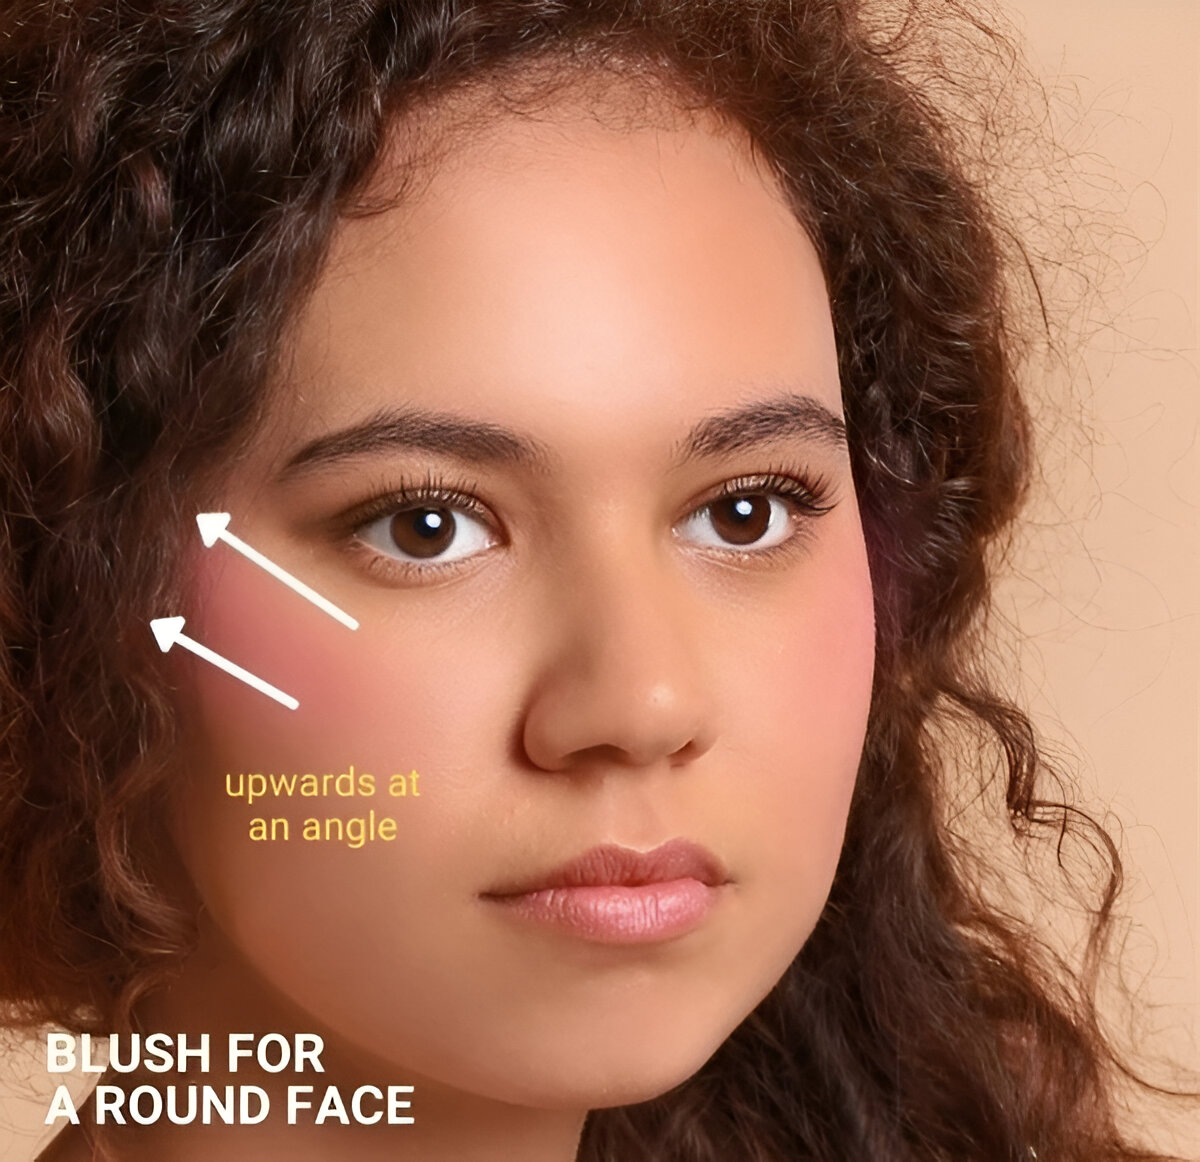
This step is optional, but you can use a bronzer to blend in with your blush for a warmer look and a softer glam.
Also, if you have a somewhat extended or oval face shape, put the color pigment on your cheekbones rather than your apples to get a lifted appearance.
A blush may provide the illusion of more pronounced cheekbones on a round face while giving your skin a rosy glow.
Understanding how to apply blush to a round face will significantly improve how well your features stand out.
Don’t forget to hit the Pin button and save this post to use it for your future practice!
But wait! Don’t leave just yet. We still have many other skincare tips and beauty inspirations waiting for you.
Check out our other posts for the hottest hairstyles, fashion trends, manicures, and tattoo ideas.
Follow us to get your sweet daily dose of beauty inspos!

