4 Fabulous DIY Shampoo Bars To Help Your Hair Grow Beautifully
Tired of all the heavy chemical stuff in your shampoo? These DIY shampoo bars will be a fabulous alternative for you, then.
The best thing about them is that you have full control over what you put in the recipe.
The ingredients are non-toxic, easy to find, and affordable to many of us. Plus, making DIY soap can be quite fun and relaxing!
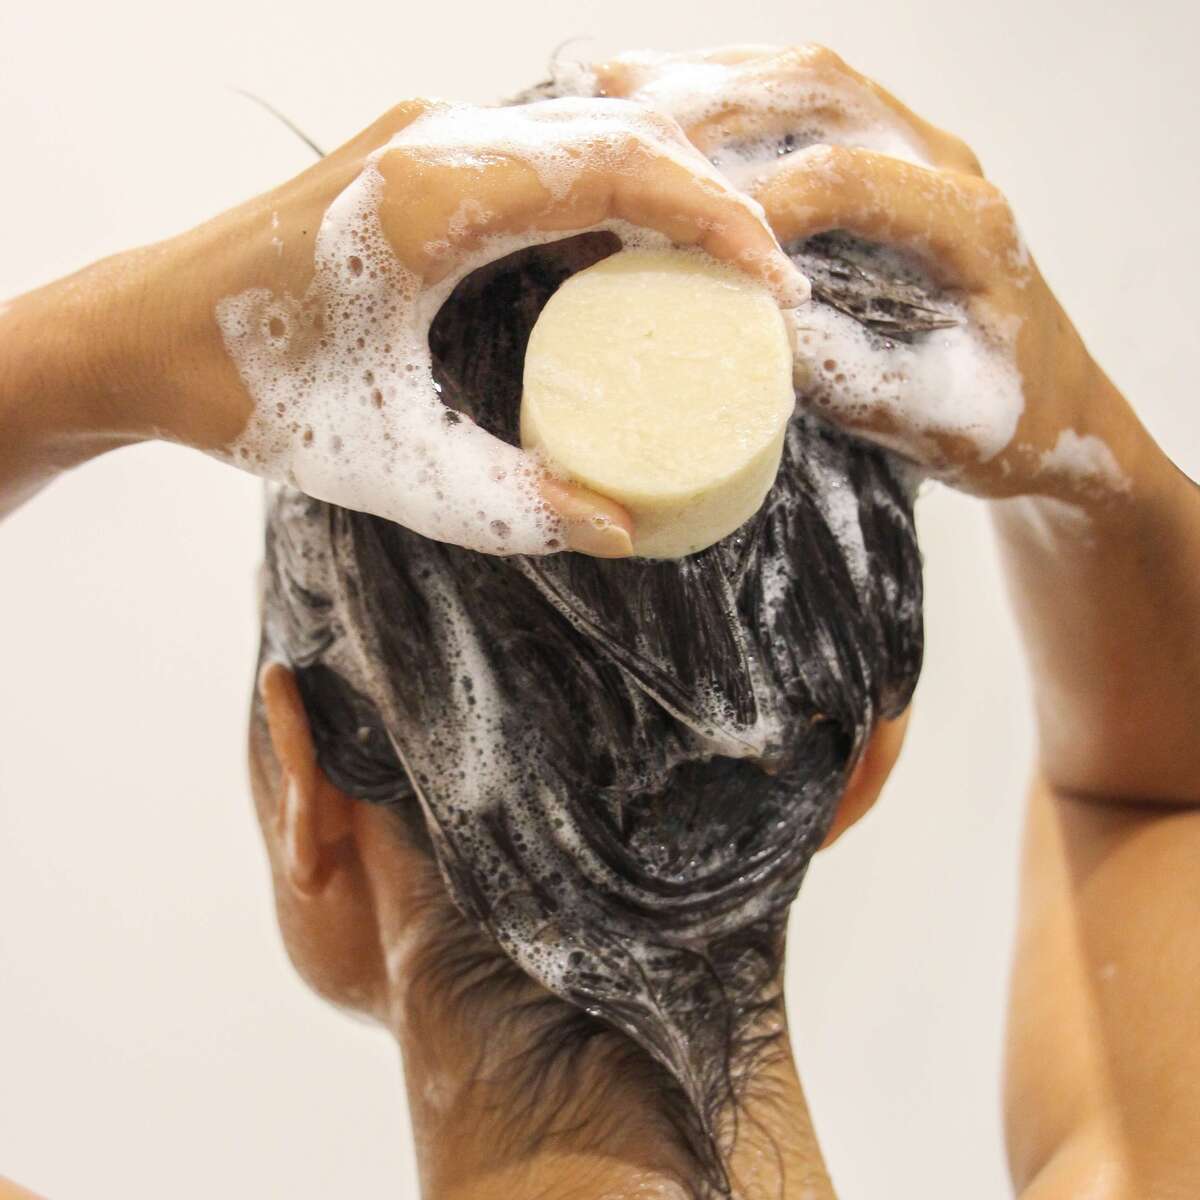
So, to help nourish your hair, here are four fabulous recipes for DIY shampoo bars. These bars contain no added preservatives or harsh chemicals.
They can clean and moisturize your locks without causing any damage to them, so check these remedies out!
#1. Coconut Oil Shampoo Bar
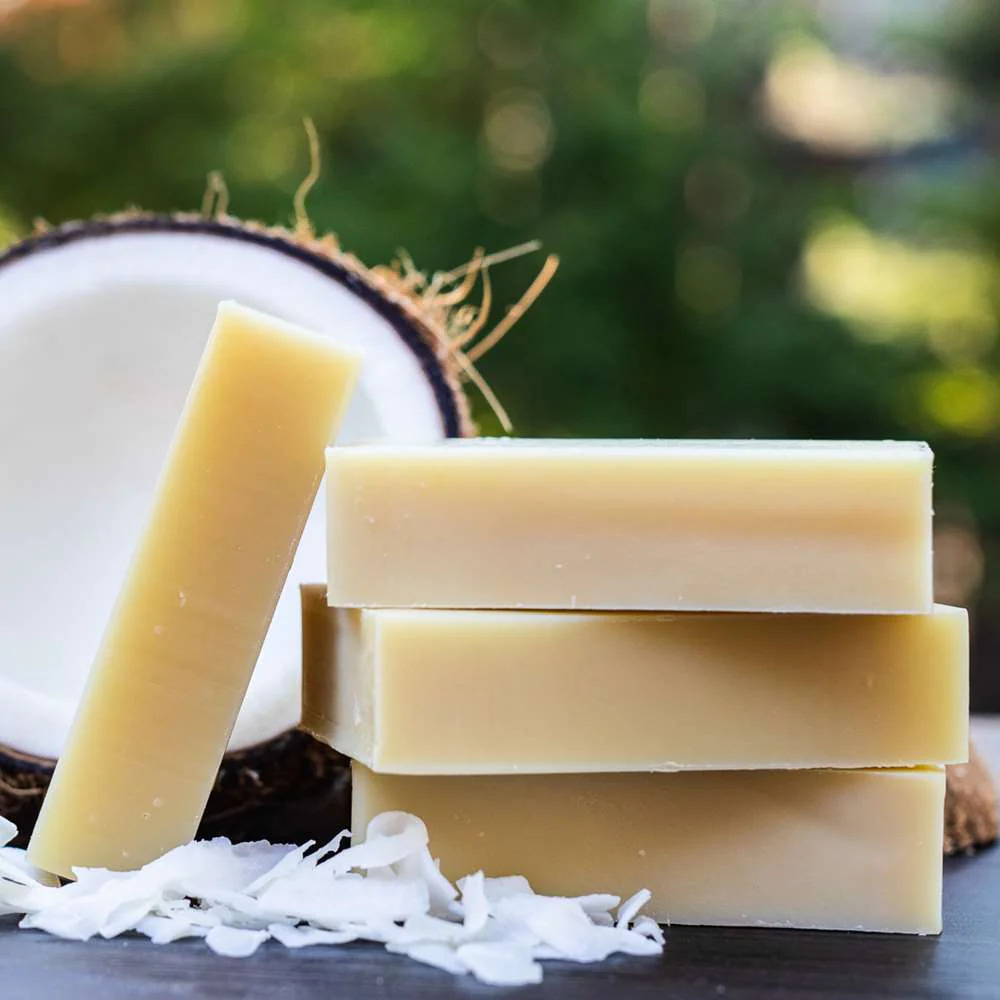
What You’ll Need:
- 33 ounces of coconut oil
- 12.54 ounces of water
- 5.44 ounces of lye. If you have dry hair, use 5.32 ounces of lye
- 1/2 ounce of essential oil(s) (optional)
What To Do:
- Melt the coconut oil over a double boiler or heat it on a low flame.
- In another bowl, heat the water and slowly pour the lye into it. Mix until well combined. Never pour water into the lye. Stir carefully as the mixture heats up quickly.
- When the mixture becomes clear, leave it for 5 to 10 minutes to cool down.
- Pour the mixture into the coconut oil. Transfer it to the crockpot and stir until you reach a light pudding-like texture.
- Cover the pot and let it heat on a low flame for 45 minutes to an hour. You should see the oil on the sides of the crockpot. It should rise and then subside. Check the mixture every 5 minutes.
- The mixture is ready when it becomes semi-translucent or looks like petroleum jelly. There should be no oil puddle.
- Use pH strips to measure the pH level. The level should be between 7 and 10.
- If you want to scent your soap, add your favorite essential oils and mix.
- Transfer everything into a mold. Let it cool until firm.
- Cut the bar into your desired shape. Keep the DIY shampoo bars somewhere cool and dry. They’re good to use after 2 to 3 weeks.
#2. Babassu Oil Shampoo Bar
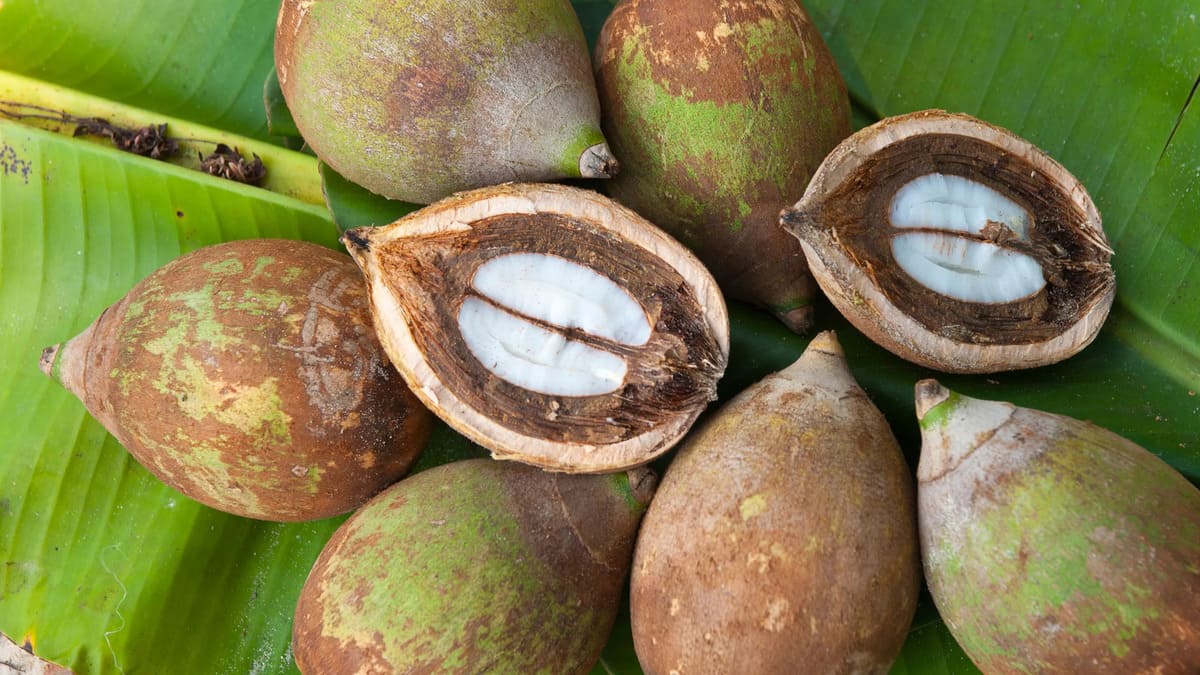
What You’ll Need:
- 1 ounce of mild baby soap or soap-free cleansing bar
- 0.070 ounces of babassu oil
- 10 drops of essential oil
- 15 drops of argan oil
- 1 pinch of dried herbs (powdered)
What To Do:
- Grate the baby soap or cleansing bar until they’re fine.
- Mix the grated soap with the oils and powdered herbs.
- Knead everything until you have a dough. Use a muffin tin or your favorite mold to press it into shapes.
- Let the soap firm up, and all the ingredients mature for a few hours. You can use these bars right after.
- This recipe is fabulous for sensitive scalps.
#3. DIY Shampoo Bars From Tallow
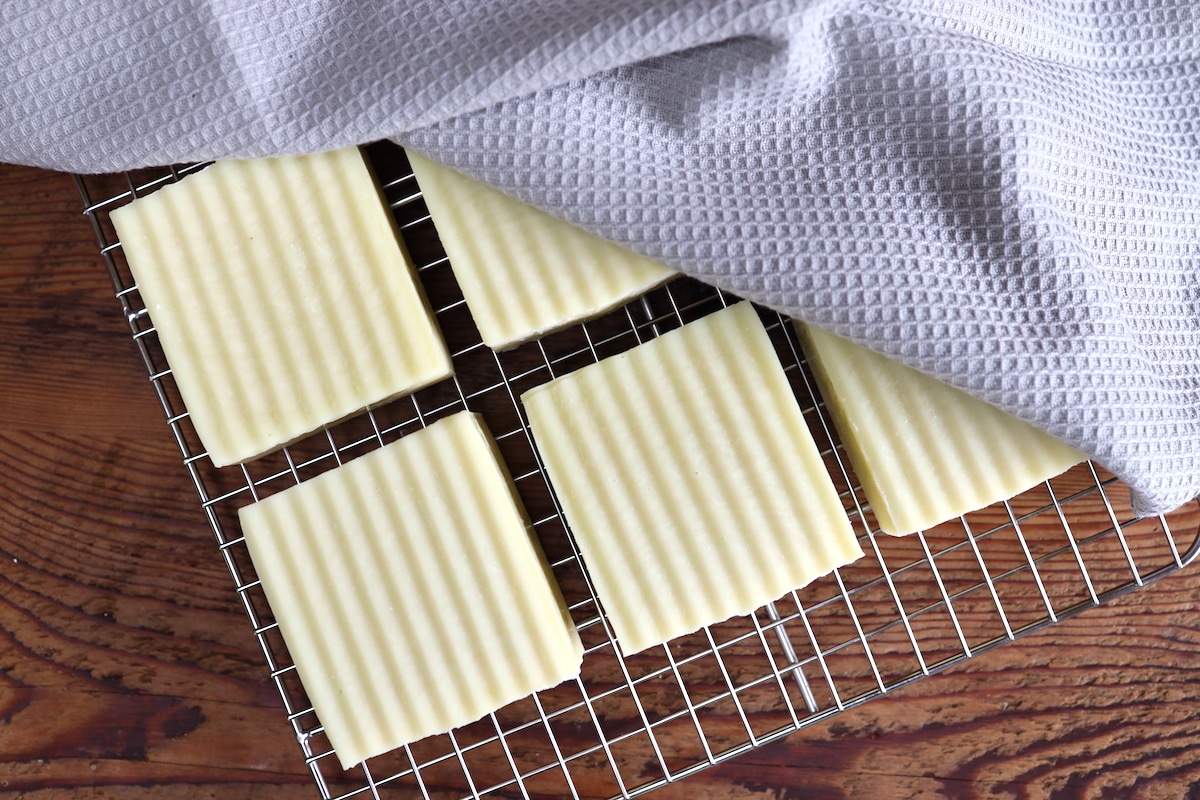
What You’ll Need:
- 10 ounces of grass-fed tallow
- 10 ounces of castor oil
- 10 ounces of refined coconut oil
- 6 ounces of olive oil
- 1/2 ounce of essential oil
- 13.68 ounces of water
- 5.11 ounces of lye
What To Do:
- Add the tallow, castor, olive, and coconut oils into a crockpot. Heat the mixture over a high flame and maintain a temperature of 100°F.
- Once the oils melt, let the mixture cool down, then gently stir.
- In another bowl, heat the water while carefully pour in the lye. Gently mix until the lye turns clear. Let the mixture cool down for about 10 minutes.
- Combine two mixtures. Whip with an immersion blender until you reach a pudding-like consistency. The mixture should turn semi-translucent.
- If you want to scent your soap, add essential oils and mix.
- Line your mold with parchment paper. You can skip this step if you’re using a silicon mold.
- Transfer the mixture to your mold and let it cool until firm. It will take about 24 hours.
- Slice the bar into your desired shape. Store the bars somewhere with good airflow and let them cure for two weeks at minimum.
#4. DIY Olive Oil Shampoo Bars
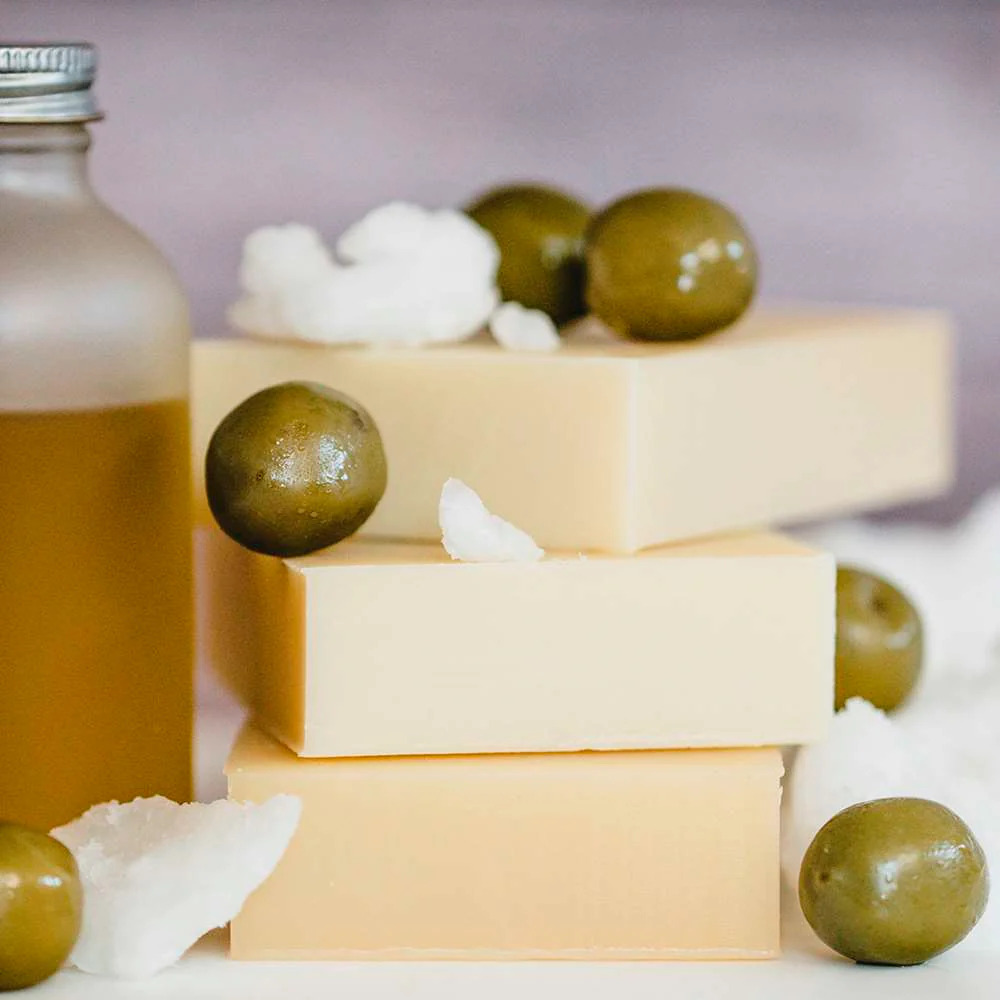
What You’ll Need:
- 9 ounces of olive oil
- 9 ounces of coconut oil
- 6 ounces of castor oil
- 4 ounces of apricot kernel oil
- 5 ounces of cocoa butter
- 1 ounce of beeswax
- 1 ounce of shea butter
- 13 ounces of filtered water
- 1 ounce of essential oil
- 4.6 ounces of lye
What To Do:
- Add all the oils, beeswax, and shea butter to a stainless steel pot. Heat the mixture and keep the temperature at 100°F.
- In another bowl, heat water and pour lye into it. Slowly mix until well combined, then let it cool down to 100°F.
- Combine two mixtures. Both should be at 100°F during the mixing process.
- Add the essential oils and mix if you want to scent your soap.
- Mix until you reach a pudding-like consistency.
- Transfer the mixture into a mold. Let it firm up for 24 hours, then remove from the mold and cut into desired shapes.
- Let the bars cure for 4 to 6 weeks.
How To Use DIY Shampoo Bars To Care For Your Hair
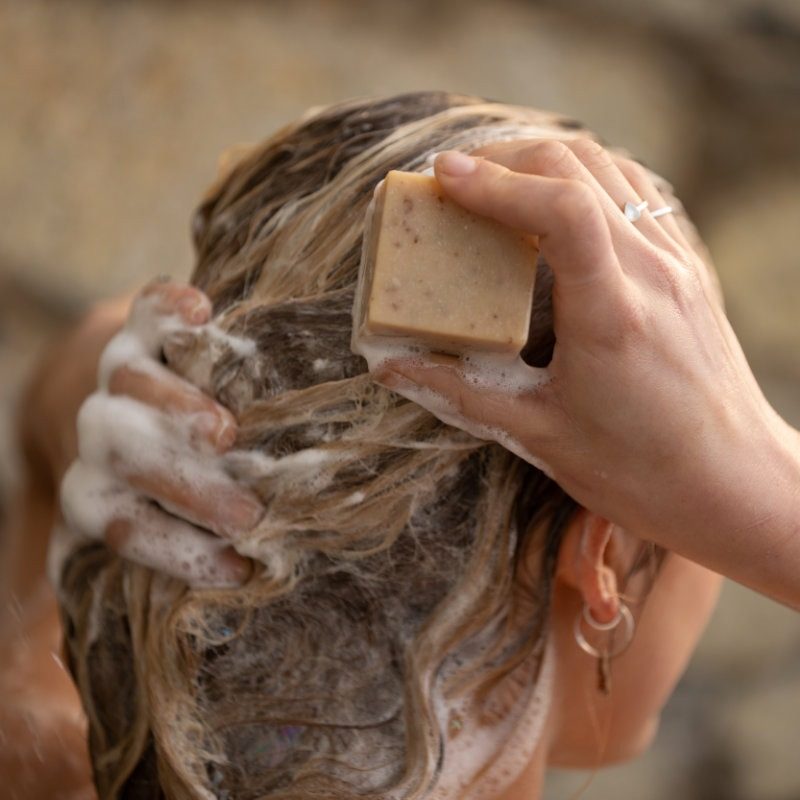
You’ll need to know how to use shampoo bars properly to make the most use of them. They’re a little different from your typical liquid shampoo that comes in a bottle, but it’s nothing difficult. Just follow these steps!
- Use cold water to wet your hair thoroughly. The cooler it is, the better, but not too cold that you can’t handle it!
- Rub the bar with your hands and lather to create foam, then apply it to the hair. You can also rub the soap directly on your hair.
- Massage your scalp in circular motions.
- Rinse everything clean with room temperature water.
There are some notes for your hair-washing routine to maximize the effect and nourish your strands:
- Hot water can damage your hair, causing it to frizz. Always use lukewarm or cool water to wash your hair. The colder, the better!
- The pH level of the shampoo bar should be between 6 and 7. Anything higher or lower than this range might dry your hair and damage your scalp.
- Clean water is essential. Check your water’s quality.
These DIY shampoo bars are a fantastic substitute for traditional shampoos, especially when you have a sensitive scalp or damaged hair.
The non-toxic ingredients will clean and nourish your locks.
If you like these homemade remedies, don’t forget to hit the Pin symbol and add them to your Pinterest collection for more inspos.
Hunger for more? We have your back covered! Our site is a haven for beauty enthusiasts.
We post a lot about simple homemade remedies, skincare tips, and fashion trends.
Many beauty inspirations await you, from the hottest hairstyles to the prettiest manicure ideas. Don’t miss out!

